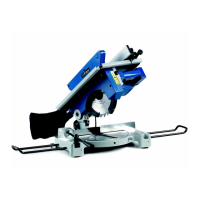
42
- When the motor is off, lower the machine head and block it by means of the locking pin
16
.
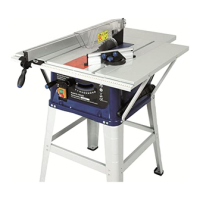
- Adjust the height of the upper work surface according to the cutting height desired and adjust
the bearing bracket as described in the paragraph “ADJUSTMENT OF UPPER SURFACE’S
HEIGTH” and “ADJUSTMENT OF THE BEARING BRACKET”.
- Check that the upper protective cap correctly works: after lifting it slightly, it must return to its
original position, covering the blade completely.
- Start the motor by pushing the button
2
, and lock the main switch in “ON” position by means
of the locking device
19
located in the lower area of the handgrip.
- Place the workpiece to be cut on the work surface, placing it laterally against the bracket and
then move the workpiece slowly and gradually towards the blade.
CAUTION: The workpiece must always be held firmly, paying attention not to hold it near
the cutting area.
- To turn off the machine, push the start button
2
of the main switch, which automatically
release the locking device
19
.
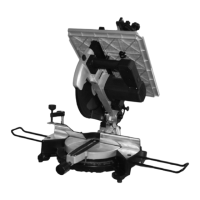
INSTALLATION AND/OR REPLACEMENT OF THE BLADE (Fig. 13 - 14)
WARNING!
It is obligatory to use blades as wide as the original blade in order that the outer flange is
perfectly blocked on the axle or the machine when re-assembling the blade.
This procedure must be carried out only after having turned off the machine’s motor by
releasing the main switch button 2.
Before carrying out any maintenance work, always disconnect the power cable from the
mains.
Never install blades which appear to be cracked.
16
13