40
adjustments in the safer possible conditions and with a sufficient swinging room. Fix the
machine to the bench by using the four holes located on the base.
Before use, the mitre saw must be firmly fixed to a plane surface.
3. At the base’s ends there are four holes to fix it to a plane or to a bearing surface.
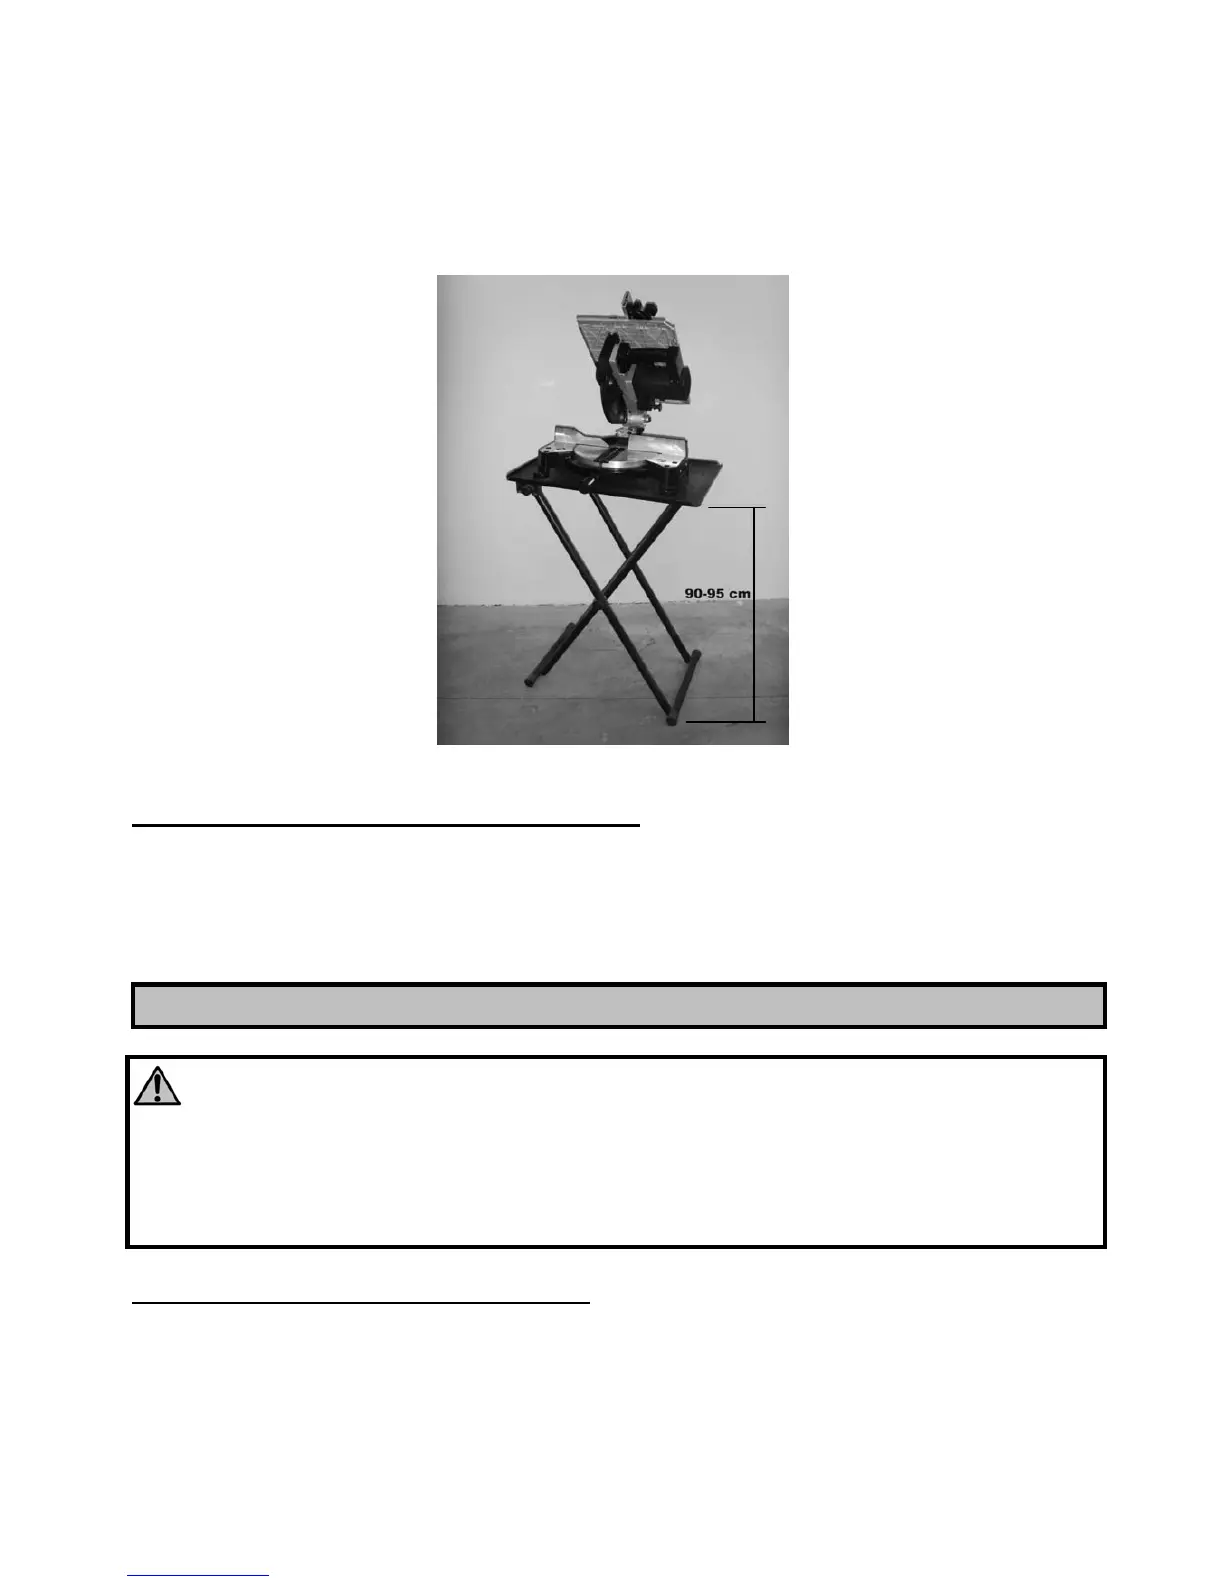
4. If the mitre saw must be often moved, install it on a plywood base (at least 20 mm wide)
that you can thus fix with a C clamp to any bearing surface.
TRANSPORTATION OF THE MITRE SAW
1. During the transportation of the mitre saw, ensure that the cutting arm is lowered.
2. The locking handle of the workbench 16 (Fig.5), the inclination locking knob 21 (Fig.4) and
the extension 20 (Fig.3) locking screw must all be correctly blocked.
USE
CAUTION!
Always keep hands away from the cutting area and do not try to approach it when the
machine is running.
Before any cutting operation, check that all safety guards are sound and correctly
positioned.
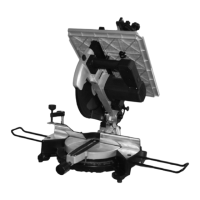
USE AS A CUTTING-OFF MACHINE (Fig.1)
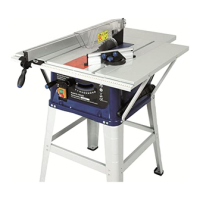
- Raise the upper table as far as possible.
- Release the head with the block pin
16
.
- Raise the machine head as far as possible.
- Secure the workpiece firmly against the angular bearings
18
of the base with your left hand,
thus ensuring absolute immobility during cutting.
- Put your right hand on the handgrip
1
and press the button
9
in order to release the head.
Fig.11