1 User’s Guide - provides operation instructions for the usage of the scanner.
2 USB Cable - provides connection between the scanner and a computer to upgrade the tool.
3 Memory Card - contains the scanner’s operating software and applications.
IMPORTANT
Do not remove the memory card unless performing updates to the card.
4 Diagnostic Cable - connects the scanner with diagnostic connector.
5 Nylon Carry Pouch - stores the scanner and its accessories.
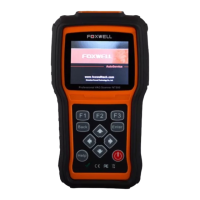
2.3 Technical Specifications
Display: Backlit, 240*320 TFT color display
Working Temperature: 0 to 60 ℃ (32 to 140℉)
Storage Temperature: -20 to 70℃ (-4 to 158℉)
Power Supply: 8-18V vehicle power, 12V AC/DC power, 3.3V USB power
Dimensions (L*W*H): 200*100*38mm
Weight: 1.0Kg
3 Getting Started
This section describes how to provide power to the scanner, provides brief introductions of
applications loaded on the scanner and display screen layout and illustrates how to input text and
numbers with the scan tool.
3.1 Providing Power to Scanner
Before using the scanner, make sure to provide power to the scanner.
The unit operates on any of the following sources:
● 12-volt vehicle power
● USB connection to personal computer
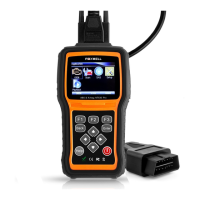
3.1.1 Connecting to Vehicle Power
The scanner normally powers on whenever it is connected to the data link connector (DLC).
To connect to vehicle power:
1. Locate the data link connector (DLC). The DLC is generally located under the dash on the
driver side of the vehicle.
2. Attached the Diagnostic cable to the scanner and tighten the captive screws to ensure good
connection.
3. Connect a correct adapter to the data cable according to the vehicle being serviced and plug it
into the vehicle DLC.
4. Switch the ignition key to the ON position.
5. The scanner automatically boots up.
IMPORTANT
Never try to provide power for the scan tool from USB connection when the scan tool is
communicating with a vehicle.
3.1.2 Connecting to Personal Computer with USB Cable
The scan tool also receives power through the USB port when it is connected to a PC for updating
software and transferring saved files.
To connect to PC:
1. Insert the small end of the USB cable to the USB port at the right side of the scanner and the
large end to a computer.
2. Press the power switch of the scan tool to power it on.