© Safe Fleet | September 2018 | All rights reserved
Document #: XE-SNB1-Install-PM-R0A
p. 16
inView 360 Fusion Installation Guide
Installing Video Components
Soft-Mounting Cameras
When installing the cameras, it’s important to always “soft-mount” them in order to test for functionality before you
begin drilling into the vehicle�
“Soft-mounting” means connecting power to the cameras, putting them in position, and securing them with tape or other
temporary adhesive, so that you can perform a full calibration� If calibration is successful, then you can drill into the vehicle
to secure the cameras� If not, you can easily reposition the cameras without damaging the exterior of the vehicle�
Installing the Cameras
The inView 360-Fusion cameras are labeled as Front, Left, Right, and Rear� You’ll need to ensure the cameras are
connected to the correct input on the video harness, otherwise calibration may fail�
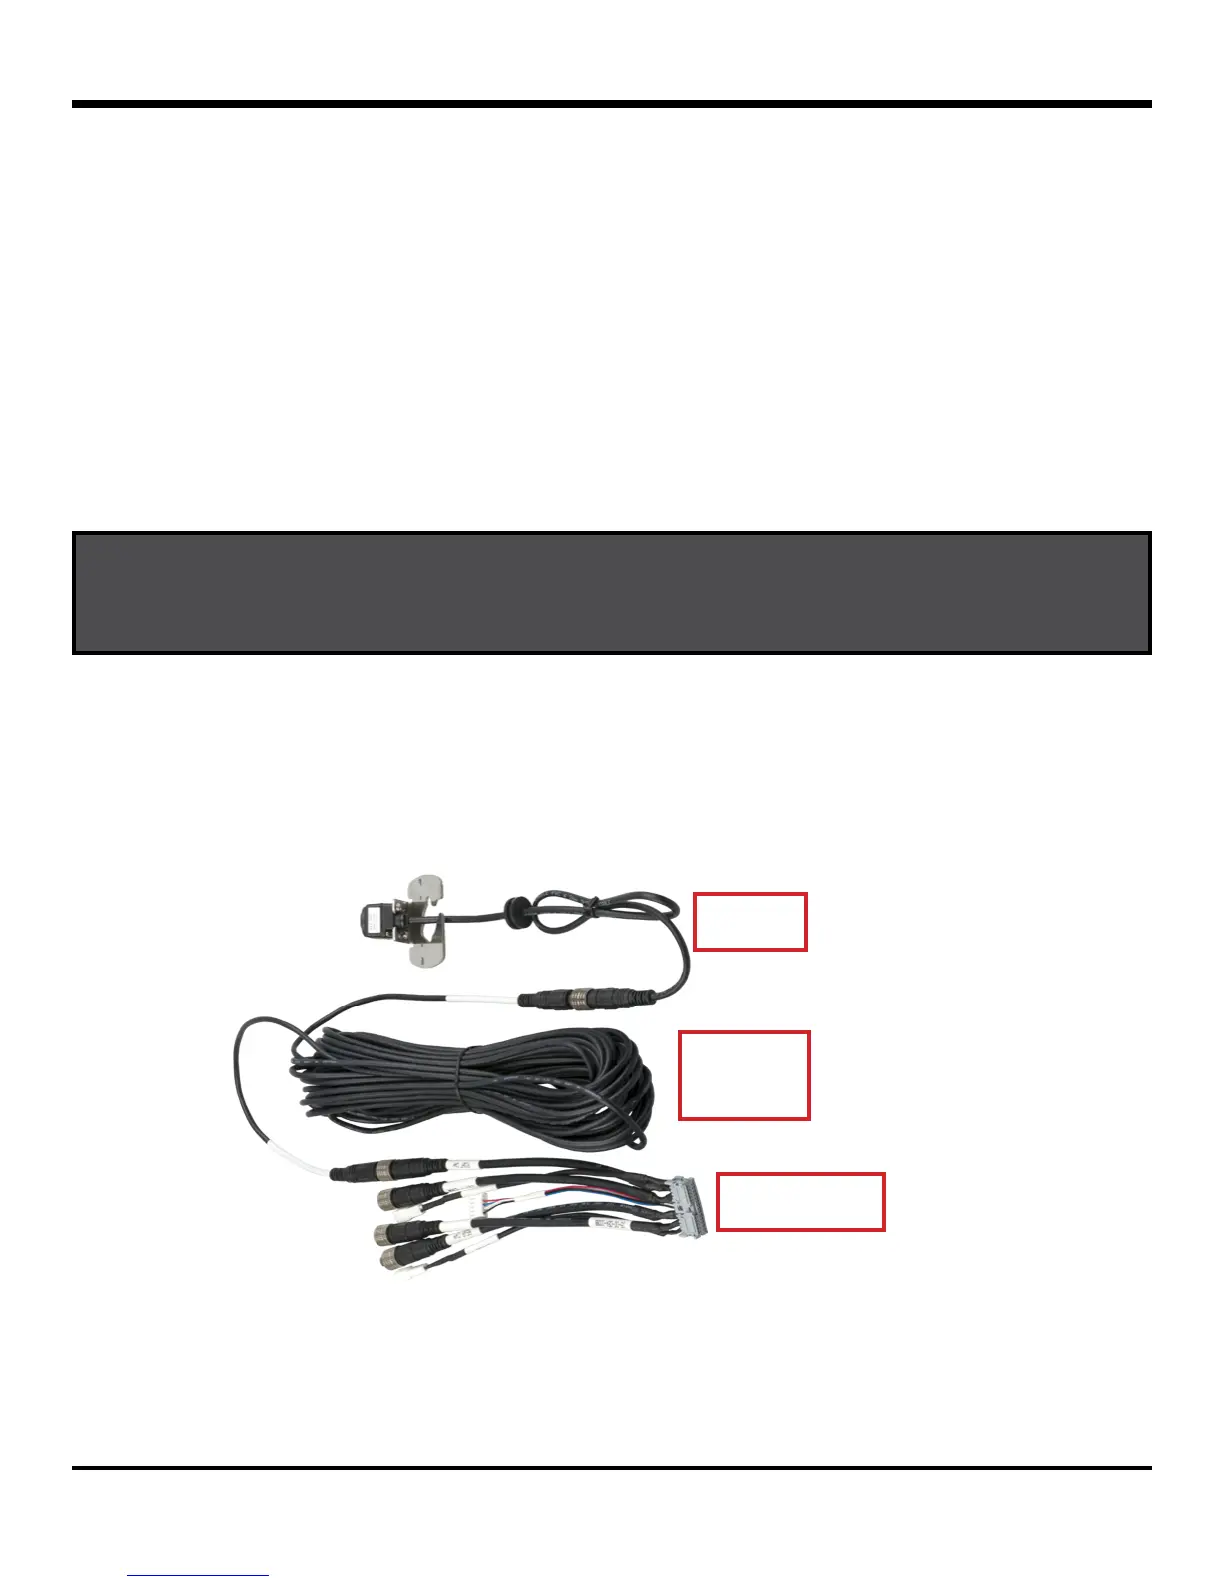
To install the cameras:
1� Connect each camera (with mount) to an extension cable�
2� Connect the extension cables to the matching inputs on the video harness� The extension cables are not
direction-labeled, and therefore can be used between any camera and harness�
3� Attach the cameras to the vehicle using tape or temporary adhesive�
Camera
Camera
Extension
Video Harness
IMPORTANT! DO NOT drill into the vehicle until you’ve done a soft-mount and calibration of the system.
 Loading...