S70-101SM
Page 24
Frick XJS and XJF Rotary Screw Compressor
Service Manual
1.5 COMPRESSOR SUCTION STRAINER. This procedure
provides the information necessary for qualified personnel to
remove, clean, and reinstall the compressor’s suction strainer.
1.5.1 COMPRESSOR SUCTION STRAINER – REMOVAL.
Compressor suction strainer removal shall be accomplished as
follows:
NOTE:
Index numbers refer to Figure 1-7, unless otherwise
noted.
1. Evacuate compressor and oil separator. (Refer to S70-101 IOM.)
2. Remove four capscrews securing suction elbow to compres-
sor; remove check valve and two gaskets.
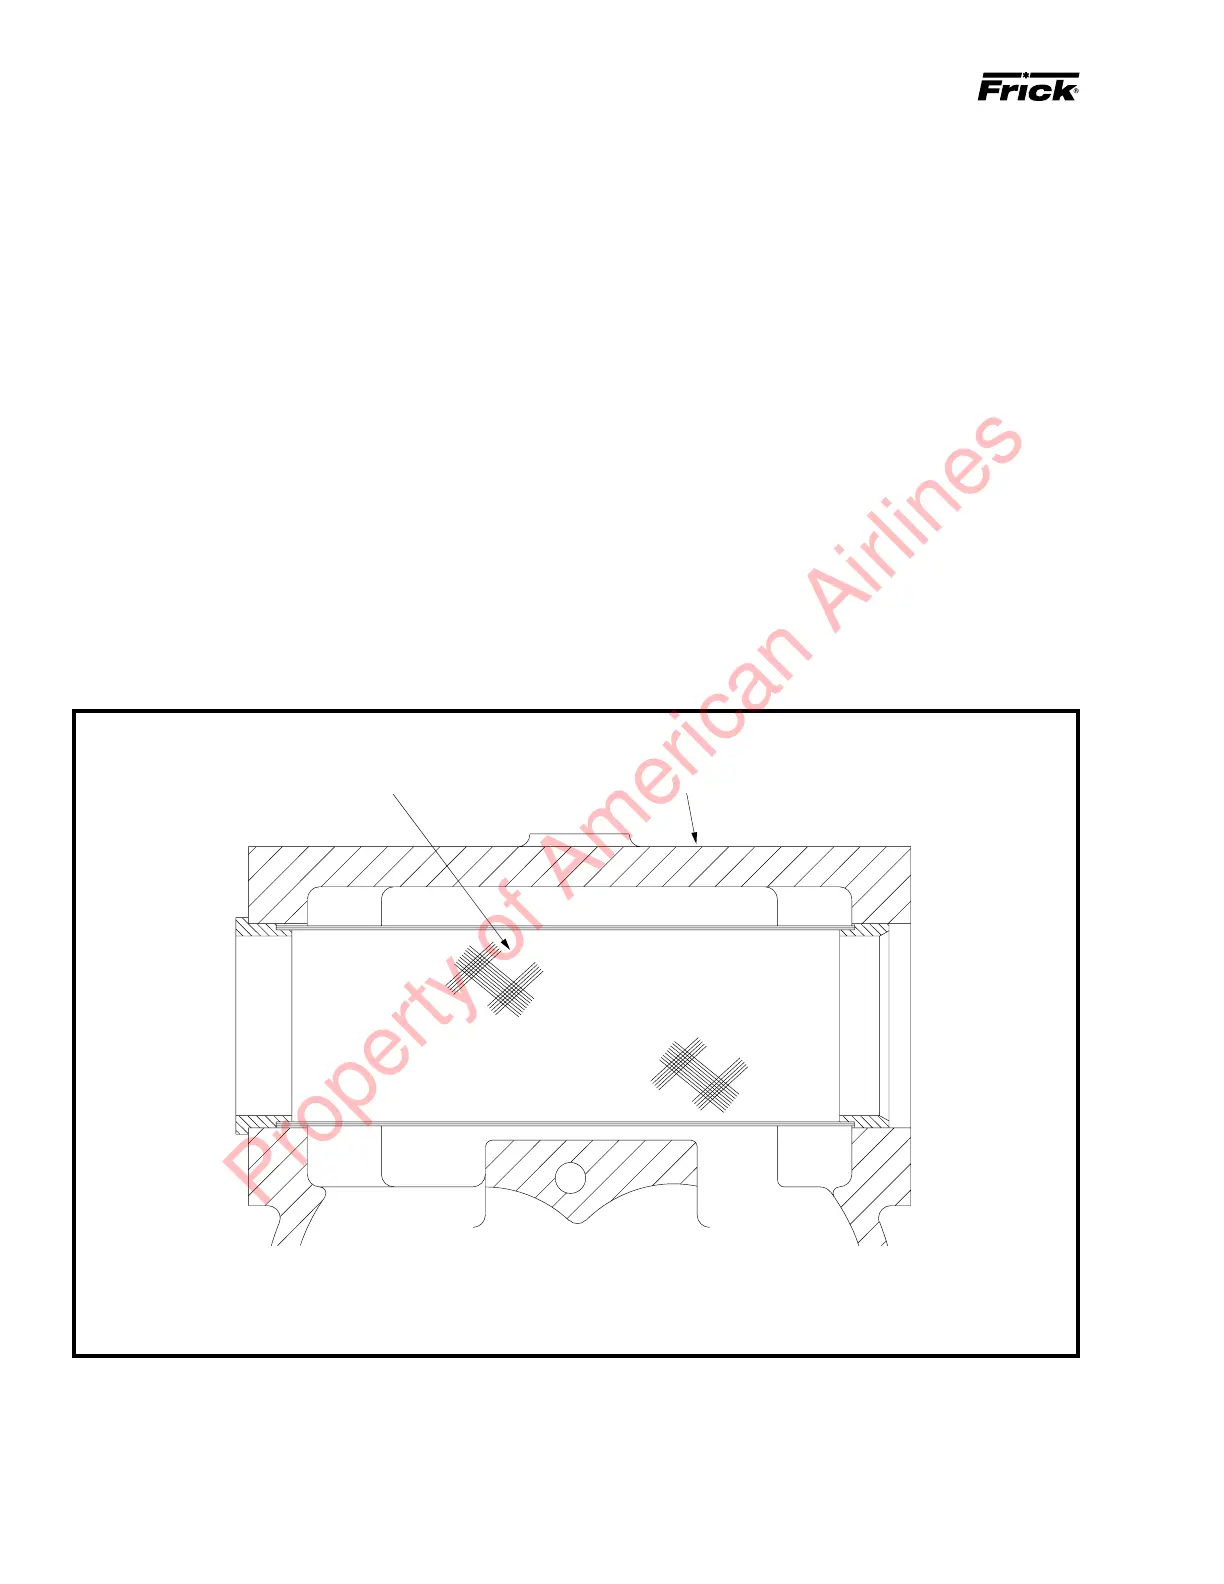
3. Remove suction strainer assembly (1) from rotor casing (2).
1.5.2 COMPRESSOR SUCTION STRAINER – CLEAN-
ING AND INSTALLATION. Compressor suction strainer
cleaning and installation shall be accomplished as follows:
SUCTION STRAINER ASSEMBLY ROTOR CASING
Figure 1-7. Compressor Suction Strainer.
NOTE: Index numbers refer to Figure 1-7, unless other-
wise noted.
1. Thoroughly clean suction strainer assembly with OSHA
approved, nonflammable degreaser and soft bristle brush.
2. Install suction strainer assembly (1) into rotor casing (2).
3. Install check valve and two gaskets. Ensure that pin in
check valve is in vertical position.
4. Secure suction elbow and check valve to compressor with
four capscrews; tighten capscrews to a torque value of 368
foot-pounds (499 Nm).
5. Evacuate compressor and oil separator. (Refer to S70-101
IOM.)
Property of American Airlines