26
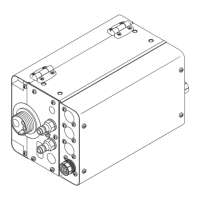
Fitting the welding torch
Fit the welding
torch
Switch the power source mains switch
to the "Off" position
Plug welding torch control plug into Lo-
calNet port (4) or torch control connec-
tion (3) and lock
If present: connect colour-coded exter-
nal water connections for water flow (5)
and return (6)
Plug welding potential bayonet plug
into current socket (1) and turn to fas-
ten it
Insert the wire feeder, infeed tube first,
into the wirefeeder connection (2)
Tighten the union nut by hand to fix in
place

 Loading...
