132
Replacing the Datamanager Card
Preparation
Set the DC disconnector to OFF
Disconnect the AC supply
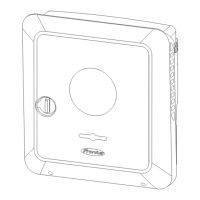
Remove the DATCOM cover
If applicable disconnect the data communication lines
Loosen unit from the wall bracket and remove.
Remove the power module cover
Replacing the
Datamanager
Card
Removing the Datamanager Card:
Only for those Datamanager cards with
a WLAN:
Remove antenna (1) using a 7 mm flat
spanner
Remove the female connector (2)
12-pin ... Datamanager card
16-pin ... Datamanager card 2.0
Remove 1 x TX20 screw (3)
4 x 8 mm ... Datamanager card
4x9 mm ... Datamanager card 2.0
Disconnect and remove the Datama-
nager card from the RECERBO PC
board
Installing the Datamanager Card:
Insert the new Datamanager card into the RECERBO PC board
Fix the Datamanager card with
1 x 4x8 mm TX20 screw (3) Datamanager card
4x9 mm ... Datamanager card 2.0
Tightening torque = 1.2 Nm
Attach the female connector (2)
12-pin ... Datamanager card
16-pin ... Datamanager card 2.0
Only for those Datamanager cards with a WLAN:
Assemble antenna (1) using a 7 mm flat spanner
Tightening torque = 0.6 Nm
Final Tasks Attach the power module cover
Insert the device into the wall bracket and tighten screws
If applicable connect the data communication lines
Attach the DATCOM cover
Reconnect the AC power supply
WARNING! An electric shock can be fatal!
Observe the five safety rules!
1
2
3
4
5
6
(1) (2) (3)
1
2
3
4
1
2
3
4
1
2
3
4
5

 Loading...


