Assembling the
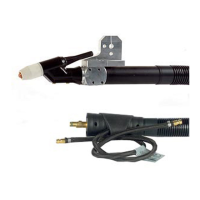
Robacta PTW
3500
Fit holder, insert clamping sleeve
1
Insert tungsten electrode
2
IMPORTANT! Insert the tungsten electrode so that the tip protrudes approx. 10
mm out of the torch body. Slightly tighten the torch cap so that the tungsten
electrode can still move inside the torch body.
Assemble centring tube, plasma nozzle and
shielding gas nozzle
3
Water-cooled protective gas nozzles
must be connected to the water con-
nections.
Ceramic protective gas nozzles do not
need any water cooling. If ceramic pro-
tective gas nozzles are being used, the
two water connections must be joined
together using the water stopper.
IMPORTANT! Check that the tungsten
electrode is adjusted correctly (see
„Adjusting the tungsten electrode“)
30

 Loading...
