33
DE
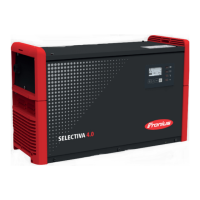
Komponenten auf Gehäusevorderseite tauschen
Tausch P-Display P-Display ausbauen:
Gehäusevorderseite abnehmen (siehe
Kapitel „Gerät öffnen“)
3 Stk. Linsenschraube 4x9 TX20 (1) lö-
sen
Das P-Display vom Display-Distanz-
rahmen nehmen
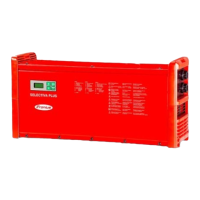
P-Display einbauen:
Schutzfolie von dem neuen P-Display
abziehen
Das neue P-Display auf den Display-
Distanzrahmen geben
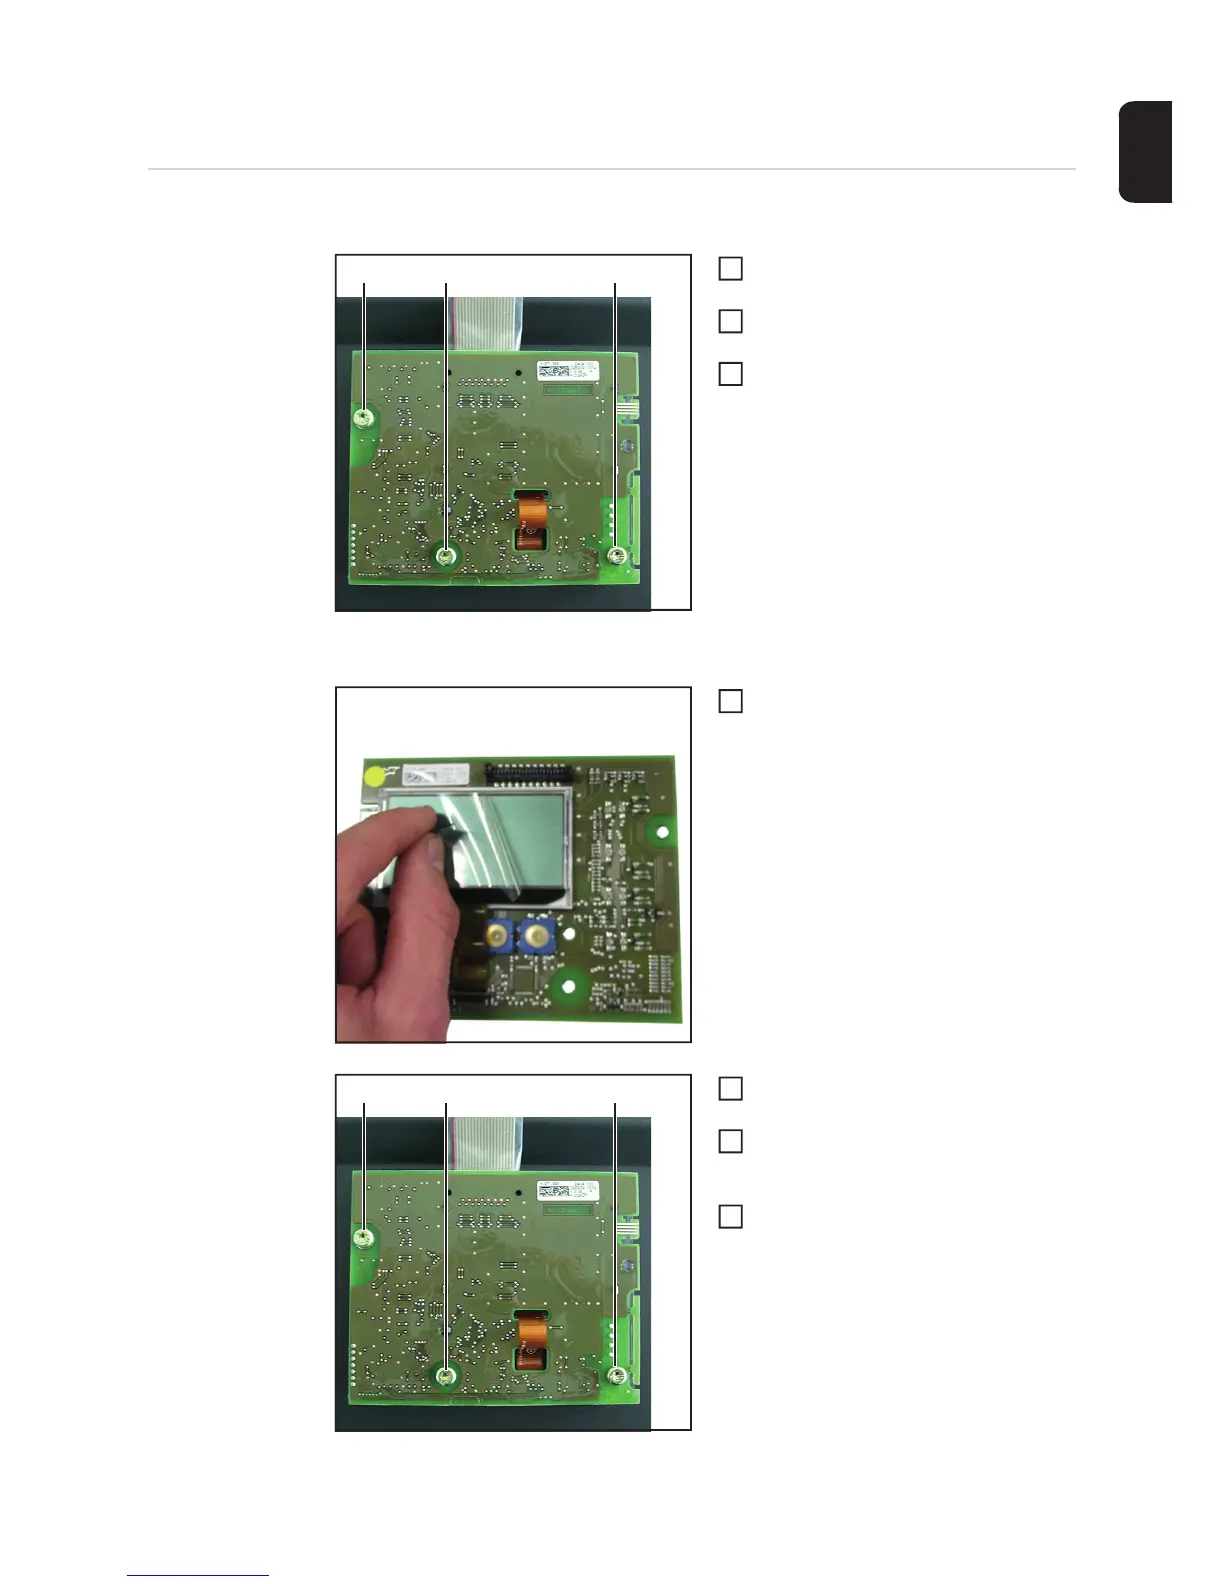
P-Display mit 3 Stk. Linsenschraube
4x9 (1) montieren
[1 Nm]
Gehäusevorderseite montieren (siehe
Kapitel „Gerät schließen“)
(1) (1) (1)
1
2
3
1
(1) (1) (1)
2
3
4
 Loading...