Installation
Installation
Checklist
See the sections referenced below for installation details.
1
Turn off power before making line voltage connections.
2
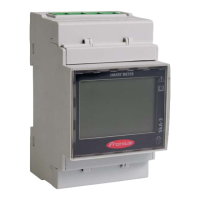
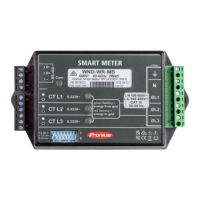
Mount the Fronius Smart Meter (see Mounting on page 9).
3
Connect circuit breakers or fuses and disconnects (see Circuit Protection on
page 10).
4
Connect the line voltage wires to the meter‘s terminal block (see Line Wiring
on page 10).
5
Mount the Current Transformers (CTs) around the line conductors. Make sure
the CTs face the correct direction. An arrow might indicate either the load or
the source (public grid) (see Connect Current Transformers on page 13).
6
Connect the twisted white and black wires from the CTs to the terminal block
on the meter, matching the wire colors to the white and black dots on the
meter label (see CT Wiring on page 13).
7
Check that the CT phases match the line voltage phases (see Connect Cur-
rent Transformers on page 13).
8
Record the CT rated current for each meter, because it will be required dur-
ing setup.
9
Connect the output terminals of the Fronius Smart Meter to the monitoring
equipment (see Connecting data communication cables to inverters on page
14).
10
If necessary set terminating resistors (see Terminating Resistors on page
16).
11
Check that all the wires and plugs are securely installed in the terminal
blocks by tugging on each wire.
12
Turn on the power to the Smart Meter.
13
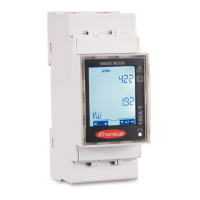
Verify that the LEDs indicate correct operation. If there is a consumption of
power and all generated power sources are turned off, then the LEDs from
the used phases should flash green (see Power Status LEDs on page 30).
14
Check your Fronius System monitoring software. In order to ensure compat-
ibility between the inverter and the Smart Meter, software must always be
kept up-to-date. The update can be started via the inverter website or via
Solar.web.
15
Set CT-Ratio and Grid Type on the web interface of the Fronius Datamanager
in Settings - Meter - Settings (see Commissioning on page 23).
Mounting The Fronius Smart meter has two mounting holes spaced 5.4 in. (137 mm) apart
(center-to-center). These mounting holes are normally obscured by the detach-
able screw terminals. Remove the screw terminals to mark the hole positions and
mount the meter.
Self-tapping sheet metal screws are included. Do not over-tighten the screws, as
long-term stress on the case can cause cracking.
9
EN-US