Extra Tips For App Setup
If you have any questions during the app setup, refer to this section for additional
guidance.
• To watch the app setup being completed, scan the QR code below or visit
https://redirect.frontpointsecurity.com/wirelessdbsetupvideo
• After connecting to the network that resembles ADC-VDB780B (XX:XX:XX),
you may be directed to a “Wi-Fi Status” page- dependent on your mobile
phone. (The absence of this page does not indicate a problem.) Depending on
your phone type, refer to the appropriate section below:
A. iOS device: Tap “Cancel” and select “use without internet” to remain connected
to the doorbell’s network. Return to the Frontpoint app to finish the setup.
APP SETUP (Continued)
4. Follow the on-screen instructions to add the Wireless Doorbell Camera to your
account.
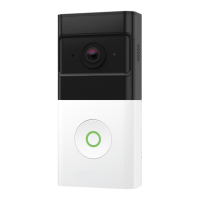
A. The first step will ask you to hold down the Doorbell button for 45+ seconds until
it finishes flashing blue and begins flashing white*- don’t forget this step!
*If the button LED won’t begin flashing blue, charge the battery as per page 19.
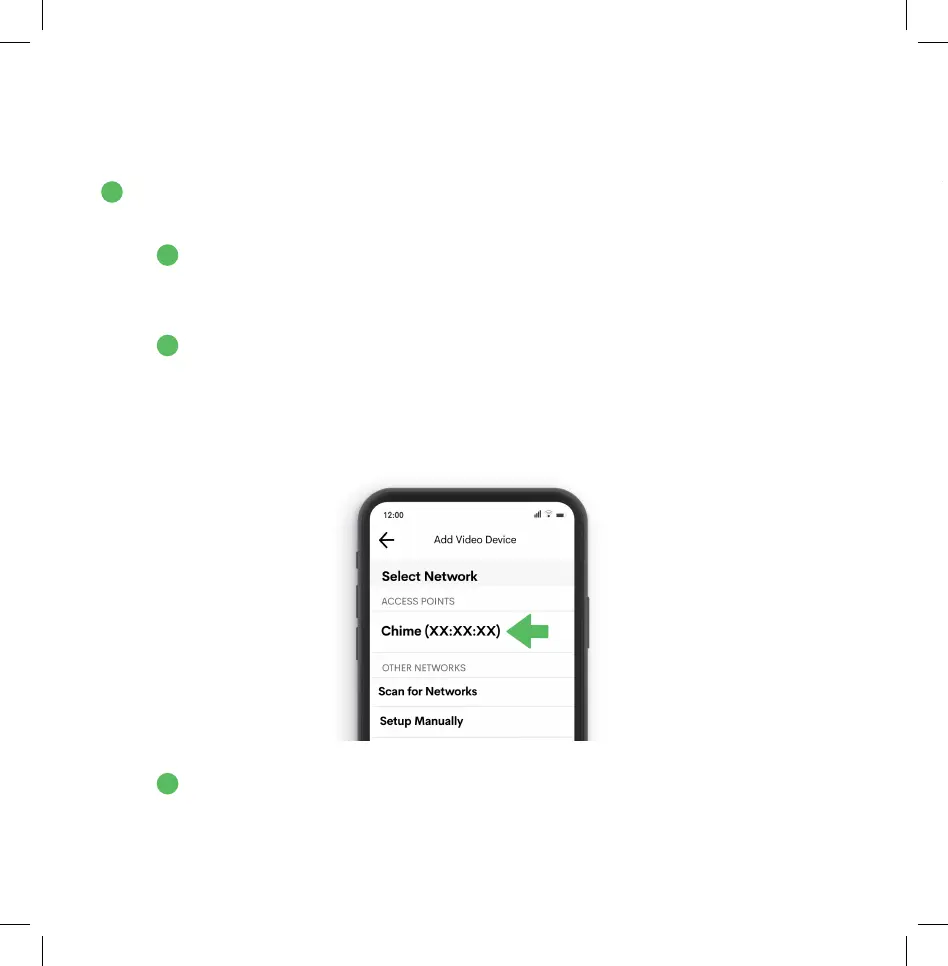
B. When selecting the final network for your Wireless Doorbell Camera after
connecting to ADC-VDB780B (XX:XX:XX), choose “Chime (XX:XX:XX)” listed
at the top of the page under “Access Points”.
(The X’s are indicative of the device’s unique MAC address and will vary.)
*Do not copy Wi-fi from another camera device and do not select your home Wi-Fi network- either
of these will result in a failure.
C. When the doorbell button LED turns solid green, the Wireless Doorbell Camera
has successfully connected to the Smart Chime!
6
5
A
B
C