5 Scan
236
Scan
5
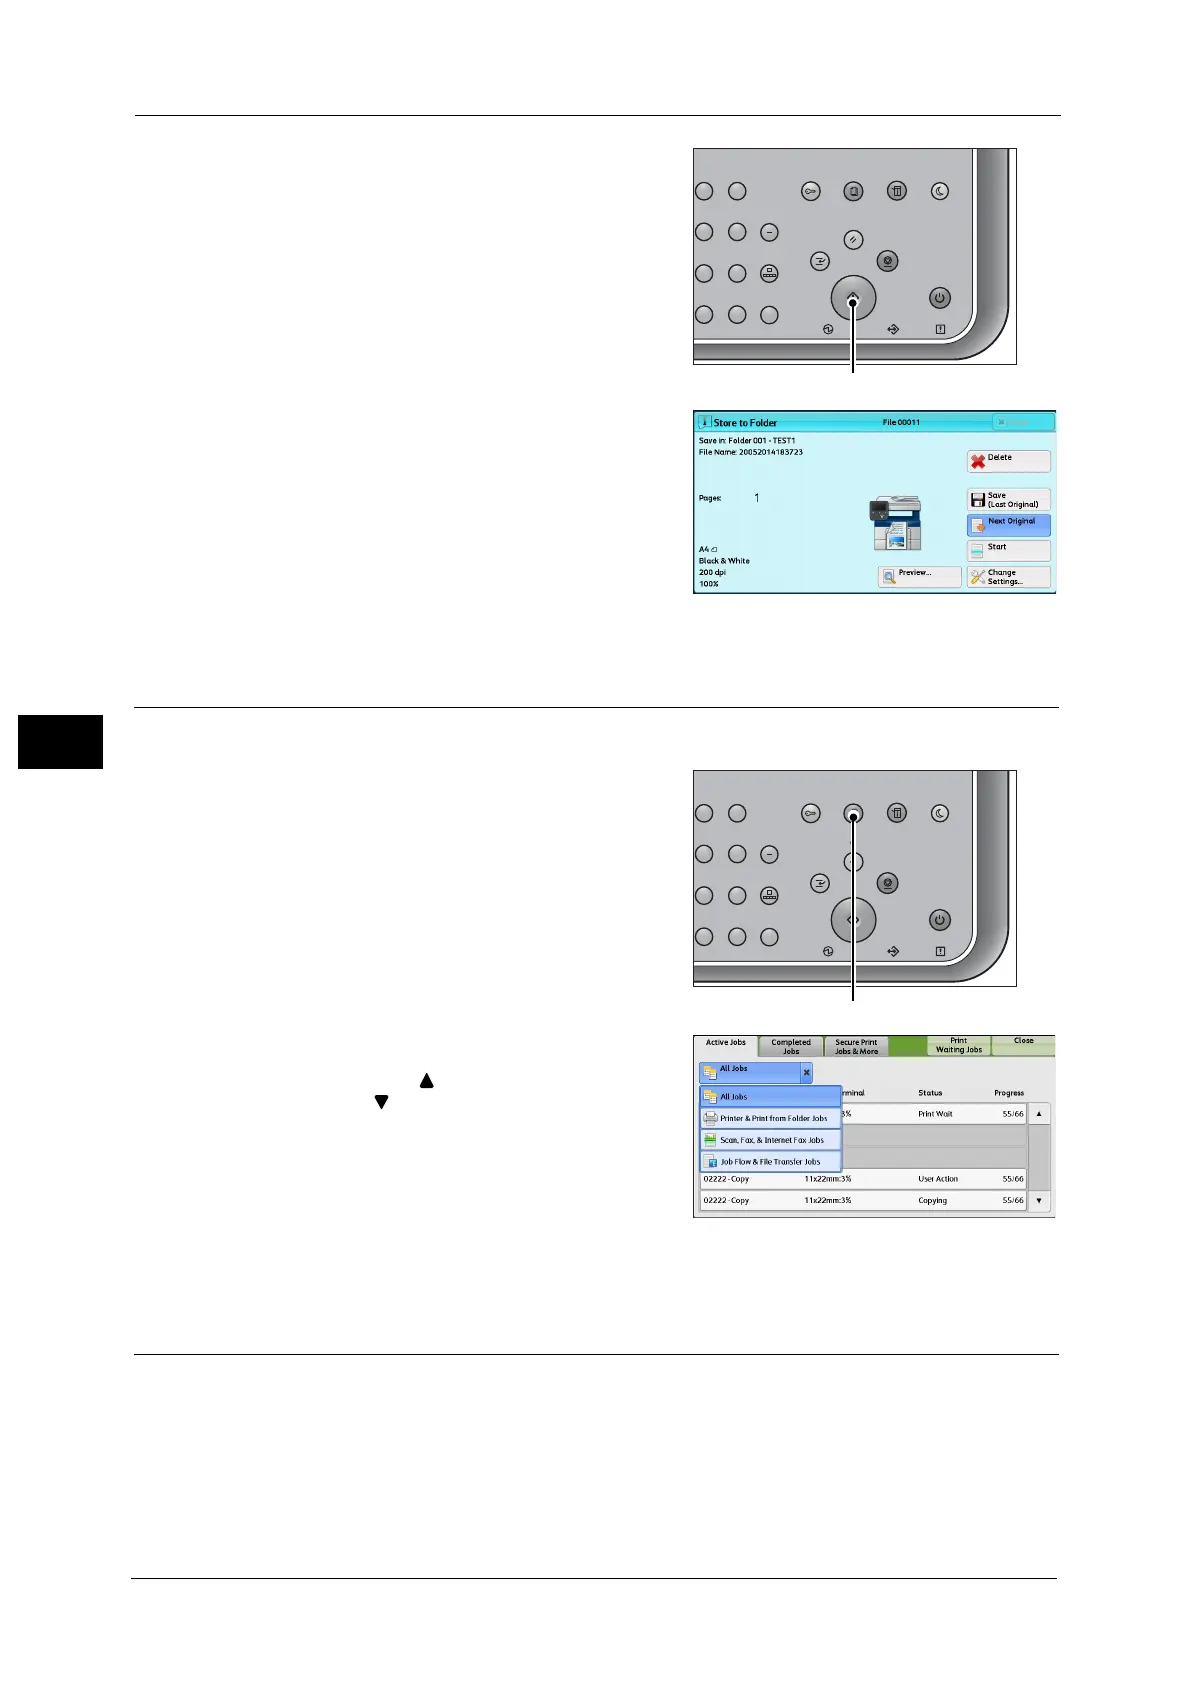
4 Press the <Start> button.
If you have more documents, repeat steps 3
and 4.
5 When all documents have been scanned, select
[Save (Last Original)].
Step 4 Confirming the Scan Job in Job Status
The following describes how to confirm the status of a scan job.
1 Press the <Job Status> button.
2 Confirm the job status.
Note •Select [ ] to return to the previous screen or
[ ] to move to the next screen.
• Scroll the list by drag or flick operation to
switch the screen to be displayed. For
information on how to drag or flick, refer to
"Touch Screen" (P.77).
• From the drop-down menu, you can select
[Scan, Fax, & Internet Fax Jobs] and display
the desired job.
Step 5 Saving the Scanned Data
When you used the Store to Folder service, you can use the following methods to import the
file stored in a folder of the machine to your computer:
Import using an application
Use Network Scanner Driver.
Refer to "Importing to a TWAIN Compatible Application" (P.405).
23
56
89
0
#
C
Power
Saver
Power Data Error
Clear All
Interrupt Stop
Start
Log In / Out
Job
Status
ABC
Dial
Pause
Speed
Dial
TUV WXYZ
JKL MNO
DEF
Machine
Status
23
56
89
0
#
C
Power
Saver
Power Data Error
Clear All
Interrupt Stop
Start
Log In / Out
Job
Status
ABC
Dial
Pause
Speed
Dial
TUV WXYZ
JKL MNO
DEF
Machine
Status

 Loading...


