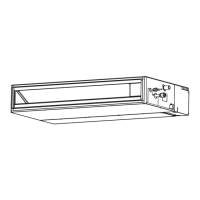
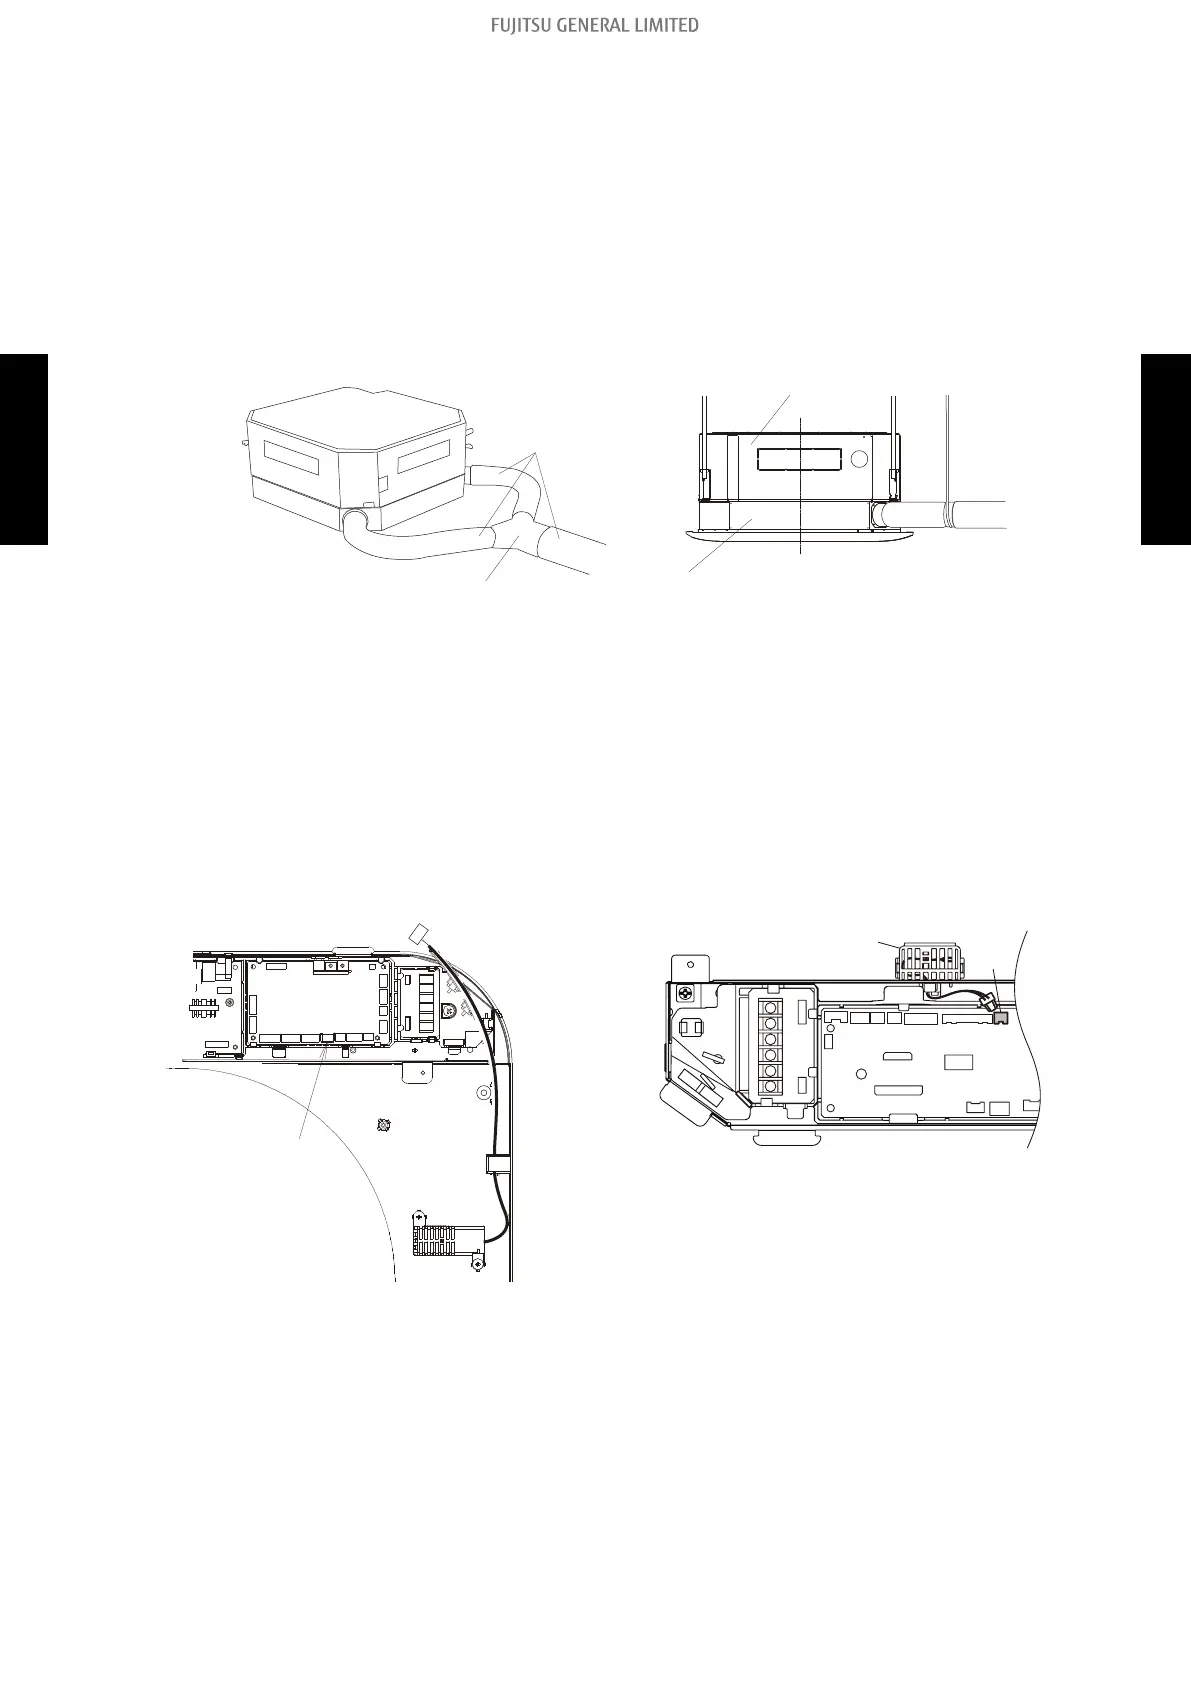
4. Install the duct.
a. Fasten the connecting parts of the ducts with bands, and wrap with vinyl tape to ensure
no air leaks. (Carry out the work to ensure no air leakage at a pressure of 200 Pa.)
NOTE: Do not construct the duct in the manner of below.
• Extreme bends
• Highly repetitive bends
• Making the connecting duct diameters smaller
b. When using T-shaped pipe, suspend the kit with suspension bands for duct-use to avoid
unnecessary load bearing.
Completion figure
Duct
(locally purchased)
T-shaped pipe (locally purchased) Fresh air intake kit
Indoor unit
Bands for duct-use
(locally purchased)
NOTE:
When wiring of the duct fan is required, refer to "Fresh air control output" on
page 305.
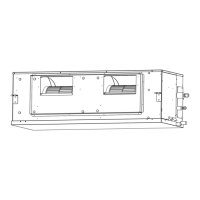
Installation of Cassette grille
Pre-installation preparations:
1. Remove the control box cover.
2. Remove the connector from the existing temperature sensor on the circuit board of the indoor
unit.
4-way flow cassette type Circular flow cassette type
CN8:
White
Temperature sensor holder
- 310 -
10-3. Fresh air intake kit for cassette type (UTZ-VXRA) 10. Optional parts installation
SYSTEM
DESIGN
SYSTEM
DESIGN
 Loading...