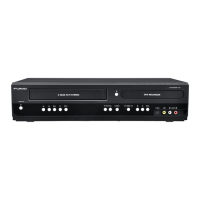
30
EN
Settings for External Equipment
When you record from external equipment or copy a
videotape to a DVD disc, you can set the format Auto, PAL or
SECAM.
1 In stop mode, press [SETUP]. Select “General
Setting” using [K \ L], then press [ENTER].
2 Select “Recording” using [K \ L], then press
[ENTER].
3 Select “Video Colour System” using [K \ L],
then press [ENTER].
4 Select “Auto”, “PAL” or “SECAM” using [K \ L],
then press [ENTER].
5 Press [SETUP] to exit.
• During recording, when a signal other than PAL or SECAM
is detected, an error message appears on the screen and
recording will be paused. Recording will be resumed when a
PAL or SECAM signal is detected.
Before recording from external equipment, see page 19 for
connection instructions.
1 Turn on the TV and be sure to select the input to
which the unit is connected.
Press [DVD].
Press [OPEN\CLOSE EJECT A] to open the
disc tray, then place the disc to record on.
Press [OPEN\CLOSE EJECT A] again to close
the disc tray.
Press [VCR].
Insert a videotape with a record tab into the
cassette compartment.
3 Select the input terminal to which the external
equipment is connected (AV1 or AV2).
Press [AUX G \ H] repeatedly to select AV1 or AV2.
4 Select a recording speed using [REC SPEED].
Refer to “Recording Speed” on page 21 for DVD or page
62 for VCR.
5 Press [RECORD I] (DVD / VCR) on the unit to
start recording.
6 Press the [PLAY B] button on the external
equipment.
Press [STOP C] on the unit to stop
recording.
Press
[STOP\EJECT CA] on the unit to stop
recording.
• During recording, recording will be paused when a signal
other than PAL or SECAM is detected. (See “Video Colour
System” on page 30 for details.)
• The signal from the external device will be output automatically
when the TV is connected to AV1 and the external device is
connected to AV2 using a Scart cable with its power on.
(However, it will not be output when this unit’s power is turned off.)
If you want to monitor this unit’s signal, press [DISPLAY]
or turn the external device off. (The signal from this unit can
only be monitored during playback.)
If you want to monitor the signal from other input, press
[DISPLAY], then select the desired input channel using
[AUX G \ H].
Information on DV Dubbing
This function helps you to dub the contents in the DVC (digital
video camcorder) to DVD or VCR easily. (See page 63 for
DVC to VCR Dubbing.)
You can control basic operations of the DVC from the remote
control of this unit if the DVC is in video mode.
1 Connect your DVC to the DV-IN jack on the front
panel using a DV cable. (Use the DV cable that
has 4-pin input jack and is compliance with the
IEEE 1394 standards.)
2 Press [AUX G \ H] repeatedly to select
DV(AV3).
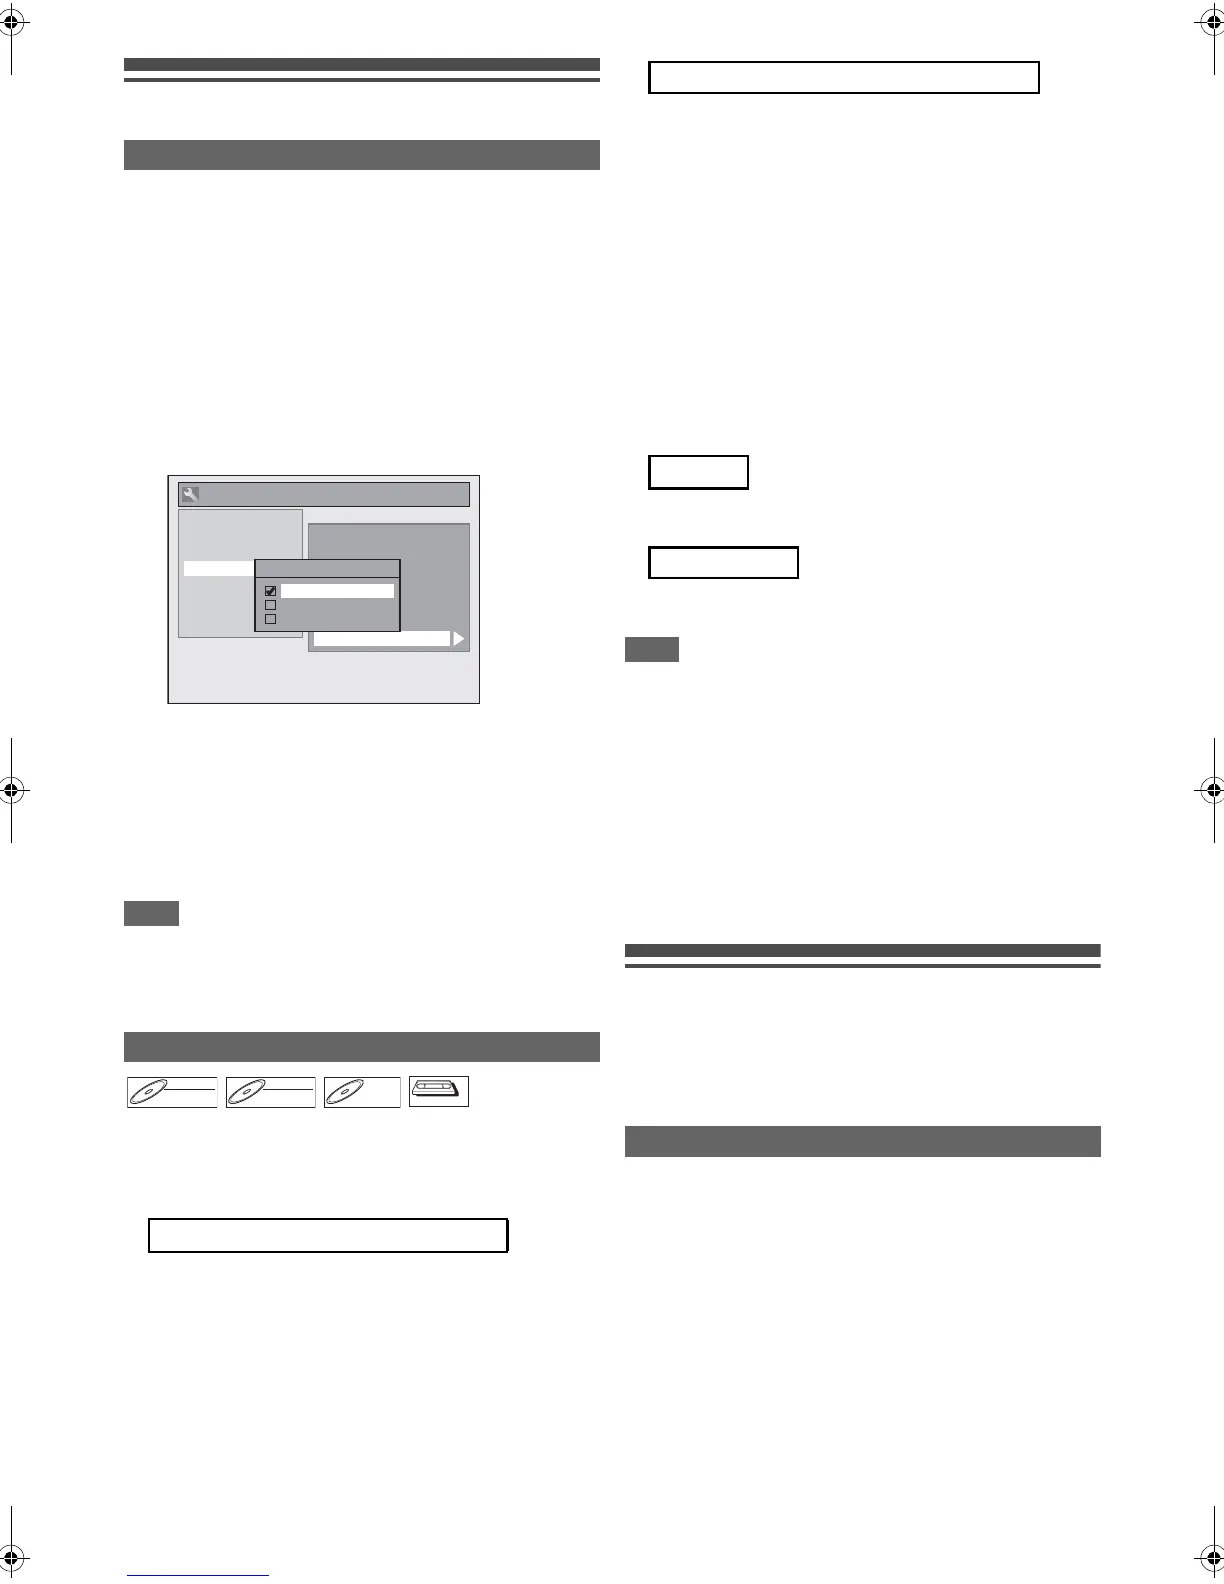
Video Colour System
Auto: The video colour system will be set
automatically according to the recording
material.
PAL: The video colour system will be set to PAL.
SECAM: The video colour system will be set to
SECAM.
Recording from External Equipment
2 When you want to record to the disc:
Auto Finalise
Aspect Ratio (Video mode)
Bilingual Recording Audio
Dubbing Mode
External Input Audio
Video Colour System
Auto Chapter
Recording Audio Select (1H)
General Setting
Video Colour System
Auto
PAL
SECAM
Playback
Display
Video
Clock
Recording
HDMI
Reset All
DivX
VCR
When you want to record to a videotape:
7 For disc:
For videotape:
Guide to DV and On-Screen Display
E9RF0FH_EN.book Page 30 Friday, May 16, 2014 7:17 PM