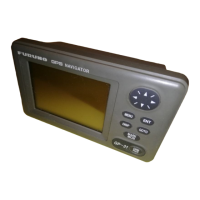
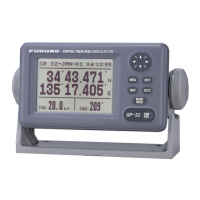
4. NAVIGATION PLANNING
4-3
Entering waypoints by MOB
position/event position
The MOB position or an event position can
be registered as a waypoint. Event marks
are numbered from 01 to 99; 01 is the latest
event mark.
Note: You cannot register a MOB position or
event position when there are no MOB
positions or event positions saved.
The buzzer sounds and the message
shown in Figure 4-7 appears for three
seconds to alert you.
No MOB/event data in memory
Figure 4-7
1) Press the WPT/RTE key.
2) Press 2 to select MOB/Event Position.
The display shown in Figure 4-8 appears.
[MOB] Displaying MOB data
34° 12.345’ N 130° 23.456’ E
ENT: Enter
MENU: Escape
[#01] Displaying event data
34° 12.345’
N 130° 23.456
’ E
: Paging
AUG 12’ 95 19 : 25U
Figure 4-8
3) Press
or to display the MOB
position or event position to register as a
waypoint.
4) Press the NU/CU ENT key.
5) Follow steps 5 through 11 in "Entering
waypoints by the cursor" on page 4-1.
Entering waypoints at own ship's
position
Note: When there is no position data, you
cannot register a waypoint at own
ship's position. The buzzer sounds
and the following message appears.
No position data
Figure 4-9
1) Press the WPT/RTE key.
2) Press 3 to select Own Ship Position.
3) Follow steps 5 through 11 in "Entering
waypoints by the cursor" on page 4-1.
Entering waypoints through the
waypoint list
1) Press the WPT/RTE key.
2) Press 4 to display the waypoint list.
3) Press
to select position format;
latitude and longitude or LOP.
34° 12.345’ N 130° 23.456’ W
MARINE POINT
001
Waypoint List (L/L)
ENT: Enter
MENU: Escape
: Edit
: L/L LOP
36° 12.345’ N 135° 23.456’ W
A POINT
002
AUG 12’ 95 12 : 35U
° . ’ N ° . ’ W
003
AUG 13’ 95 13 : 45U
004
° . ’ N ° . ’ W
Figure 4-10
4) Press
or to select unused
waypoint number.
5) Press
or to enter position. The
display should now look something like
Figure 4-11.

 Loading...