64
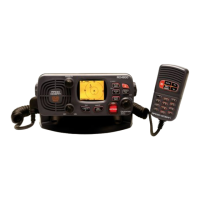
13. FM-3010 CONTROLLABLE MIC
13.18 Installation
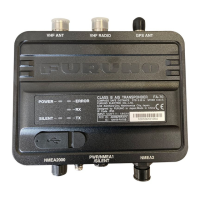
The optional FM-3010 can be connected to the transceiver
directly, as well as via the supplied connection cable for
longer distance remote operation. The connector of the con-
nection cable can be installed into a cabinet, wall, etc., as a
built-in plug.
For longer distance remote operation, the optional extension
cable, FM-3020 (6 m; 20 ft/connecting between transceiver
and the connection cable), is available, and up to 2 FM-3020
can be added.
q Insert the supplied cable into the external microphone jack
and tighten the cable nut as shown below.
w To use the supplied cable as a wall socket, follow the
below steps.
e Using the mounting base, carefully mark off the 2 spots
where the cable and screws will be fastened.
r Drill holes at these marks.
t Install the mounting base using the supplied screws as
shown below.
y The completed installation should look like this.
 Loading...