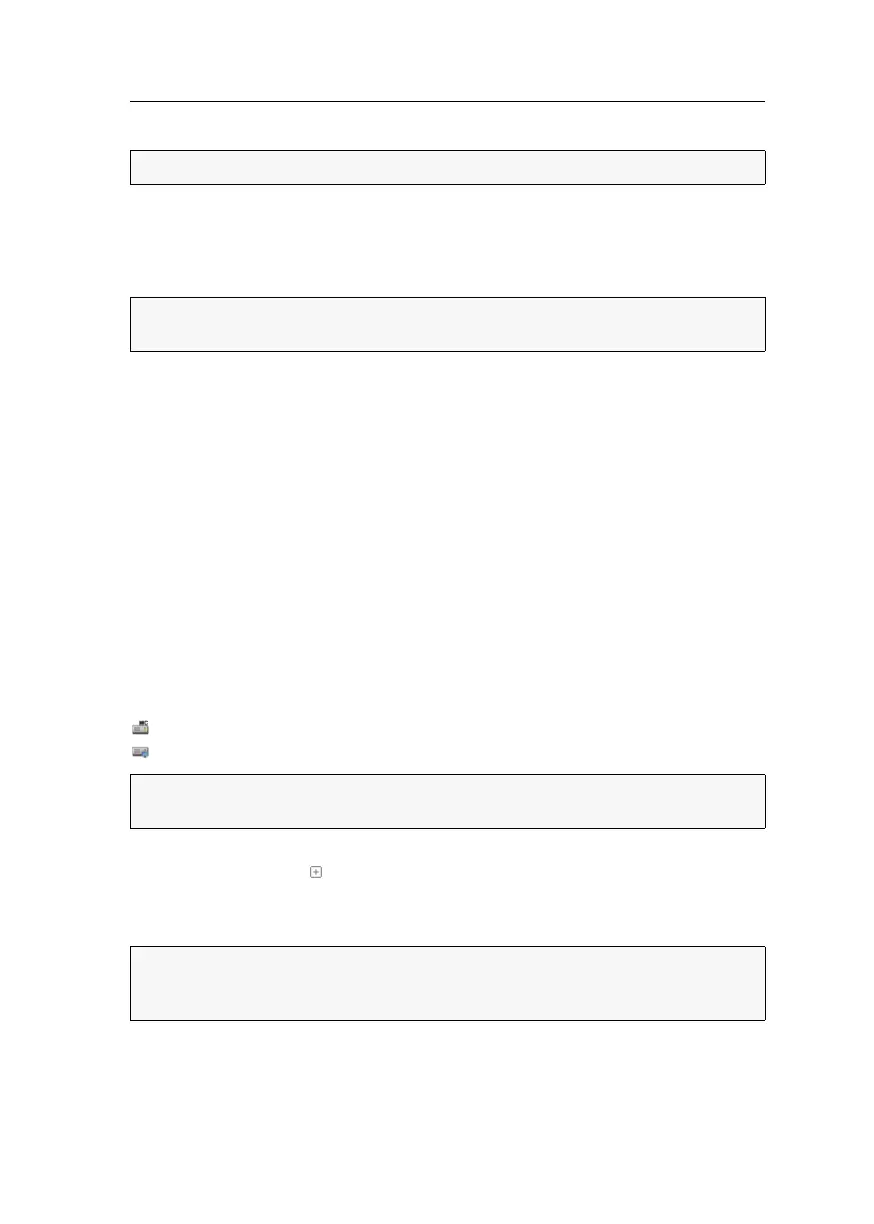
Computer module »DVI-CPU-MC2«
Computer and console modules · 15
Connection to the matrix switch
Trans.|Channel 1: Connect this interface to a Dynamic Port (RJ45) of the matrix
switch.
Trans.|Channel 2: Connect this interface to another Dynamic Port (RJ45) of the matrix
switch.
Power supply
Power In: Insert the power pack’s connection cable to this interface.
Start-up
Connect the power cable to the power pack and a power socket.
The computer module starts as soon as it is supplied with power. During start-up,
the channels are automatically grouped (see below).
Automatic grouping of channels
When operating the computer module for the first time, the matrix switch recognises
the main channel and the computer module’s additional channel. The channels are
automatically added to a channel group.
The web application uses the following icons to mark the different types of channels:
Main channel: computer module icon with »MC« lettering
Video channel: computer module icon with blue spot
In the web application, the list of computer modules provides separate entries for
grouped channels. The icon next to the module name shows that the module is
part of a channel group.
Click the icon to get information about the channel group.
NOTE:
Only use category 5e (or better) twisted pair cables to connect the devices.
ADVICE:
You can also connect the computer module directly to a compatible console
module.
NOTE:
In addition to the data of the KVM main channel, a channel group transmits
up to seven additional video channels and/or one USB 2.0 or RS
232 channel.
NOTE:
You can adjust any channel groups that were created automatically or
manually. More information about channel groups is given in the separate manuals
of the matrix switch web applications.