8
When you hear pump shut off, release switch and
the ram will move up.
Move die cone and backup ring unit all the way
forward. Remove assembly by lifting the die cone.
Measure crimp diameter. (See Page 9).
Check the crimp data chart for correct
crimp diameter.
USING THE OPTIONAL
NOTCHED CONE
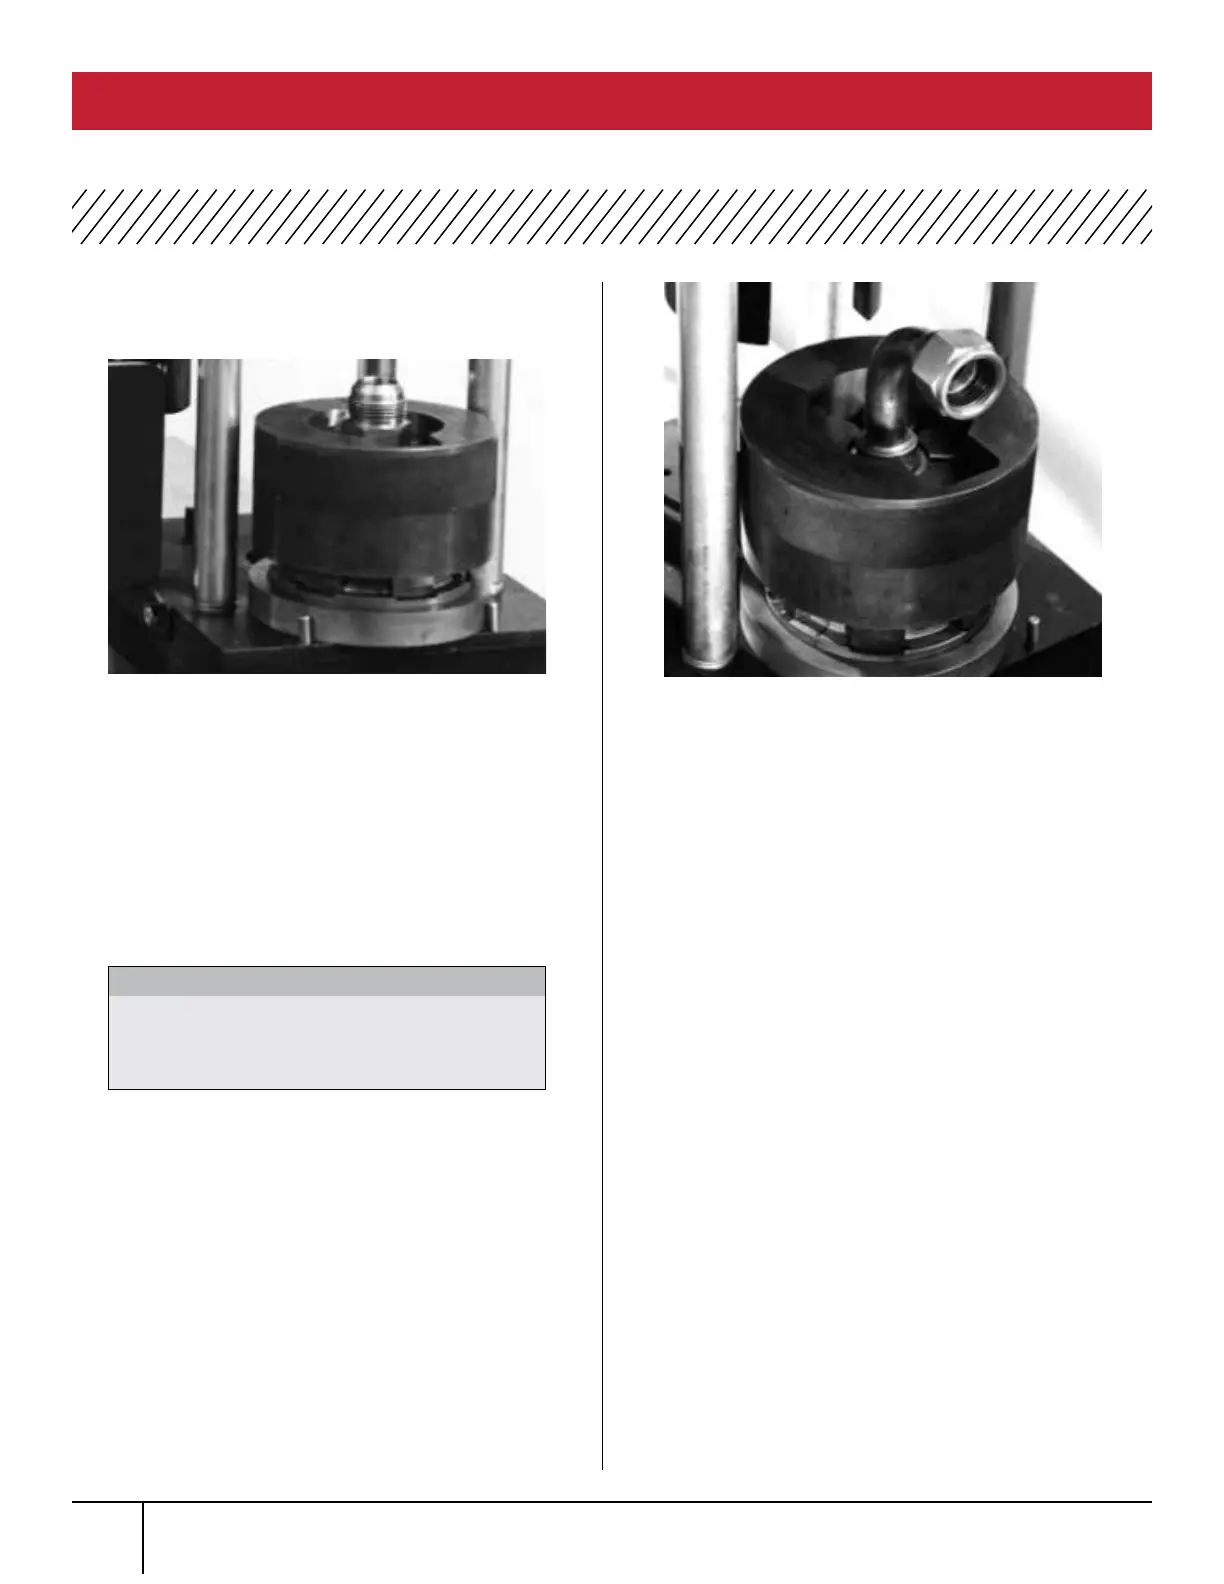
Position thread end of coupling into the die cone
notch, which must be towards the front of the
crimper.
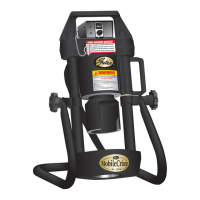
When crimping bent tube couplings, use the same
procedure as crimping straight end couplings.
Keep thread end of bent tube forward to clear
notch in cone.
To crimp a 45° or 90° block type coupling, follow
the same procedure used for the bent tube.
Your measured crimp diameter MUST be in
tolerance range as listed in eCrimp or the
Crimp Data Manual.
WARNING:
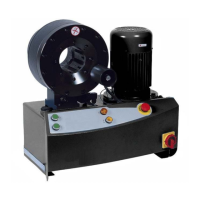
OPERATING INSTRUCTIONS (continued)
PC 707 CRIMPER SAFETY AND OPERATING MANUAL
13.
14.
15.
16.
1.
2.
3.