AMX−4+ OPERATION
GE MEDICAL SYSTEMS (MODEL 2169360, 2236420 & 2275938 SERIES)
REV 10 om 2166913−100
5−1
SECTION 5
X−RAY PROCEDURE
Overview
In this section you’ll learn how to setup and position mechanical components of the
AMX−4+. Steps for mechanical positioning are organized in the following way.
D Adjustment of column and telescoping arm
D Rotation of x−ray tube unit, and
D Adjustment of collimator
You’ll also learn how to select patient parameters (technique selection) and, finally,
how to take an x−ray exposure.
5−1 Mechanical Setup
Steps
Follow these steps to release the latch, vertical column and telescoping arm locks from
the park/transport position.
Make sure that the unit is turned ON.
5−2 Latch Lock Release
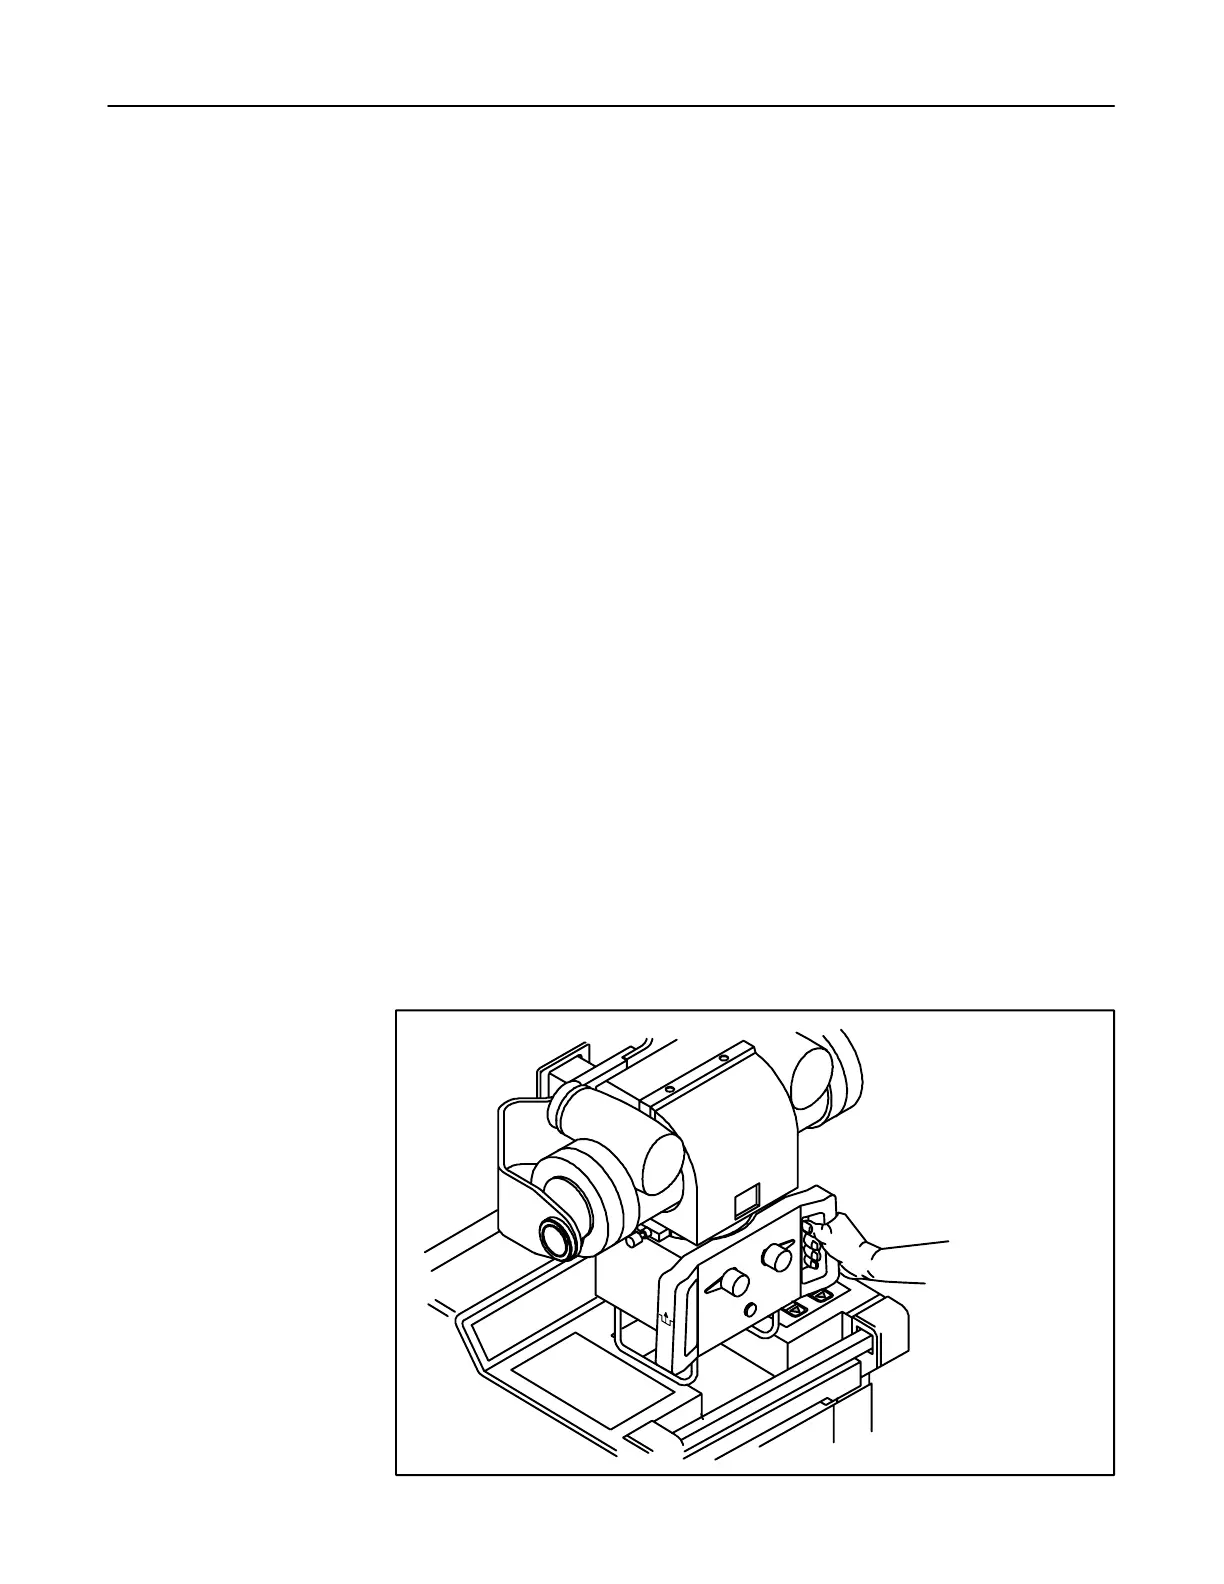
1. Grip the collimator handles to activate the switch. (You should hear a clicking
sound.) With slight force, push the telescoping arm down to release latch and then
raise up.
D Note that you only need to grip one of the collimator handles to activate the
lock release system. See Illustration 5−1.
ILLUSTRATION 5−1
LOCK RELEASE MECHANISM
TO RELEASE THE LOCKS,
GRIP BOTH THE COLLIMATOR
HANDLES, OR JUST ONE
HANDLE.
FOR TRAINING PURPOSES ONLY!
NOTE: Once downloaded, this document is UNCONTROLLED, and therefore may not be the latest revision. Always confirm revision status against a validated source (ie CDL).

 Loading...


