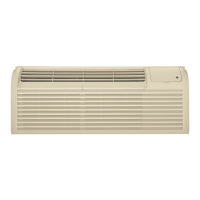
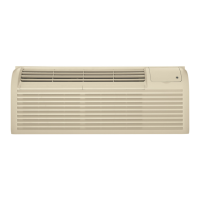
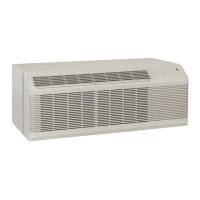
Installation Instructions
I
MAKE ELECTRICAL CONNECTION TO THE UNIT
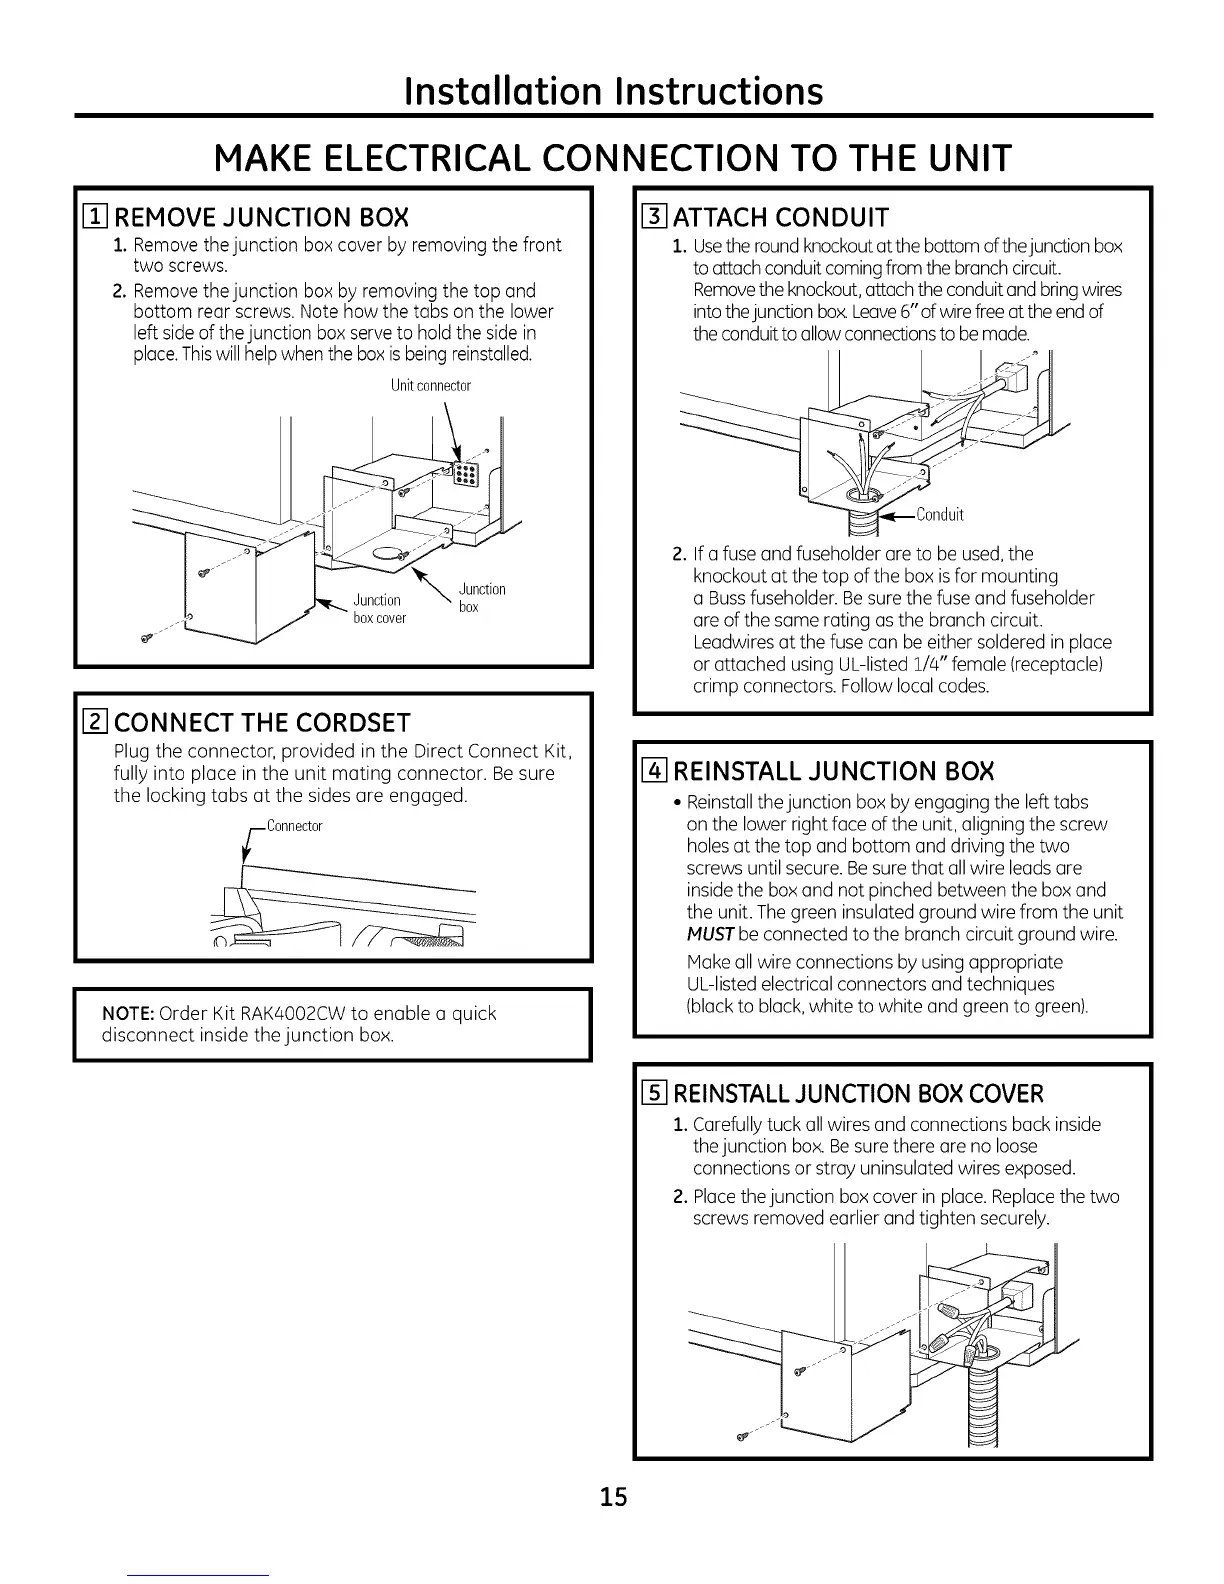
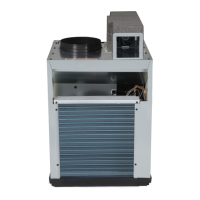
m REMOVE JUNCTION BOX
1. Removethejunction box cover by removing the front
two screws.
2. Removethe junction box by removing the top and
bottom rear screws. Note how the tabs on the lower
left side of the junction box serveto hold the sidein
place.Thiswill helpwhen the box is being reinstalled.
Unitconnector
Junction
boxcover
\Junction
box
Izl CONNECT THE CORDSET
Plug the connector, provided in the Direct Connect Kit,
fully into place in the unit mating connector. Be sure
the locking tabs at the sides are engaged.
NOTE:Order Kit RAK4OO2CWto enable a quick
disconnect inside the junction box.
I
IYJATTACH CONDUIT
1. Usethe roundknockoutat the bottomofthejunction box
to attachconduitcomingfrom the branchcircuit.
Removetheknockout,attach the conduitand bringwires
intothejunction box.Leave6" ofwirefreeattheend of
theconduitto allowconnectionsto be made.
2. If a fuse and fuseholder are to be used,the
knockout at the top of the box isfor mounting
a Bussfuseholder. Besure the fuse and fuseholder
ore of the same rating as the branch circuit.
Leadwiresat the fuse can be either soldered in place
or attached using UL-listed 1/4" female (receptacle)
crimp connectors. Follow localcodes.
_-I REINSTALL JUNCTION BOX
• Reinstallthejunction box byengaging the left tabs
on the lower right face of the unit, aligning the screw
holesat the top and bottom and driving the two
screws until secure. Be surethat allwire leads are
insidethe boxand not pinched between the box and
the unit. The green insulated ground wire from the unit
MUSTbe connected to the branch circuit ground wire.
Make all wire connections by using appropriate
UL-listedelectrical connectors and techniques
(blackto black,white to white and green to green).
[] REINSTALLJUNCTION BOX COVER
1. Carefullytuck all wires and connections back inside
thejunction box.Besure there are no loose
connections or stray uninsulated wires exposed.
2. Placethe junction box cover in place. Replacethe two
screws removed earlier and tighten securely.
15