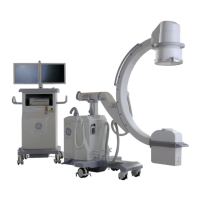
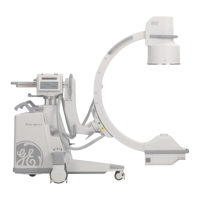
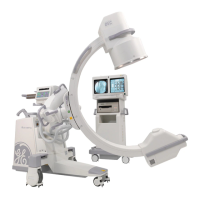
Brivo OEC 715/785/865 Mobile C-Arm X-Ray Product
Page 5-3
Press the “Exam Management” key on the Workstation membrane keyboard or select the “Exam
Management” button on the system panel to display Exam Management screen in use. Click “New” to
create a new exam.
When begin a new exam, enter patient information before a procedure.
• Using the Workstation membrane keyboard, enter patient information. A cursor indicates which
field you are in. Use Tab key to move the cursor to the next active field.
• Fill in all the fields to complete patient information. If user starts a new exam without input any
patient information, the current patient name will be assigned by system as ‘’Unnamed xxxxx ”.
• Click the “Extra Info…” button on the Exam Management screen to display the Additional
Information screen. You can add Weight, Height, Referring Physician, Requested Procedure ID,
Requested Procedure Description, Protocol Description and Anatomic Regions. Click “OK” to save
the additional information and return to Exam Management screen.
Once you have entered patient information, you may immediately begin taking X-Rays for that patient or
select “Exit” or switch to other application. The Exam Management screen will close and display the desktop.
The input information will be automatically saved.
Each time you choose a new exam, resume a performed exam or start a scheduled exam, the C-Arm
setting is reset to default parameters. This includes fluoro timer, exposure mode settings, mag mode, image
rotation, Image reversal, contrast/brightness, recursive factor, smart metal, negate and edge enhancement.
Exposure parameters will be reset to 70kV, 1.4mA. The collimator shutter and iris will adjust to a full open
position.
You can set collimator, mag mode, image rotation and flip/flop to retain last value in System Setup screen.
5.1.2. Scheduled Exams Feature
The scheduled exams feature allows you to query the exams from worklist server, view local created and
queried scheduled exams.
Select “Scheduled Exams” from the Exam Management screen. Scheduled Exams screen is displayed.

 Loading...
