Chapter 3: Programming
EST iO64 and iO500 Technical Reference Manual 121
2 wire Class B: Allows for the monitoring of two-wire conventional smoke detectors in a Class B
circuit (that do not require alarm verification) and normally open contact initiating devices on
the same circuit
2 wire verify Class B: Allows for the monitoring of two-wire conventional smoke detectors in a
Class B circuit (that require alarm verification)
2 wire Class A: Allows for the monitoring of two-wire conventional smoke detectors in a Class A
circuit (that do not require alarm verification) and normally open contact initiating devices on
the same circuit.
2 wire verify Class A: Allows for the monitoring of two-wire conventional smoke detectors in a
Class A circuit (that require alarm verification)
Audible: Assigned to NACs connected to audible notification appliances that turn off when
Signal Silence is pressed
Visible: Assigned to NACs connected to visible notification appliance that do not turn off when
Signal Silence is pressed
Relay module
Relay nonsilence: For the connection of relay devices that do not follow signal silence.
Relay with silence: For the connection of relay devices that follow signal silence.
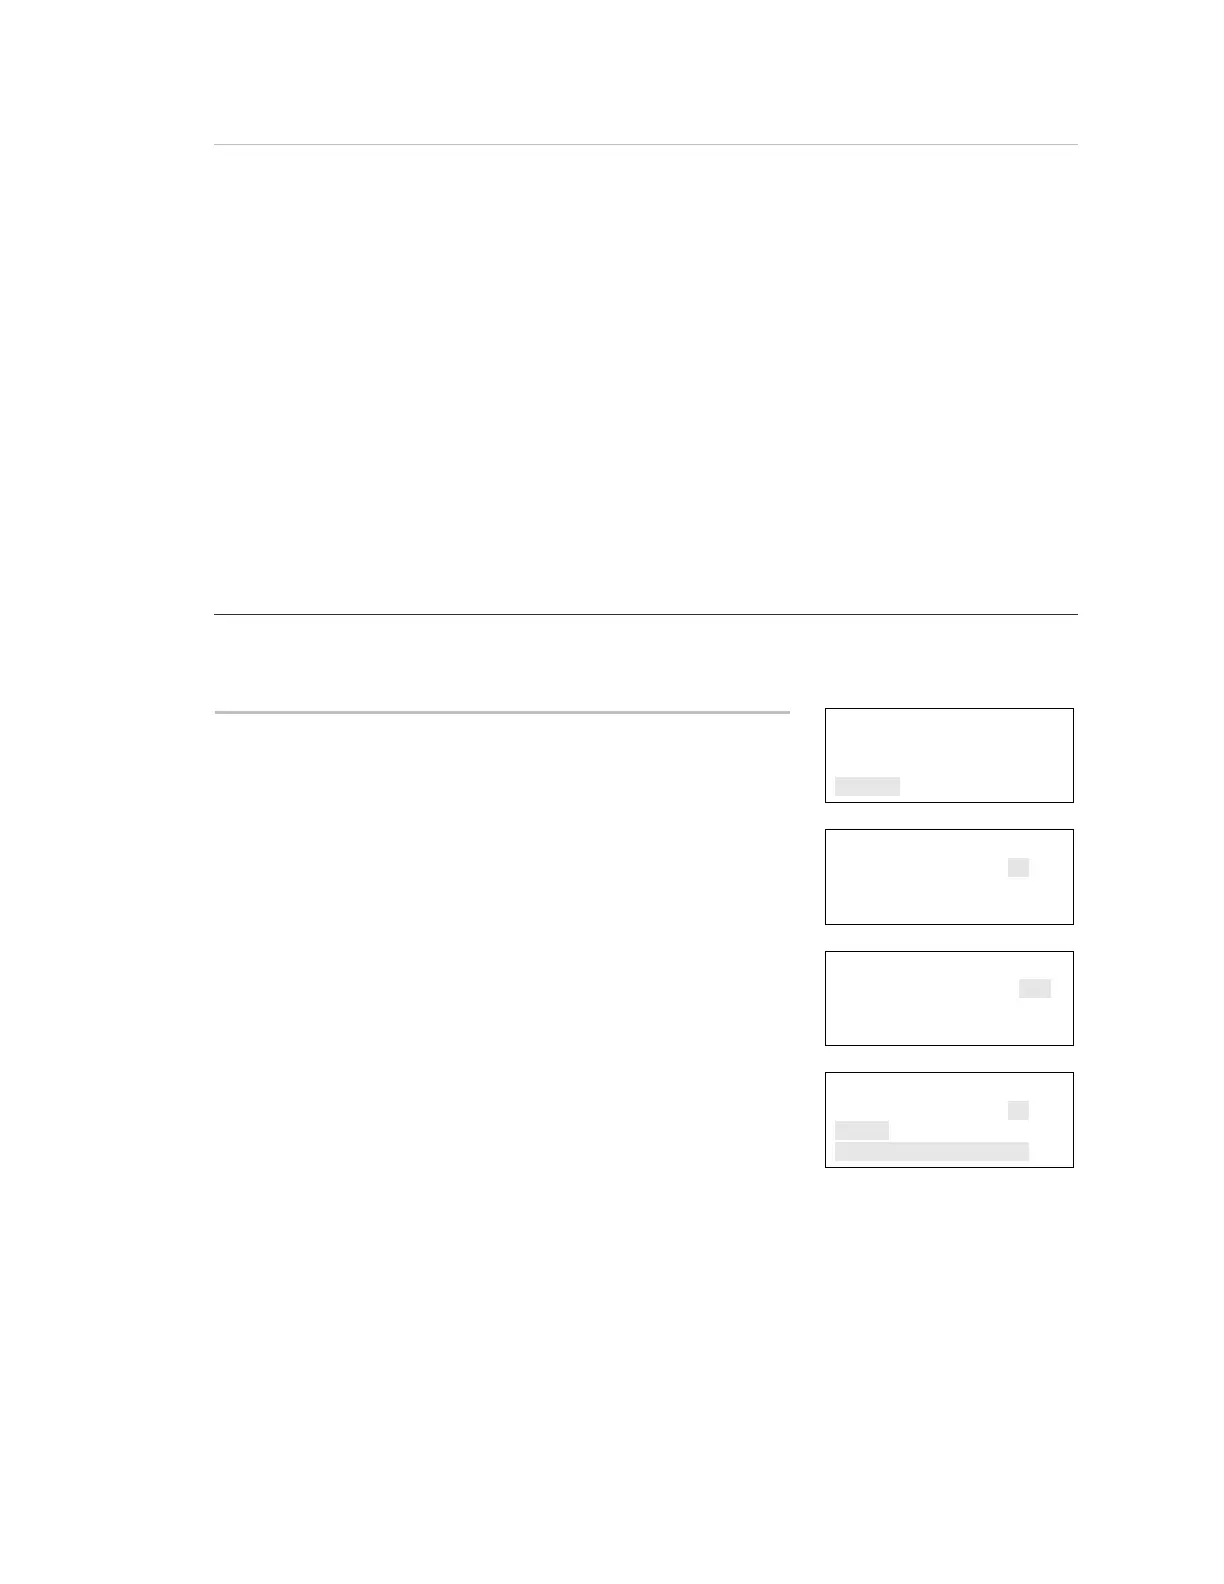
Loop Configuration
Zone
Correlation Groups
Device
⇩
Device
Loop 01<>
⇩
Device
Number 001
Loop 01 Device 001
⇩
Device 001
Zone 01<>
Label <>
Correlation Groups
To program a device:
1. Access the loop configuration options menu. See "Loop
configuration options."
2. Choose Device.
3. Choose the loop the device is on. Note: If your panel only has
one loop, the loop selection screen does not display. Go to the
next step.
4. Choose the device (address) you want to configure. For the
250/500 point panel, addresses 1 to 125 are detectors and
addresses 126 to 250 are modules.
Note: The two lines below the device number line on the screen
are the device label.
5. Program each device in your system using the "Device
programming options" table above.
Note: If you chose a dual address device, both addresses for
the device are displayed on the screen (e.g. 001/002). The first
⇩
 Loading...