RECONDITIONING
90 OI 248 (EN) REV6 /REV6
10.1.15 Final Operations
• Evacuate the breaker.
• Fill the breaker with gas and check all seals for leakage (see
“Filling the Breaker with Gas” on Page 48).
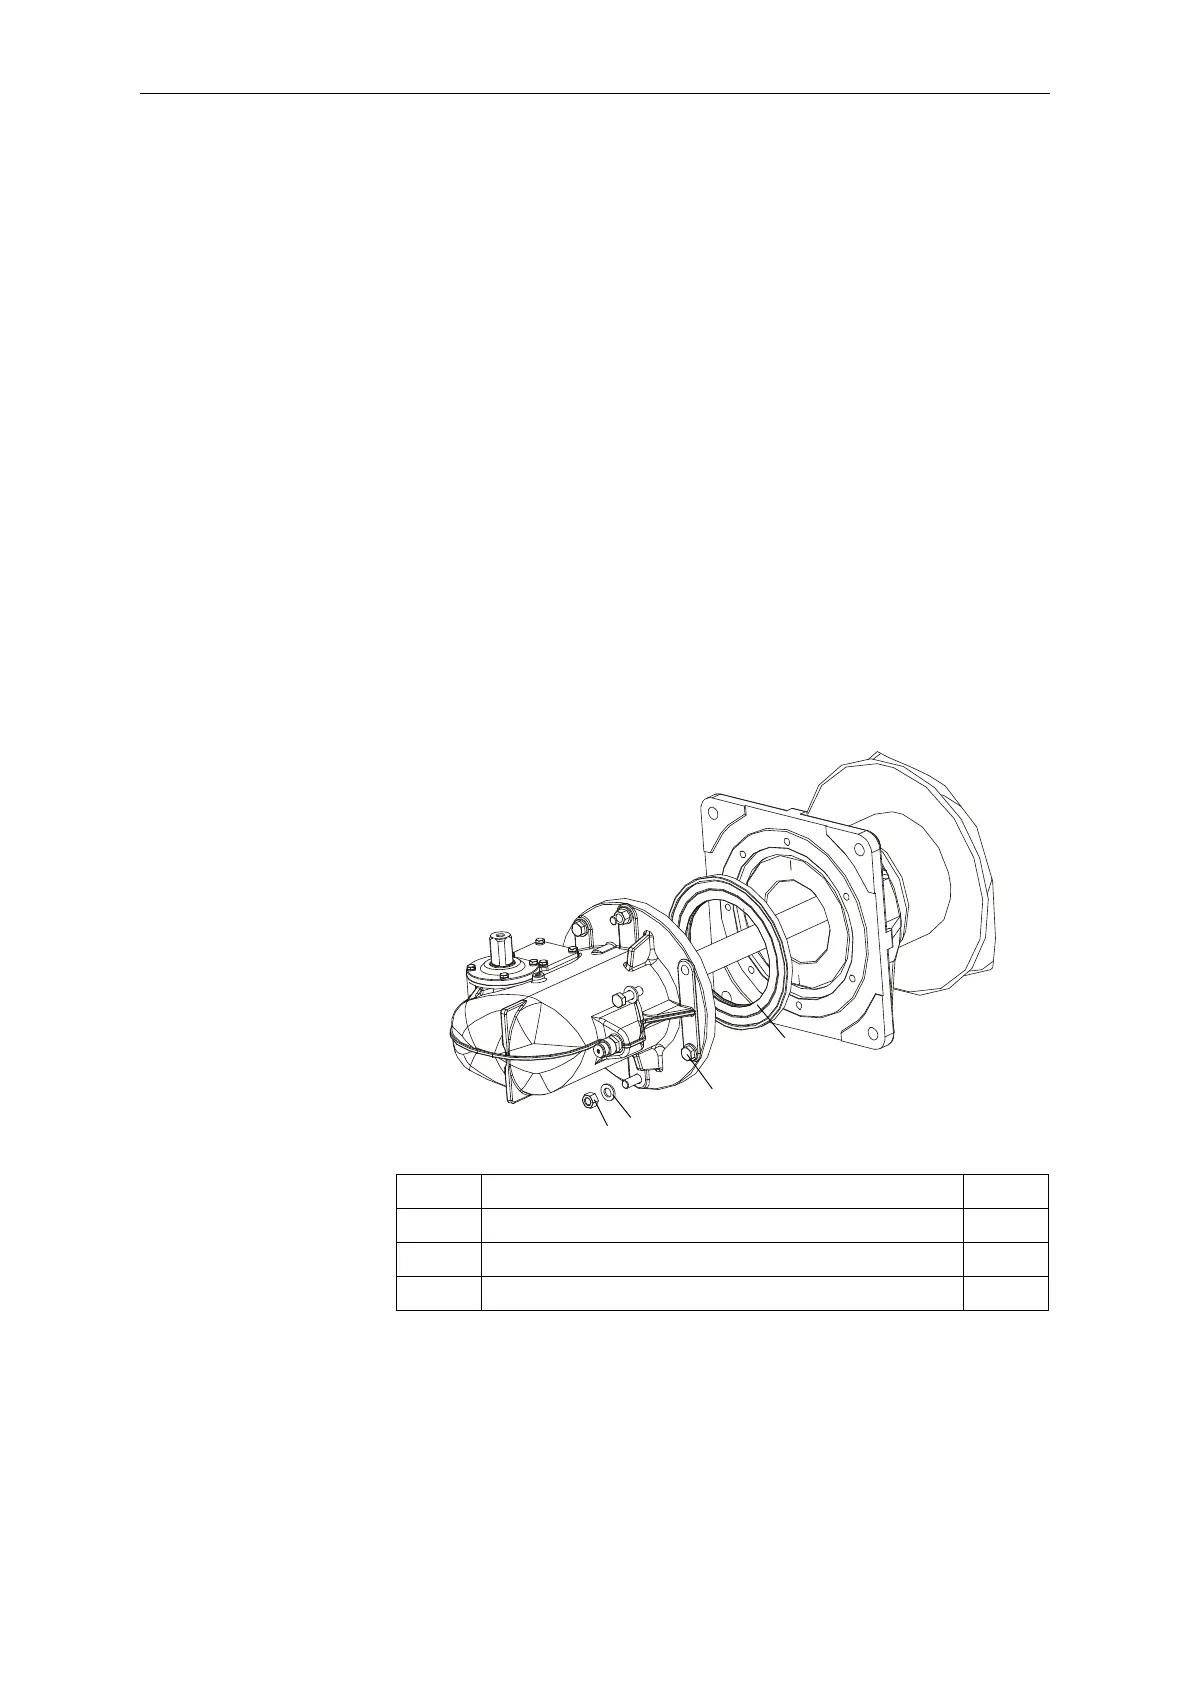
10.2 Disassembling the Post Insulator and Crankcase
Requirements
- The interrupter chamber has already been disconnected from the
post insulator.
- The levers of the circuit breaker linkage have been removed.
• Fasten the lifting tackle to the upper flange of the post insulator
and hook the tackle in the crane hook.
• Detach the post insulator from the base frame.
• Carefully lift the post insulator and crankcase assembly up out of
the base frame and set it down on a suitable work surface.
• Remove four bolts (67) and two nuts (66) from the crankcase
mounting system.
• Pull the crankcase and insulating rod out of the post insulator.
• Reverse the sequence to assemble the components. In the
process, replace the gasket (35).
27 Washer, 12 A2 6x
35 Formed gasket 221 1x
66 Hexagon nut, M12 A2-70 2x
67 Hexagon bolt, M12x40 A2-70 4x

 Loading...