GE HEALTHCARE
DIRECTION 5394152, Revision 5
LOGIQ™ P6/P6 PRO SERVICE MANUAL
Page 8-164 Section 8-7 - Mechanical Option Installation instruction
8-7-7 BW printer Fixture Middle installation (cont’d)
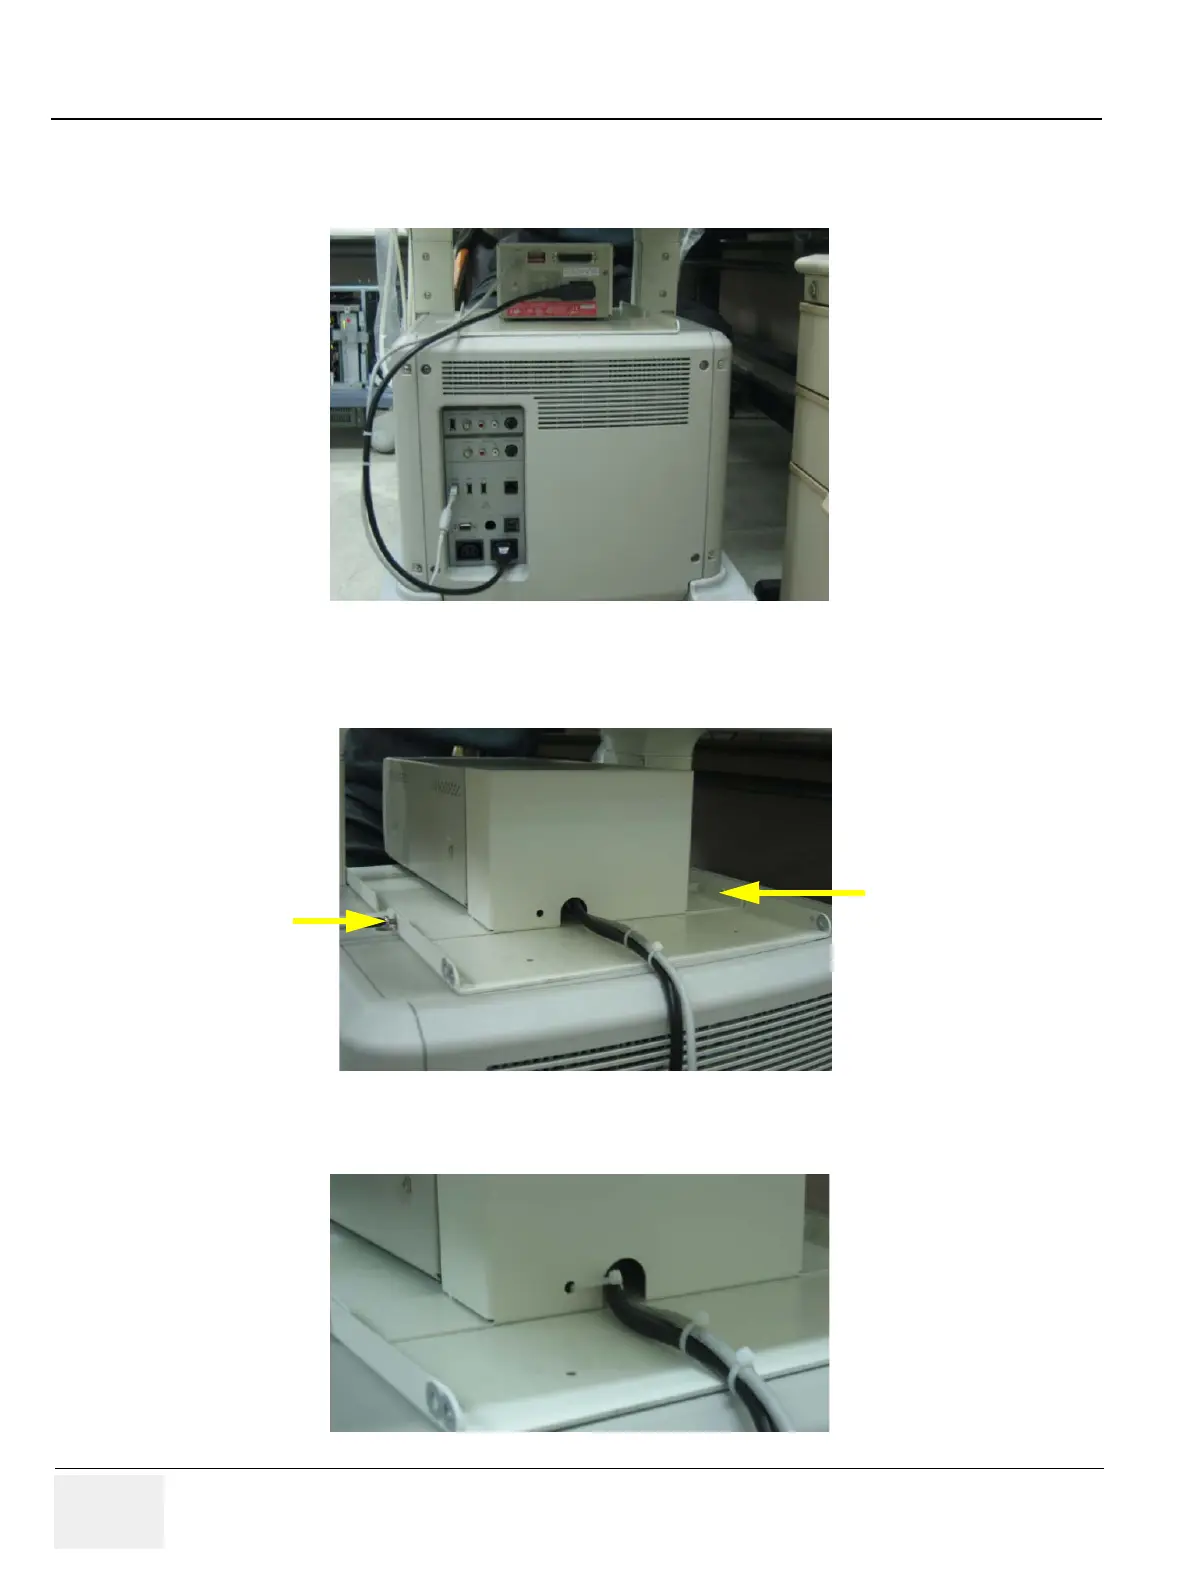
4.) Connect the USB cable and power cable from the printer to the system.
5.) Install BW hide bracket to the rear side of the BW printer and screw 2 screws(2159633, BH M4x8
WHT) to fix it.
6.) Tie the cables using the tie wrap as illustrated in the figure below.
Figure 8-250 BW Printer Fixture Middle installation
Figure 8-251 BW Printer Fixture Middle installation
Figure 8-252 BW Printer Fixtu
re Middle installation

 Loading...