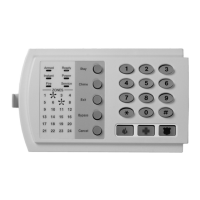
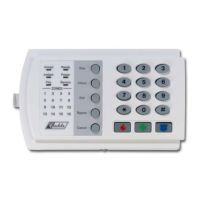
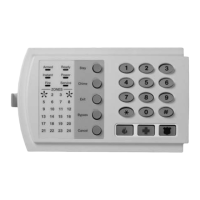
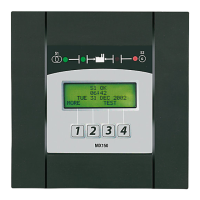
[*]-[▲] VIEW ZONE STATUS
1. Enter [*]-[▲] The LCD screen will display the zone status.
2. Use the ‘up’ and ‘down’ scroll
keys to browse through the
descriptions.
The LCD screen will display the list of ALL zones, in
sequential order by zone number.
3. Press [#] to exit this function.
[*]-[3] VIEW ALARM MEMORY
1. Enter [*]-[3] The LCD screen will display the zone description for
the zones.
2. Use the ‘up’ and ‘down’ scroll
keys to browse through the
alarm memory.
The LCD screen will display the list, in sequential order
by zone number.
3. Press [#] to exit this function.
[*]-[4]-[5] DISPLAY TEST
The keyboard also provides a test function by the means of which the LCD display and all
LED’s are tested.
Step 1 Press [*] [4] [5]. The display and the LED’s will blink.
Step 2 Press the [*] key to leave the display test.
[*]-[4]-[9] MODIFYING LANGUAGE
The possibility exists to modify the language on the LCD display from one language to another
and the other way around.
Step 1 Press [*] [4] [9]. The LCD display switches to the other language.
Step 2 To switch back to the other language, only step 1 has to be repeated.
[*]-[5] CHANGING USER CODES:
Note: For partitioned systems, someone changing the code of another person must have
access to all partitions, or to more partitions than the user being changed.
1. Enter [*]-[5] The LCD screen will prompt for a code.
2. Enter [master code] The LCD screen will prompt for a user number.
3. Enter the 3 digit user number
(always 3 digits, i.e. “003” for
user 3)
The LCD screen will prompt for a new code.
4. Enter the new user code designated for the person in question. If the code is rejected,
the sounder will beep three (3) times.
5. If another user code needs to be programmed, return to step 3.
6. To exit code programming, press [#] while the LCD screen is prompting for a new user
number.
7.
REMARK: Pressing four times (for 4-digit code) can erase a user code or six times (for
6-digit code) the “Cancel” key.
NX-8-EUR Installation manual Page 23 02/07/06
 Loading...