Step 4 If you selected the change mode for any of the last four
items mentioned in Step 2, the “Operator” will prompt:
“ENTER NEW SET POINT FOLLOWED BY [#] ”
Step 5 The “Operator” will then repeat the mode with the
changes, and continue with the options. You can continue
to make changes as desired. If a change is not entered,
the “Operator” will return to the main Menu.
Step 6 To exit, press # or hang up when finished.
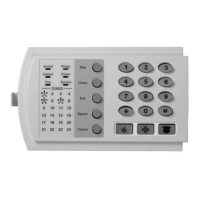
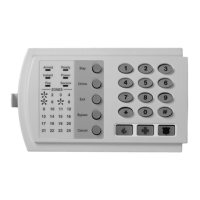
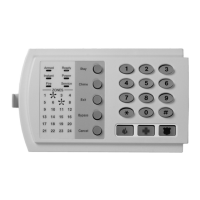
Section IX. ACCESSING DATE/TIME MENU
When the “Operator” is on the line, perform the following steps to set
the DATE.
Step 1
Press ρ 9 6 .
The [ρ] accesses the MENU and [9] proceeds to the
OPTIONS menu, then [6] proceeds to the DATE section.
Step 2
“PLEASE ENTER YOUR CODE.” Enter your user code.
“ENTER WEEKDAY.”
Enter the day of the week using the following options:
Step 3
[1] Sunday
[2] Monday
[3] Tuesday
[4] Wednesday
[5] Thursday
[6] Friday
[7] Saturday
Step 4 “ENTER MONTH FOLLOWED BY [#].”
For example, September would be 9 # .
Step 5 “ENTER DAY FOLLOWED BY [#].”
For example, the 27
th
day would be 2 7 # .
Step 6 “ENTER YEAR FOLLOWED BY [#].”
For example, the year 2002 would be entered as
2 0 0 2 # .
Step 7
The “Operator” will automatically return to the MENU.

 Loading...