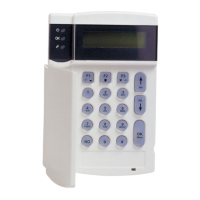
NX-148E-CF
8
ARMING YOUR SYSTEM IN THE “STAY” MODE
STAY is utilized when the user is inside the premise and wants protection around
the perimeter. The steps to arm in the STAY Mode are as follows:
Step 1 Close all protected doors and windows.
Ready light must be on or flashing (force armed) when all protected
zones and sensors are secure. NOTE: If any zones are bypassed,
a sensor in that zone can be violated without affecting the ready
light.
The security system will not arm if the ready light is not on or flashing.
If the power light is off, you have no AC power. Restore power if
possible. If not, contact the installing company for service.
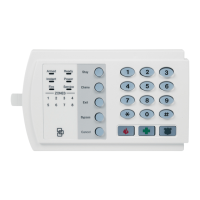
Step 2 Enter your 4 or 6 digit user code. (Optional, if programmed.)
If “Auto Bypass” is enabled, all interior zones will be bypassed if you
do not leave through a designated entry/exit door. If Auto Bypass is
enabled, omit Step 3.
When “Auto Instant” is enabled, if you do not leave through a
designated entry/exit door, the display will read “Instant”, indicating
that the entry/exit doors no longer have an entry delay. If “Auto
Instant” is enabled, omit Step 4.
Step 3 Press the [STAY] key.
The stay light will illuminate indicating that all interior zones are
bypassed. (All interior devices will bypass automatically, giving the
user freedom of movement within the interior area.)
The bypass light will illuminate if any zone(s) are bypassed. If any
zone (s) have been bypassed previously by the user, the light(s)
corresponding to the bypassed zone(s) will illuminate, alerting the
user that a zone(s) may be unprotected and can be faulted without an
alarm.
Step 4 To toggle from a “delayed entry” mode to an “Instant” mode, press the
[STAY] key again.
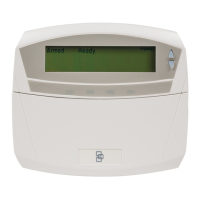
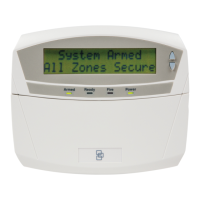
The LCD display will read
“Instant” meaning the entry/exit
doors do NOT have an entry
delay.
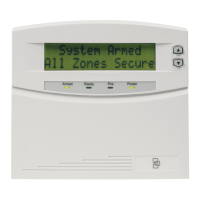
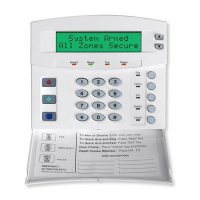
System Ready
Type code to arm
System Armed
Instant
 Loading...