4.1 ALARM ARMING
a)
To arm the alarm press button 1 or touch the electronic key to its
receptacle.Arming is confirmed by a quick flash of the turn indicators.
The following functions are enabled:
remote control
Module output (PINK wire, +A).
Led output.
Engine immobilizer.
Door-lock control with pulse time selected during programming.
An arming delay (approx. 45”, LED ON steady) provides an exit time to leave
the vehicle without generating a false alarm. During the initial 25” of the arming
delay countdown, external sensors can be excluded and window roll-up
stopped by pressing button 2 on the remote control (NB: window roll-up
requires installation of module 2344 or the vehicle must be equipped with
Comfort System). A quick flash of the turn indicators will confirm exclusion of
sensors/window-up stop/comfort feature.
Sensor exclusion is bound to a single alarm activation cycle.
This function allows arming the alarm system without any siren sound in case
of an alarm event. To exclude the siren,
Turn ignition key “ON”.
The LED will turn ON for approx. 0,5 sec.
While the LED is ON, press remote control button 2.
The LED will turn OFF.
To reactivate acoustic signaling, simply arm and disarm the system.
After the 45” arming delay, the alarm system will be fully armed and ready to
detect any alarm condition.The LED will flash as follows to minimise power
consumption: 200ms - 2sec
b)
c)
d)
4.2 - ARMING DELAY, SENSOR and COMFORT EXCLUSION, WINDOW-
UP STOP
4.4 - TOTAL ARMING AFTER ARMING DELAY
LED ON : LED OFF :
!
!
!
!
!
If the electronic key is used to arm the system, functions , and will be
enabled, whereas will be disabled to provide time to exit the vehicle
without triggering an alarm.
When using the electronic key, there is also an entry delay countdown (approx.10
sec., LED ON steady) to allow the user to get into the car and disable the alarm
via the electronic key without generating an alarm.
proceed as follows:
Siren sound exclusion is bound to each single arming cycle.
a) b) c)
d)
4.3 - SIREN SOUND EXCLUSION WHEN ARMING
PAGE4
PAGE5
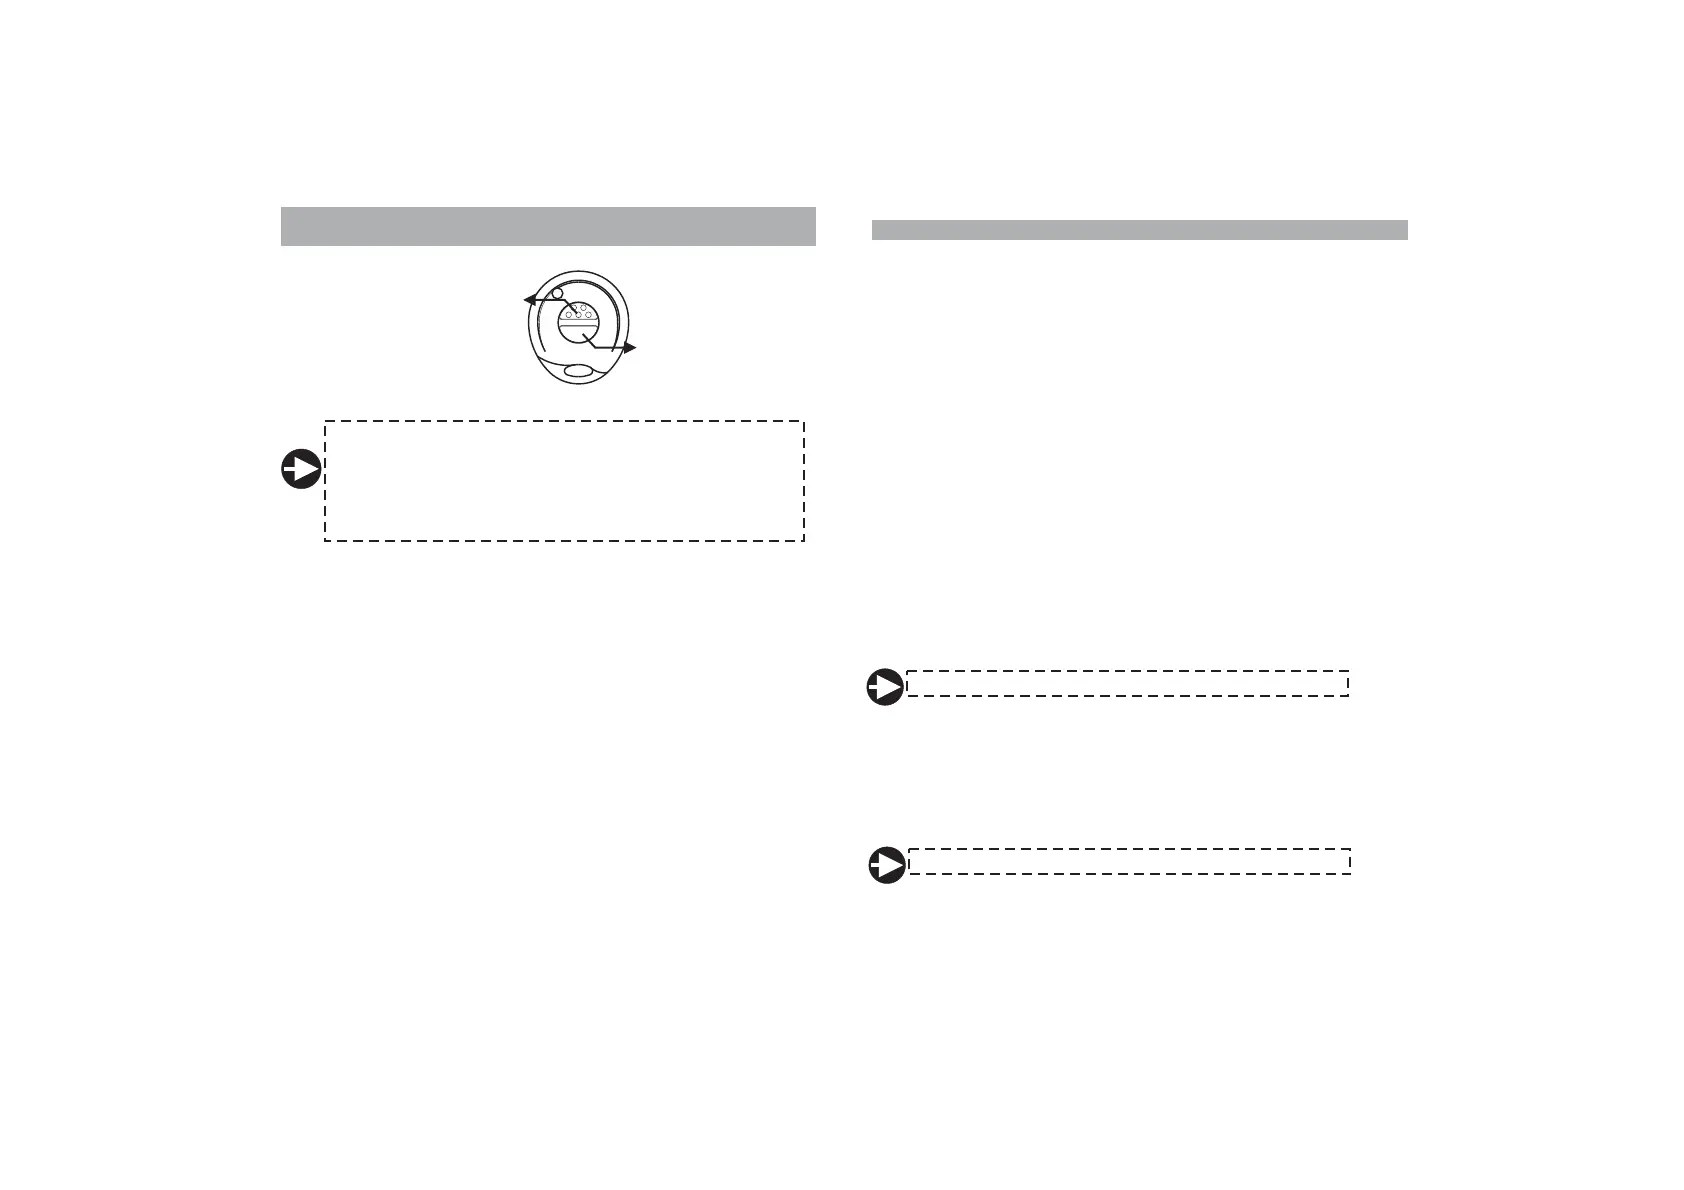
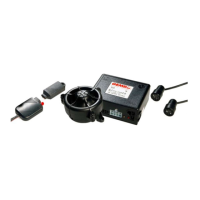
3.0 - REMOTE CONTROL OPERATION
AND BATTERY REPLACEMENT
BUTTON 1:
COMPLETE SYSTEM ARMING
SYSTEM DISARMING
!
!
BUTTON 2:
SENSOR EXCLUSION
PANIC ALARM OR
BOOT OPENING
!
!
The remote control has a low charge battery indicator that gives
early warning to avoid manlfunctioning. If t
e only CR 16161 batteries. Different type batteries can
seriously damage the remote control unit. Discard used batteries
properly in special dedicated containers
he batteries are low, the
LED will start blinking when a button is pressed.
Us
.
To replace the battery proceed as follows:
!
!
!
Separate the remote halves taking care not to damage the internal circuit.
Remove discharged batteries and insert new ones taking care not to
invert the battery polarity.
Close the remote halves and make sure the remote control works properly.
4.0 - OPERATING INSTRUCTIONS
USER MANUAL