- 44 -
MAINTENANCE
- remove the plastic cover (item no. 2, fig. 64),
- unscrew the 2 fixing screws (item no. K, fig. 64)
from the protection plate (item no. 9, fig. 64),
- remove the protection plate (item no. 9, fig. 64),
- unscrew the 4 fixing screws (item no. L, fig. 64)
from the control panel (item no. 1, fig. 64),
- remove the control panel (item no. 1, fig. 64) to
gain access to the thermometer,
- remove the faulty appliance and replace it,
- insert the bulb in the pocket and clip it on again
onto the heating outlet tube.
8.4.3 - Bulb in the condensor
- Extract the bulb from the pocket (item no. 34)
from the condensor after removing the retaining
clip (item no. M,
fig. 66),
- remove the top of the casing (item no. A, fig. 64),
- remove the plastic cover (item no. 2, fig. 64),
- unscrew the 2 fixing screws (item no. K, fig. 64)
from the protection plate (item no. 9, fig. 64),
- remove the protection plate (item no. 9, fig. 64),
- unscrew the 4 fixing screws (item no. L, fig. 64)
from the control panel (item no. 1, fig. 64),
- remove the control panel (item no. 1, fig. 64) to
gain access to the thermostat,
- remove the faulty appliance and replace it,
- position the bulb in the pocket (item no. 34,
fig. 64). To ensure satisfactory heat contact, in-
sert them as far as possible inside the pocket
(item no. 34,
fig. 64).
Be sure to reposition the clips at the in-
let of each pocket (fig. 66, item no. M)
carefully to prevent the bulb from acci-
dentally falling out.
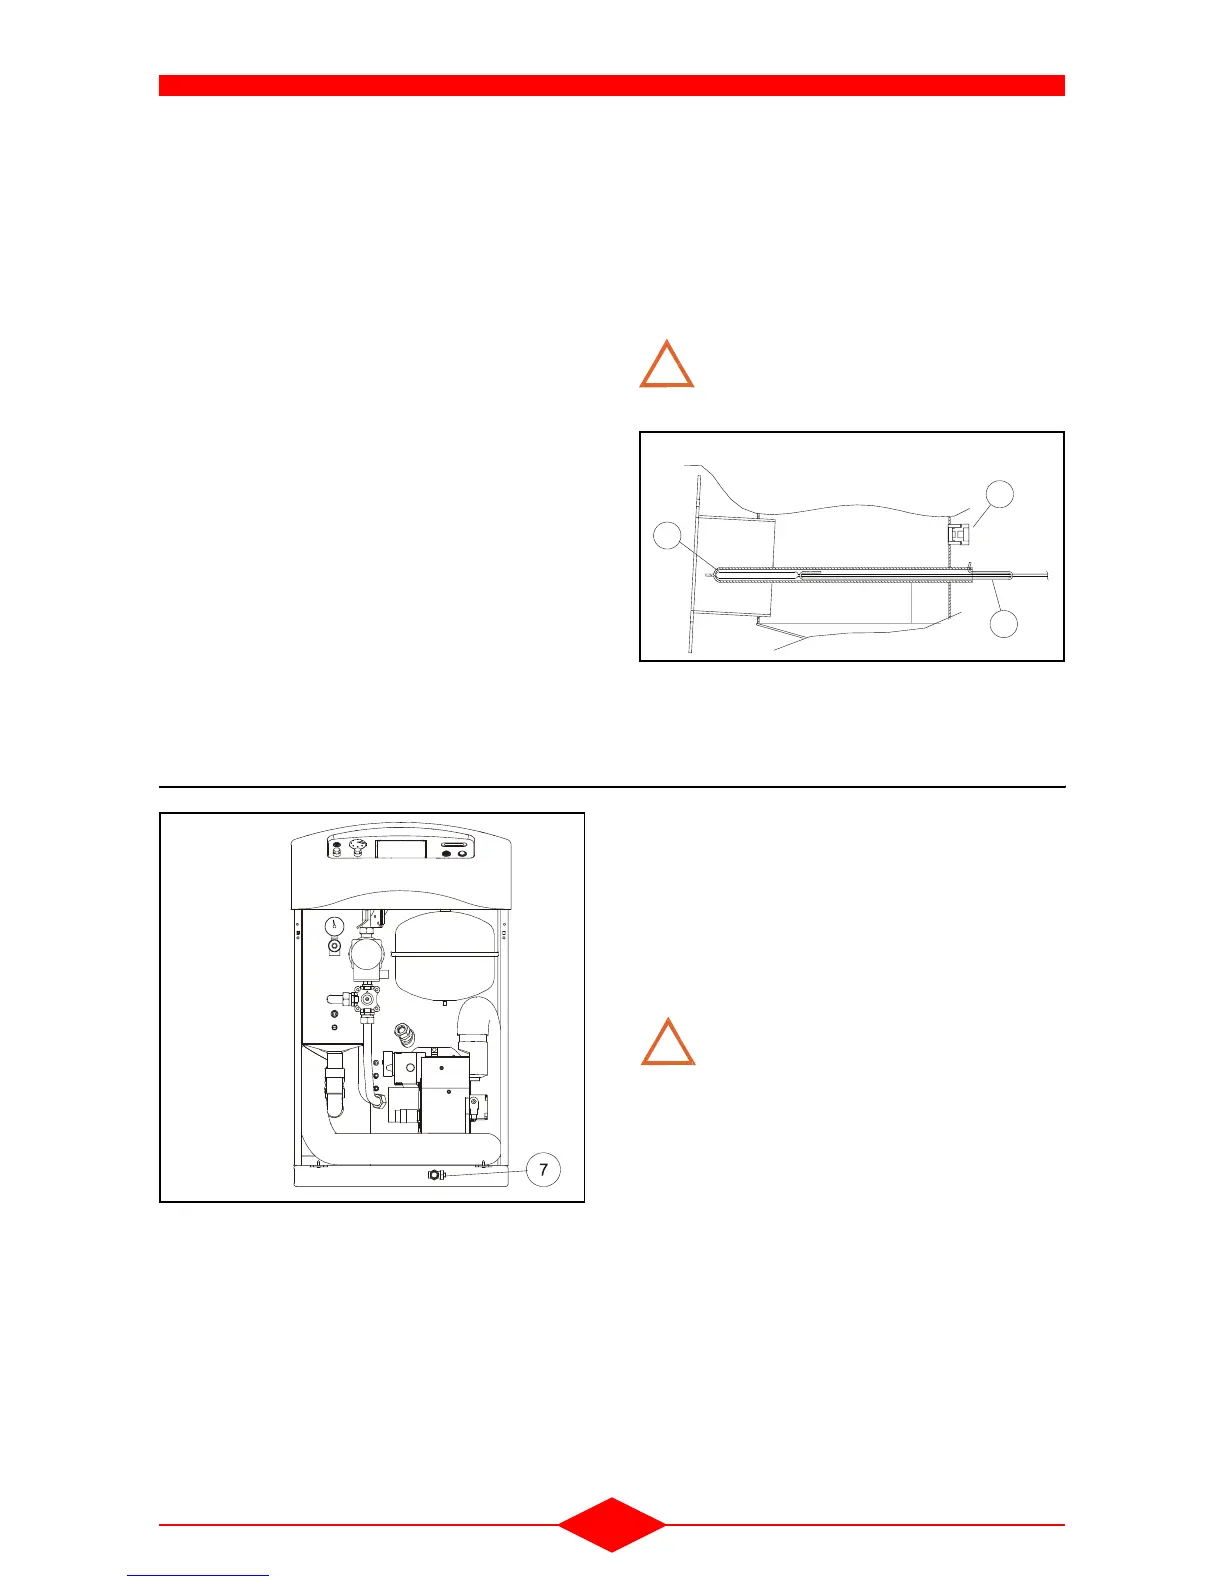
9 - DRAINING
- Cut off the power supply,
- Close the fuel inlet valve,
- Close the heating output/return valves (if they
exist),
- Connect a hose pipe to the drain cock (item no. 7)
after removing the plug,
- Open the drain cock with the plug tip provided for
this purpose.
Make sure that the bleed is open as soon
as the pressure gauge indicates zero
pressure to allow air to enter the boiler
shell.
When bleeding the installation, provide
an air inlet at a high point (radiator
bleed).
!
FCX-54-3
34
15
M
Fig. 66
FCX-55-3
Fig. 67
!