Using the ▼ (down) key and the ↵ (Edit) key, highlight and select
additional drink selections that will be available during the free vend
period.
Tip - Items 9 & 10: To set the required days/selections quickly, press
the START/? key to check all boxes, then using the ▼ (down) key, scroll
and highlight the days/selections not required and press the ↵ (Edit) key to
remove the X from the corresponding box.
11. Press the X (Exit) key three times to return to the Timed Events Menu.
Using the previous sequence the operator can quickly and easily set up
additional free vend periods and inhibit vend and/or discount vend periods if
required.
12. When setting up a discount price period it is necessary for the operator to
enter a value for the discount. Follow the procedure as described
previously to enter a discount vend period and set the state, start time,
stop time and days of the week that the event will occur.
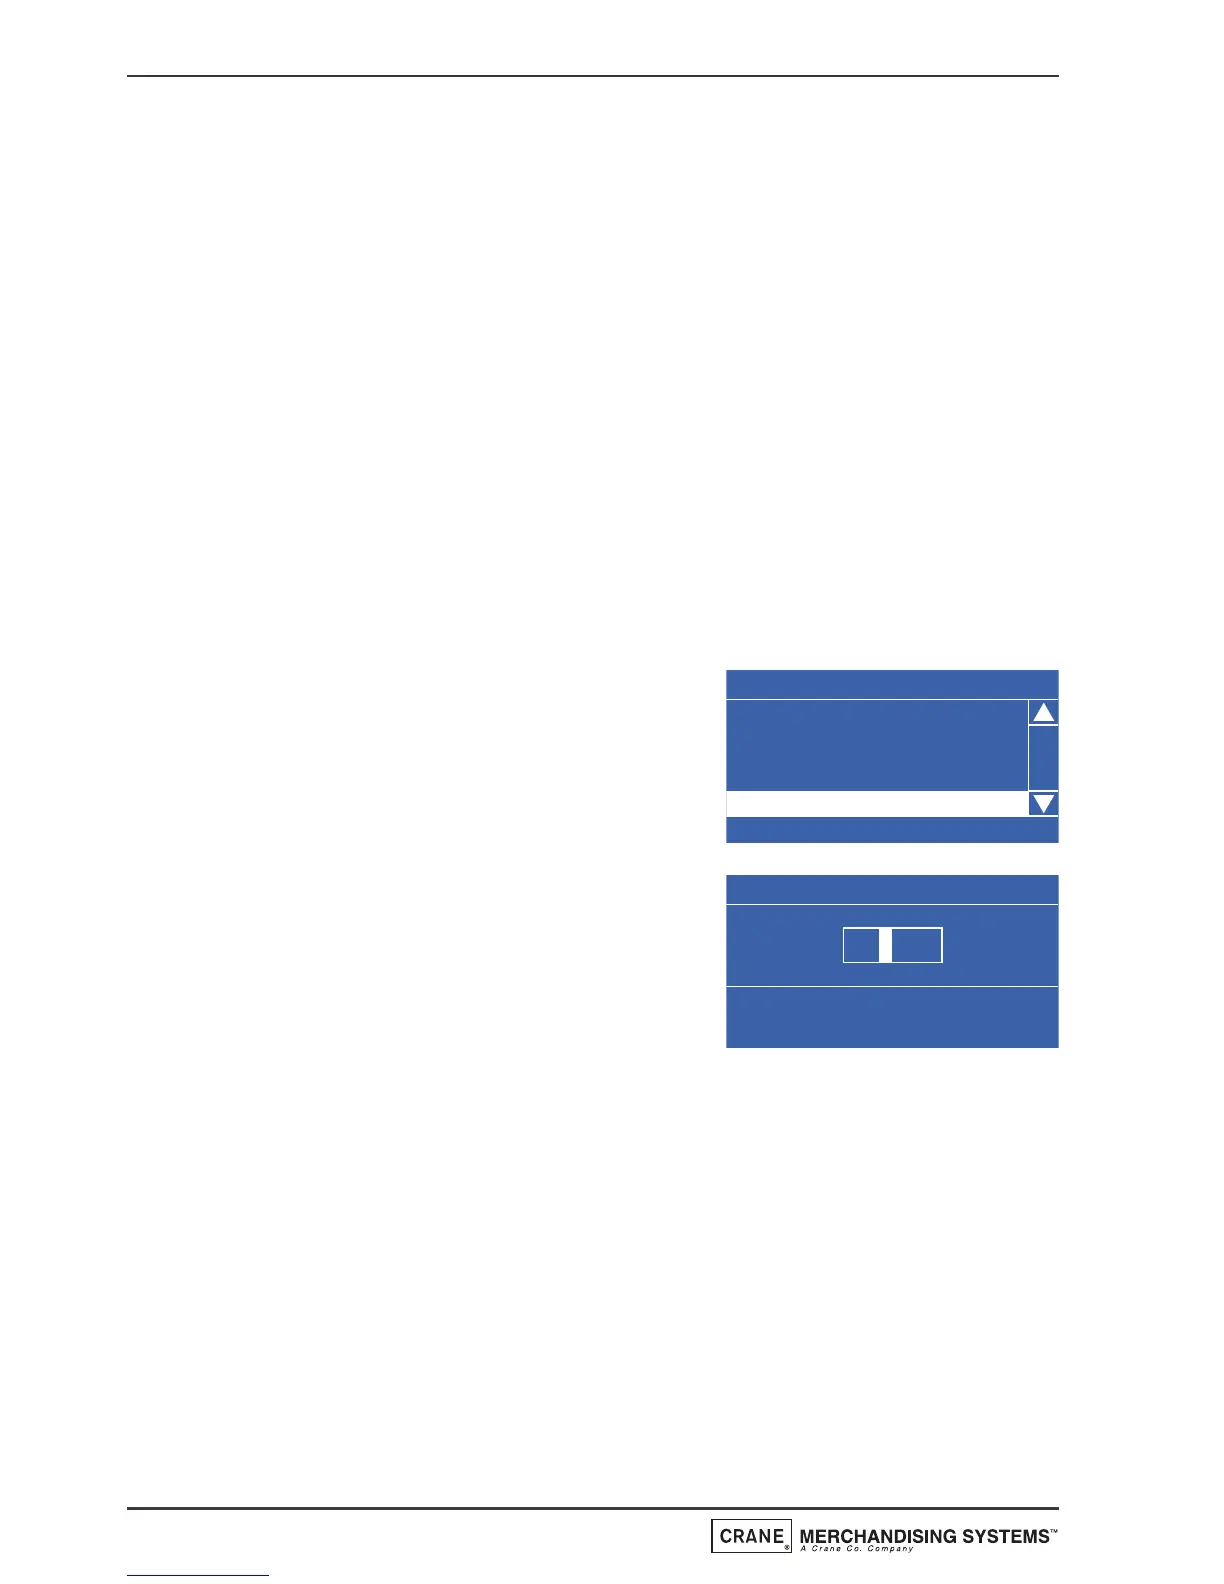
13. The operator can now enter a Discount
menu in order to enter a discount value as
a percentage (%). The LCD will display a
screen similar to the one shown opposite.
With Discount highlighted, press the ↵
(Edit) key to access the Discount screen.
14. To enter the discount value, e.g. 50%,
press the sequence 5-0 using the
appropriate number keys on the drink
selection keypad. Press the ↵ (Edit) key to
return to the 11 (Discount) screen and
verify that the status line displays the
discount percentage value entered.
N.B. When machine is fitted with a coin mechanism, please ensure that
discount value entered can be supported by the coin tubes.
15. Press the X (Exit) key three times to return to the Main Menu screen.
7.8.2 Sanitation Events Menu
This sub menu allows the operator to select periods when the machine will
automatically flush through the water system via the 6 timed and 6 post vend
flush periods available. The default setting for all flush periods is Off.
1. From the Main Menu press the
▼ (down) key until Timed Events is
highlighted then press the ↵ (Edit) key.
54
Operators Manual