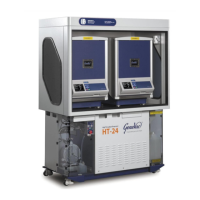
Genevac HT-8 & HT-12 Series II Evaporating Systems
04-4541 Issue 1-9 – June 2008 Page 33 of 64
When positioning the sample probe, always ensure
that the probe tip is located firmly at the bottom of
the well, vial or tube.
Note that the term TxD indicates that the transmitter
is not transmitting and will be displayed when the
rotor is not rotating.
The control temperature can be changed during a
run by pressing the SETTINGS key to display the
Run Data screen.
Use the cursor keys to select the SampleGuard
Control Temperature field and press ENTER.
Input the new value and press ENTER again.
The system will prompt you to confirm the change
when you leave the Run Data screen.
Press Y for yes and N for no.
To verify the calibration of SampleGuard, remove the
Stuffer Plug shown, connect the remote power lead
and connect probes to channels 1 and 2.
With the door open, immerse both probes in a
beaker of water at approximately 40 degrees
Centigrade.
Press the START key and verify the indicated
temperatures against a calibrated digital
thermometer.
The frequency of verification and record retention,
should meet the requirements of your ISO/EN/BS
9000 series or NAMAS procedures.
On removal of the remote power lead, always ensure
that the Stuffer Plug is replaced.
SampleGuard will not operate without the Stuffer
Plug.
Artisan Technology Group - Quality Instrumentation ... Guaranteed | (888) 88-SOURCE | www.artisantg.com
 Loading...