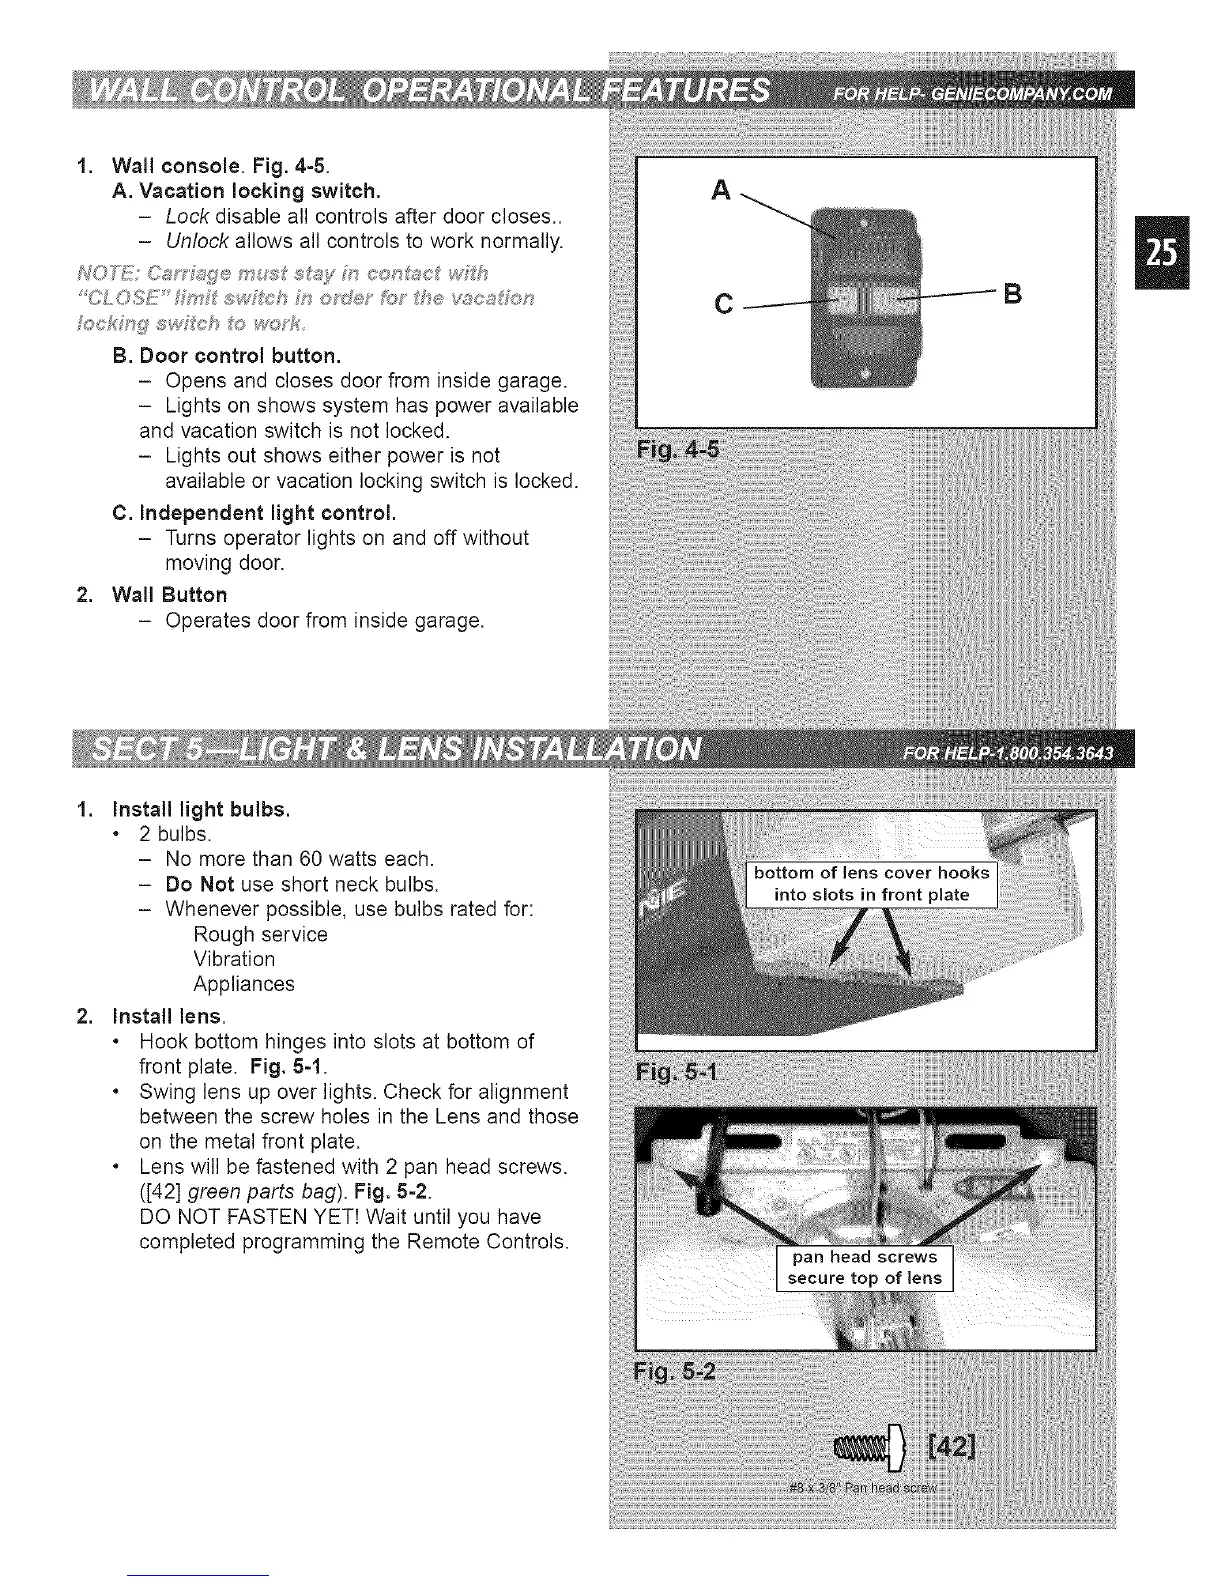
1. Wall console. Fig. 4-5.
A. Vacation locking switch.
- Lock disable all controls after door closes..
- Unlock allows all controls to work normally.
fockMg" swf_eh t_:_woTf_
B. Door control button.
- Opens and closes door from inside garage.
- Lights on shows system has power available
and vacation switch is not locked.
- Lights out shows either power is not
available or vacation locking switch is locked.
C. independent light control.
- Turns operator lights on and off without
moving door.
2. Wall Button
- Operates door from inside garage.
A
C
B
.
.
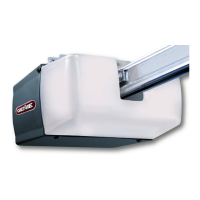
Install light bulbs.
. 2 bulbs.
- No more than 60 watts each.
- Do Not use short neck bulbs.
- Whenever possible, use bulbs rated for:
Rough service
Vibration
Appliances
Install lens.
. Hook bottom hinges into slots at bottom of
front plate. Fig. 5=1.
. Swing lens up over lights. Check for alignment
between the screw holes in the Lens and those
on the metal front plate.
. Lens will be fastened with 2 pan head screws.
([42] green parts bag). Fig. 5-2.
DO NOT FASTEN YET! Wait until you have
completed programming the Remote Controls.
 Loading...