SmartObserver User Manual
SmartObserver Data Logger
6
Data Logger Congurator Utility
Geolux provides a user-friendly PC application, Geolux Instrument Congurator, for setting up the
Geolux SmartObserver data logger’s operating parameters as well as taking an image with the
Geolux HydroCam camera in case the camera is connected to the data logger.
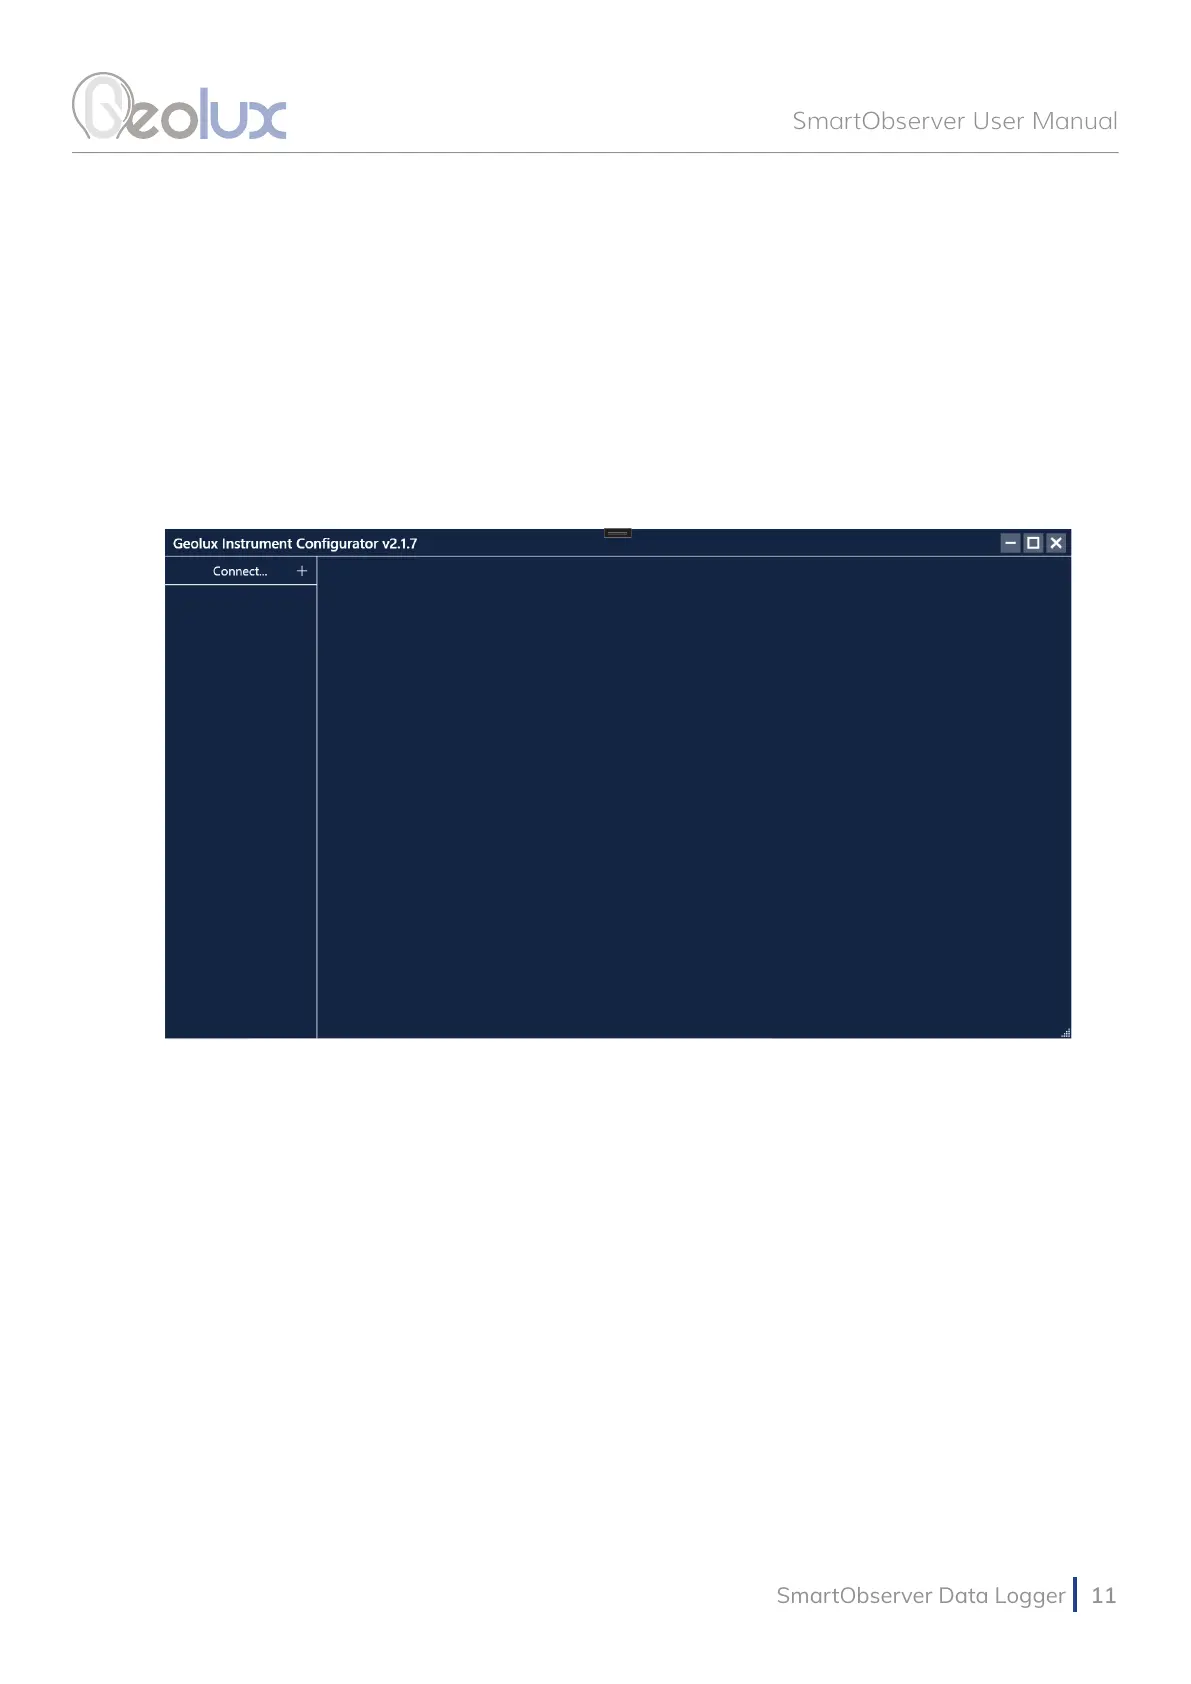
When started, the Geolux Instrument Congurator displays its main window. Picture 9. shows the
Geolux Instrument Congurator main window on start-up.
To connect the Geolux Instrument Congurator with the instrument, connect your PC to the data
logger using a serial cable connection. Then, click the Connect button in the upper left corner and
select SmartObserver from the window which appears. In the next window, select the appropriate
COM port. When the Connect button is clicked, Geolux Instrument Congurator will try to establish
a data link between your PC and the data logger. If the connection is successful, the device will
appear under Connected devices and the Settings tab will be displayed as shown in Picture 10.
Instrument settings are sorted into 4 groups: Logger settings, GPRS settings, Battery settings and Input
and output settings. By clicking the name of a specic group, all the settings which belong to that group
can be viewed and changed. The following settings are displayed:
Logger settings
Date and time
GPRS settings
APN
Username
Password
DNS
Server address
Script path
Mobile operator lock
Modem connection
Battery settings
Charge current
Max. charge voltage
MPPT voltage
No-charge temp.
Enable charge
Input and output settings
Send alert on GPIO
Picture 9. Geolux Instrument Congurator Main Window