SERVICE MANUAL ProSeal Classic/Plus/Premium
20
4 Repair
4.1 Repair printer (ProSeal Premium)
The print head needs to be handled very carefully. For correct printing, the print head
needs to be replaced by following the next steps.
Attention! To avoid damage caused by electrostatic charging.
Before starting always remove the base frame from the housing
(paragraph 2.2).
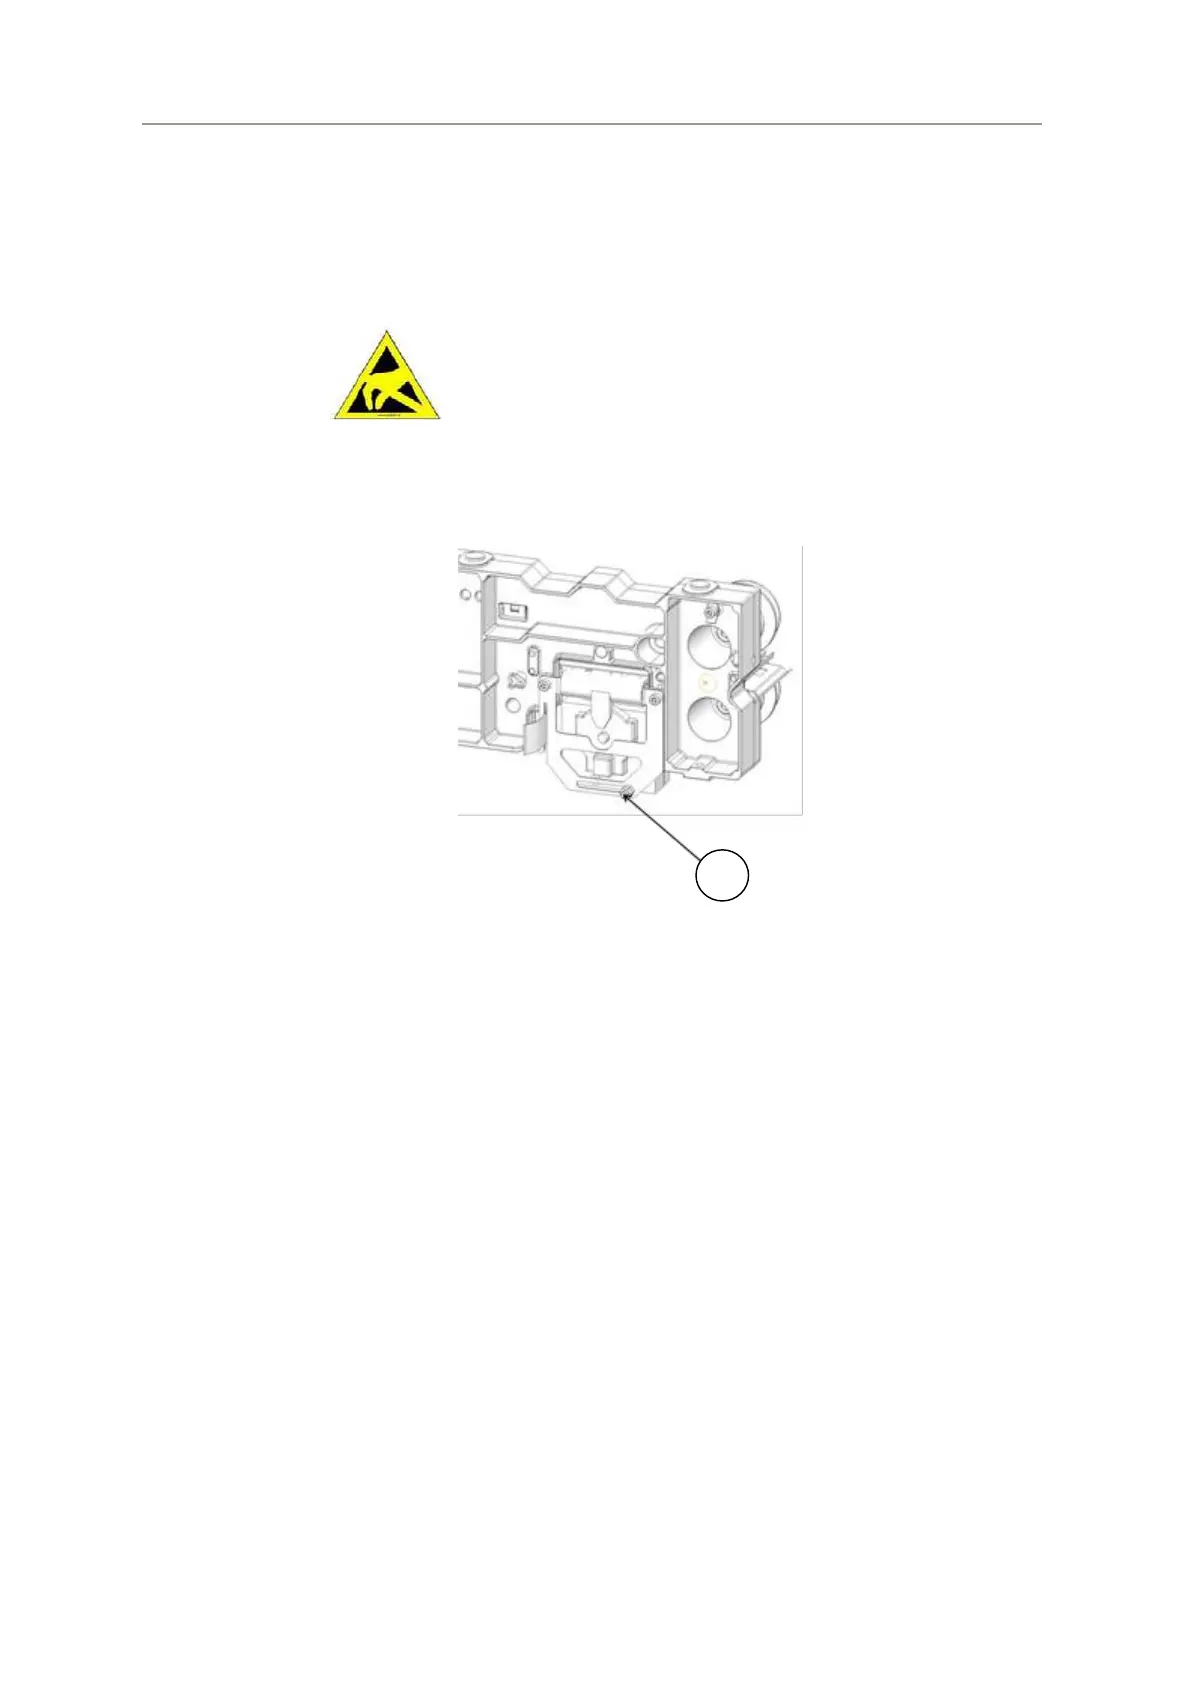
Remove the printer ribbon housing (1) (Pic 26).
Pic 26
Remove the defective print head and replace it with a new one.
Place the blue lever (1) (Pic 27) on its middle position.
A space of 0.3-0.4 mm has to be applied between the print head and the nylon
printing wheel (see paragraph 2.5).
Loosen the screw (2) (Pic 16).
Lay a feeler gauge from 0.3-0.4 mm above the print head.
Place the nylon printing wheel so that it is lying on top of the feeler gauge.
Fasten the screw and remove the feeler gauge.
Place the printer ribbon housing back.