"
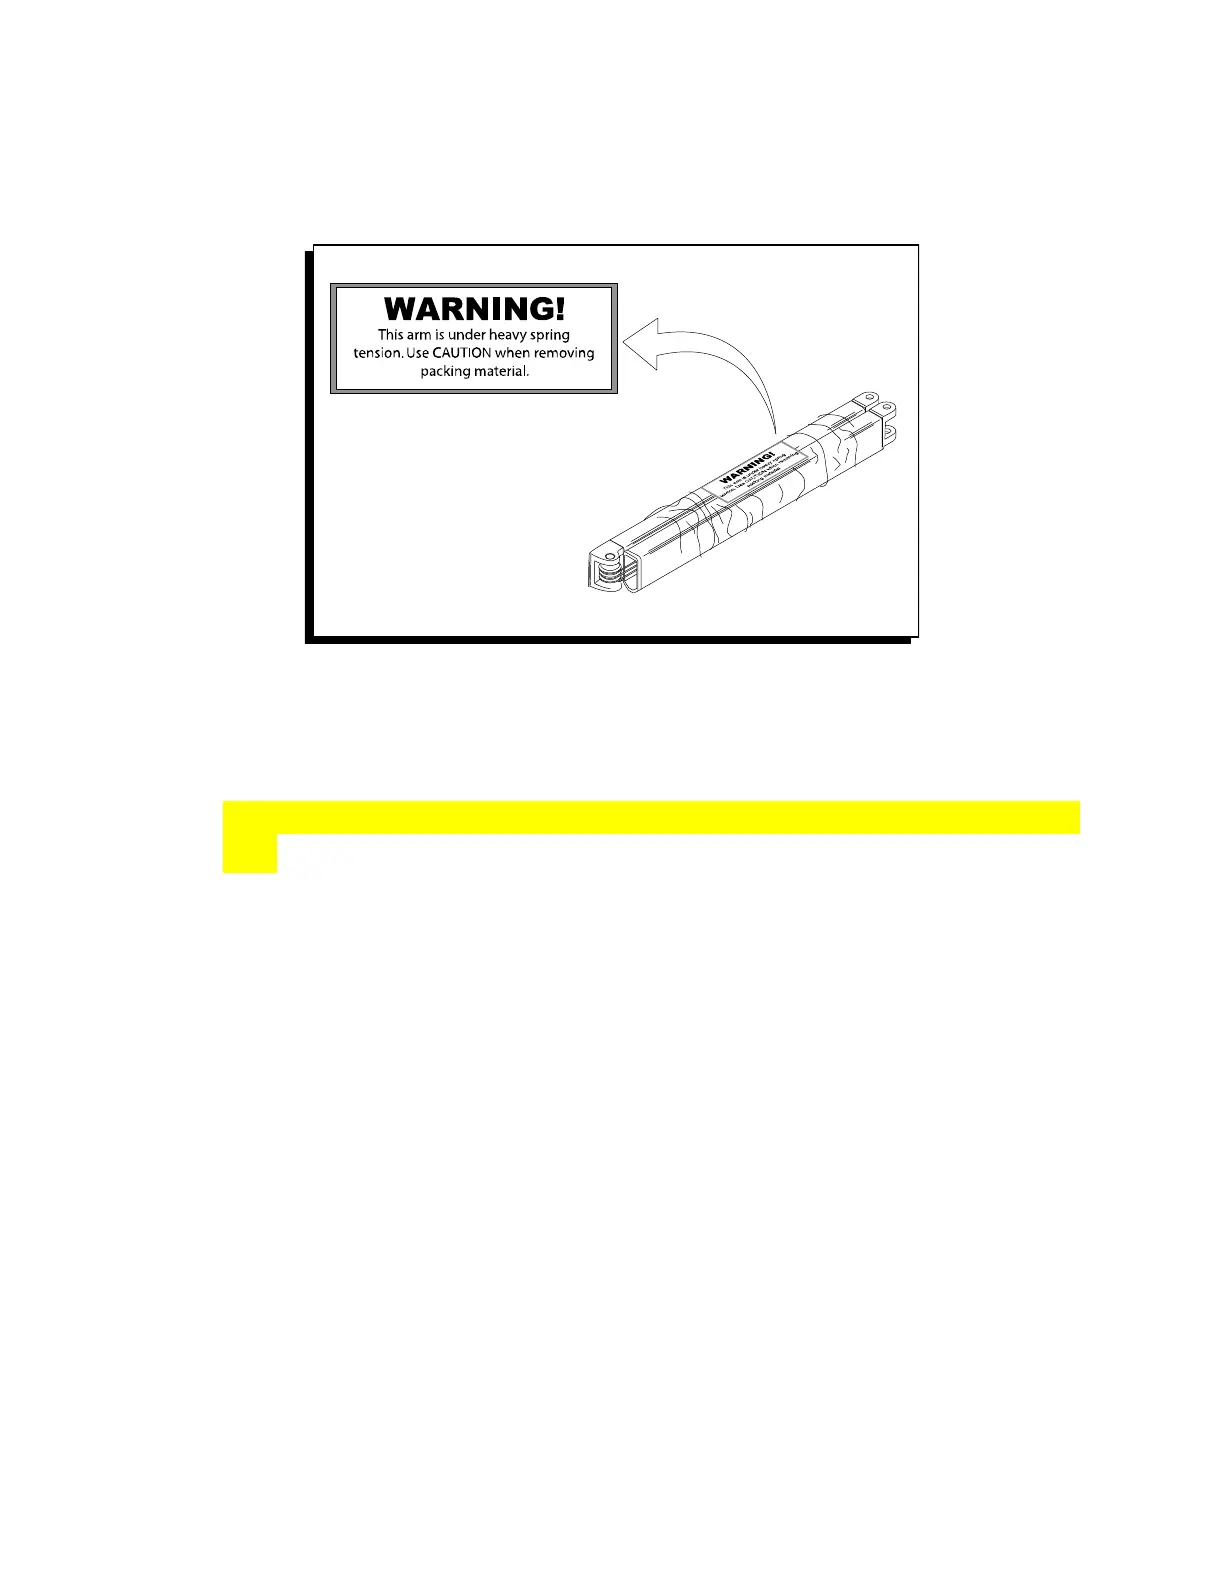
(Figure 18)
1.
Support the lead rail and carefully open the awning a few feet. If the elbow is
open tie a large rag around it to protect the fabric from the elbow.
2.
CAUTION: THERE WILL BE A VERY LOUD NOISE WHEN THE CABLES ARE
CUT. Cut the stainless steel cable at the elbow to release the spring tension, then
proceed with arm removal. If leaving the arm under tension, remove the 17mm
nut at the lead rail connection, fold and tape the arm very carefully, then
proceed with arm removal.
3.
On the lead rail side of the arm remove the 17mm nut and washer, set them
aside to later connect the new arm.
4.
At the shoulder assembly of the arm, in the cassette, remove both 19mm lock
nuts and washers, or the bolt and nut.
5.
Remove the forward most bolt from the arm and shoulder connection. Use this
bolt for the new arm installation if new hardware is not provided. Hold the
bottom pitch adjustment block with your thumb to keep it from falling. When
removing the arm from the shoulder pay special attention to the parts located in
the shoulder washer-square tube pitch adjustment screw and block.
6.
Carefully slide the arm and remaining bolt away from the shoulder.
7.
Do not unband new arm until it has been fastened to the shoulder inside of
the cassette.