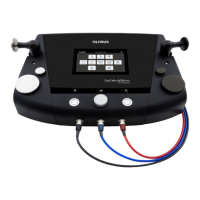
Connection of the electrodes
Take the electrodes from the original packaging; all new electrodes have a sealed
packaging. Ensure that the device is off. To start, connect the two plugs of the cables to
the electrodes, then remove the electrodes from their place and put them on the skin. To
place the electrodes correctly, see the images at the end of this manual.
After the use, place the electrodes back in their specific place.
WARNING: do not unplug the electrodes if the device is operating.
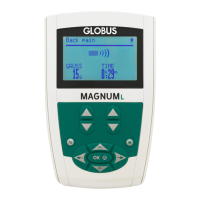
Battery
The device works both connected to the mains and with the use of rechargeable
batteries.
The device is equipped with a nickel-metal hydride rechargeable battery pack (7.2V,
1.8Ah), which has a high performance and no memory effect.
The battery has an estimated life of 6 months in case it is not used. The number of
cycles (discharge and recharge) depend on the type of stimulation and on the frequency
treatments are executed. The device is supplied with charge indicator; it is advisable to
recharge when it indicates ¼. In case after recharge the number of executable
treatments is reduced, the battery must be replaced.
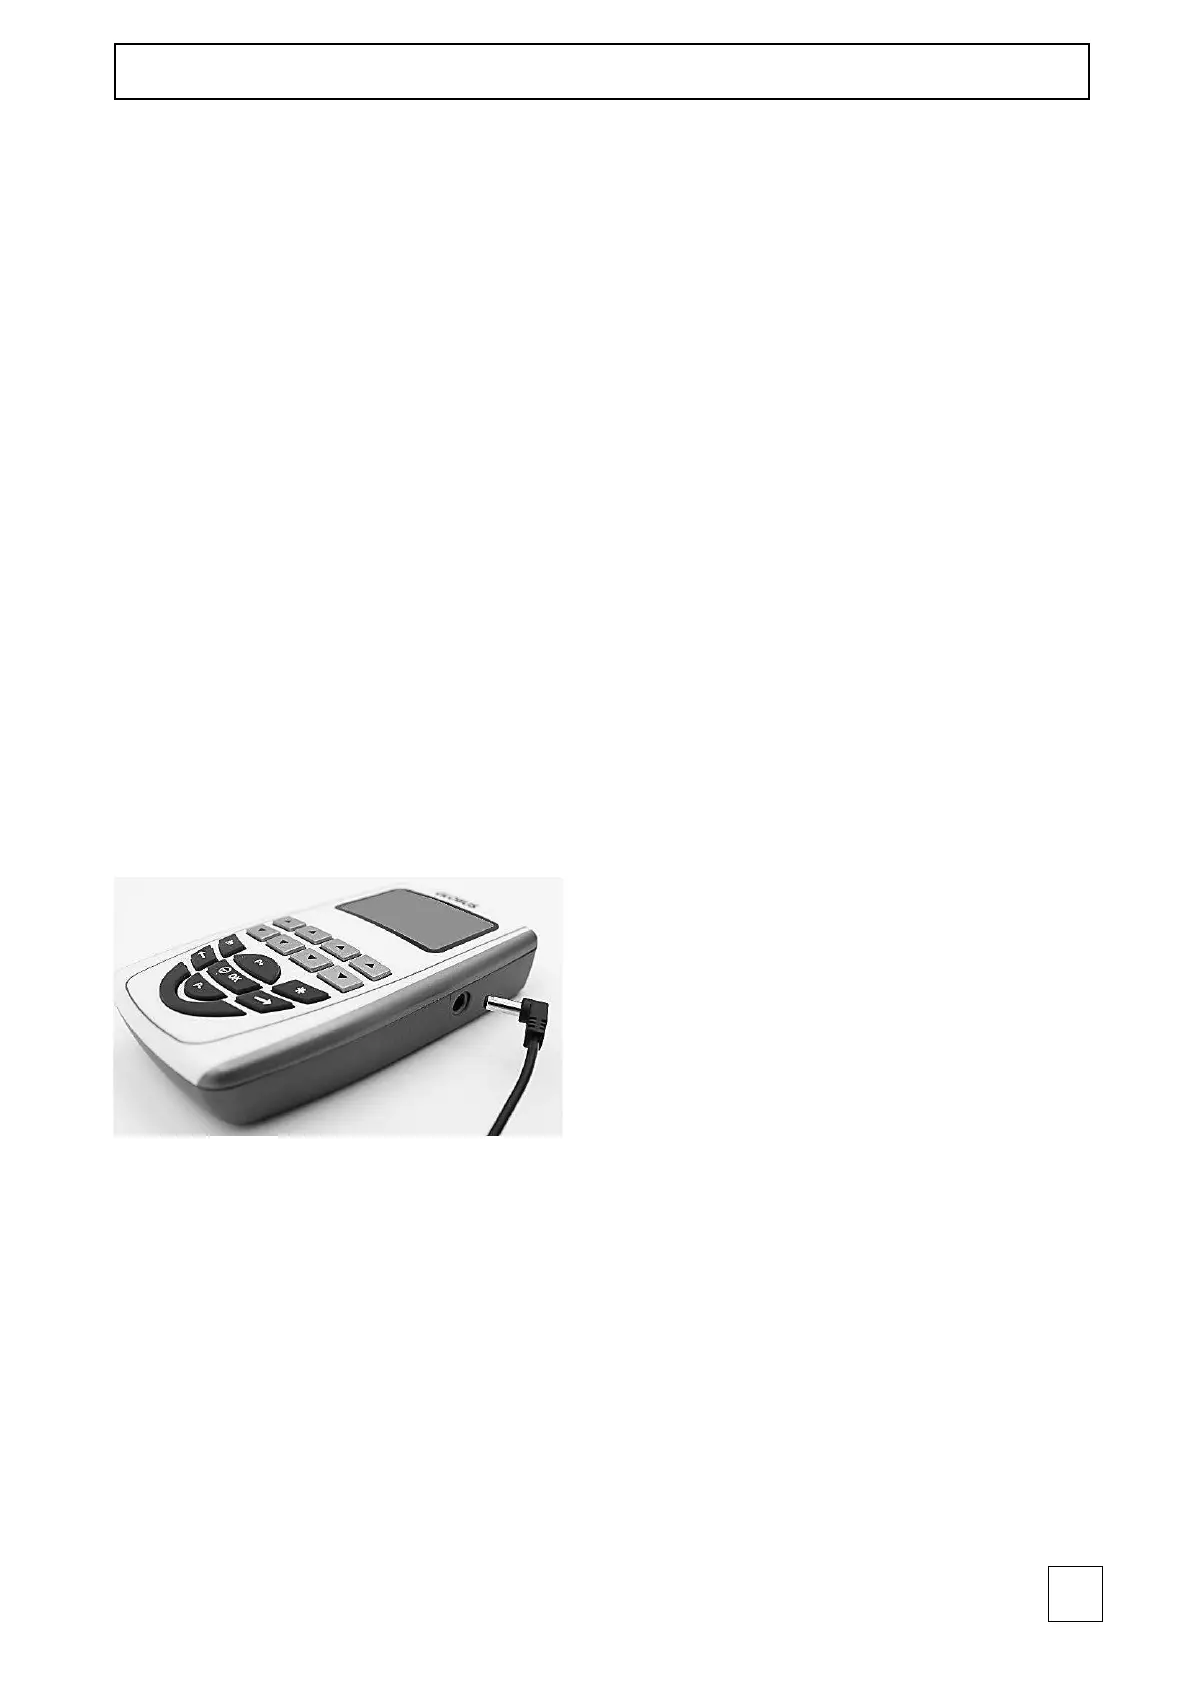
How to charge the batteries
Turn the electrostimulator off and disconnect the electrodes, then connect the
elctrostimulator to the power supply by inserting the plug in the appropriate inlet (see
picture above). Do not use a power supply different from the one provided with the
device. Contact an authorized service center to replace the set of batteries.
Use of the waterproof case
To ensure the IP 02 waterproof level in home use, put the device into the waterproof
case included in the equipment. Then pressure-close the zip and let the cables come out
of the upper corner of the case. Use a twist tie to seal the closure on the corner.
Complete the insertion as in the picture below.