12 Servicing
12.3 Burner
Isolate the gas supply at the gas service cock.
Disconnect the gas supply at the gas valve.
Remove igniter unit, flue hood, fan and gas valve assembly
and spark electrode lead.
Remove the flanged nuts and studs that secure the burner,
note that two studs at the rear also hold the fan clamping
bracket, see diagram 12.2.
Clean the burner with a soft brush taking great care not to
damage the surface of the burner. DO NOT use wire or sharp
instruments to clean the mesh of the burner.
Check the spark electrode gap is 4mm. Clean and adjust as
necessary.
NOTE: The burner gasket should be inspected but will not
need replacing unless there are signs of wear or damage.
Follow the suggested tightening sequence when re-fitting the
burner, see diagram 12.2.
It should not be necessary to remove the spark electrode
from the burner during servicing. If removal of the electrode is
required refer to Replacement of Parts, section 14.12.
IMPORTANT: Do not allow fixings, nuts, screws, etc. to fall
into the open flue hood sump, use a temporary cover whilst
removing any parts.
12.4. Heat Exchanger
Remove loose debris from inside the heat exchanger using a
soft brush and vacuum cleaner.
Carefully flush by spraying water into the heat exchanger, any
remaining debris should pass through the condensate trap
(Ensure the water is kept away from electrical components).
12.5 Condensate Trap
The condense trap does not normally need removing during
servicing unless the service fill level is at full, see diagram
14.11 and section 14.14 for removal.
To flush the condense drain carefully pour water into the heat
exchanger and check that water flows freely to drain.
12.6 Combustion Check
A combustion check should not be necessary unless a gas
carrying component has been replaced or the combustion set-
ting is suspect.
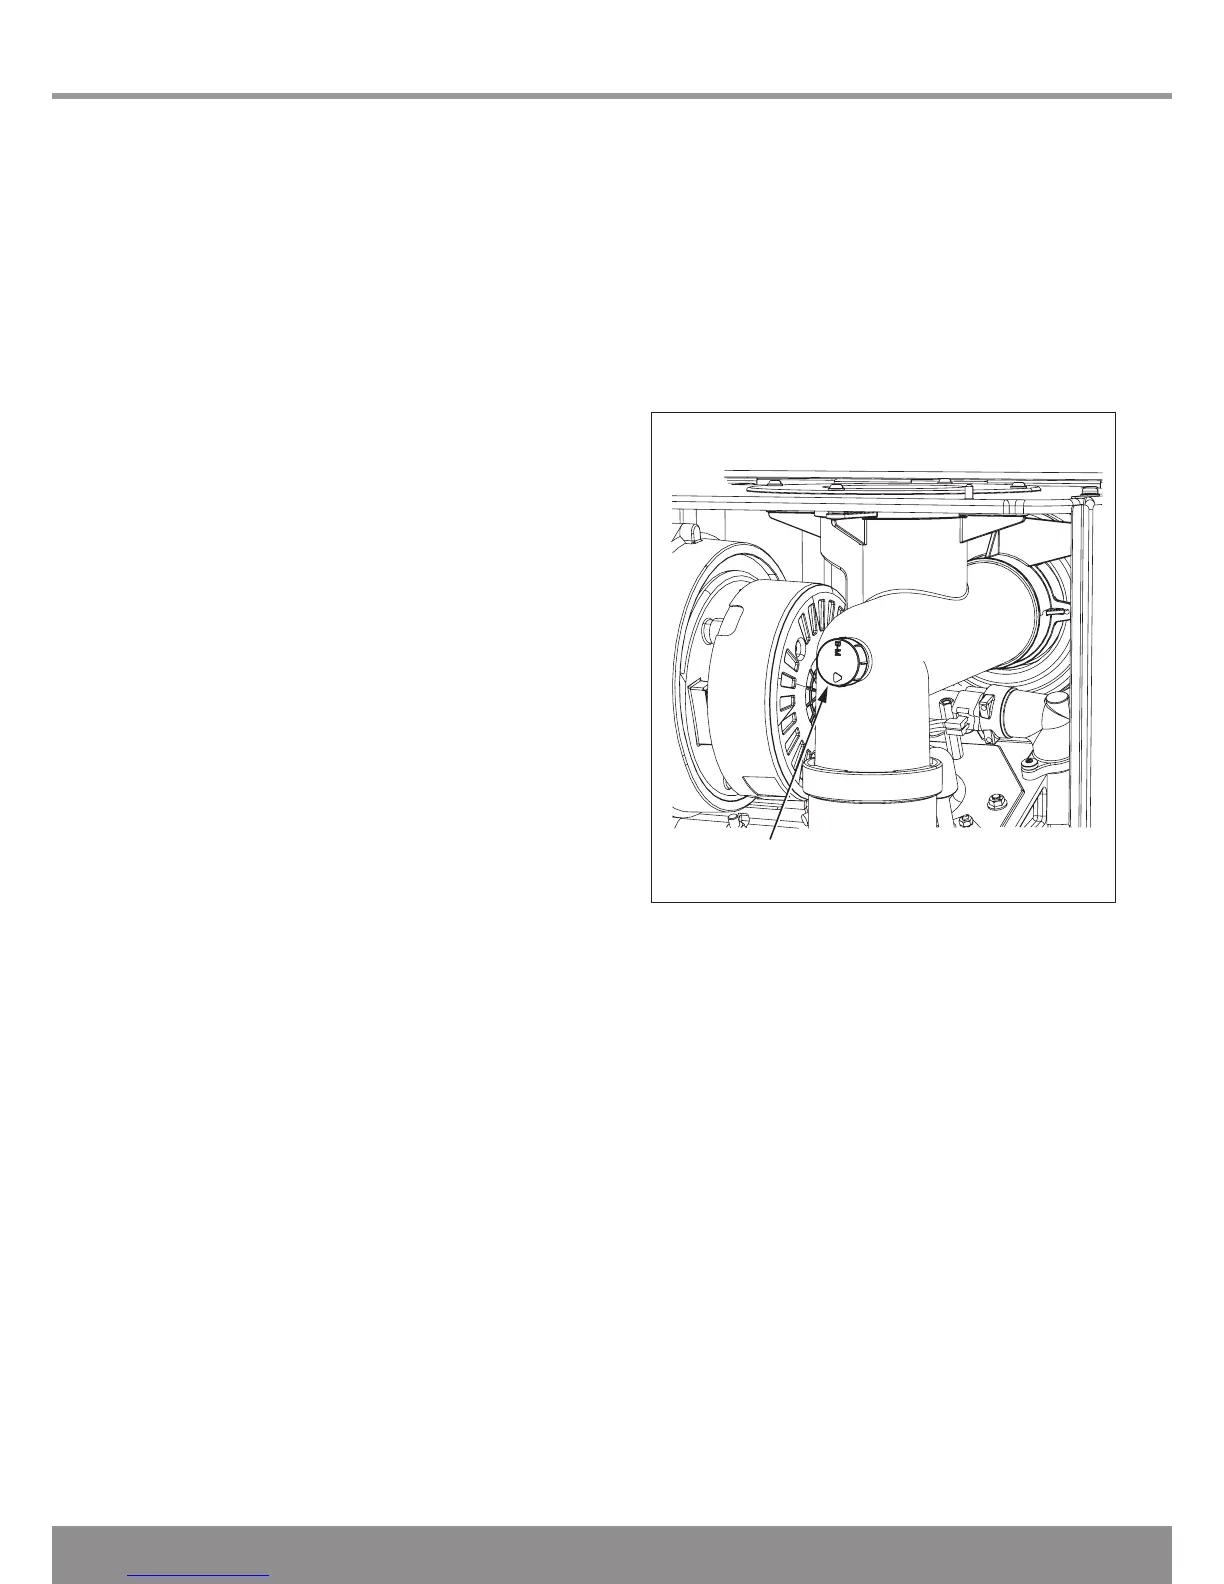
Connect a CO
2
combustion analyser to the test point, see
diagram 12.3.
Turn on the gas service cock, see diagram 12.1.
Turn on the electrical supply, the appliance will begin the igni
-
tion sequence.
13028
Diagram 12.3

 Loading...


