INSTALLATION
NOTE: The TX4800 is designed for connection to
negative earth electrical systems only.
SELECTING A LOCATION
It is advisable to spend a little time selecting the best
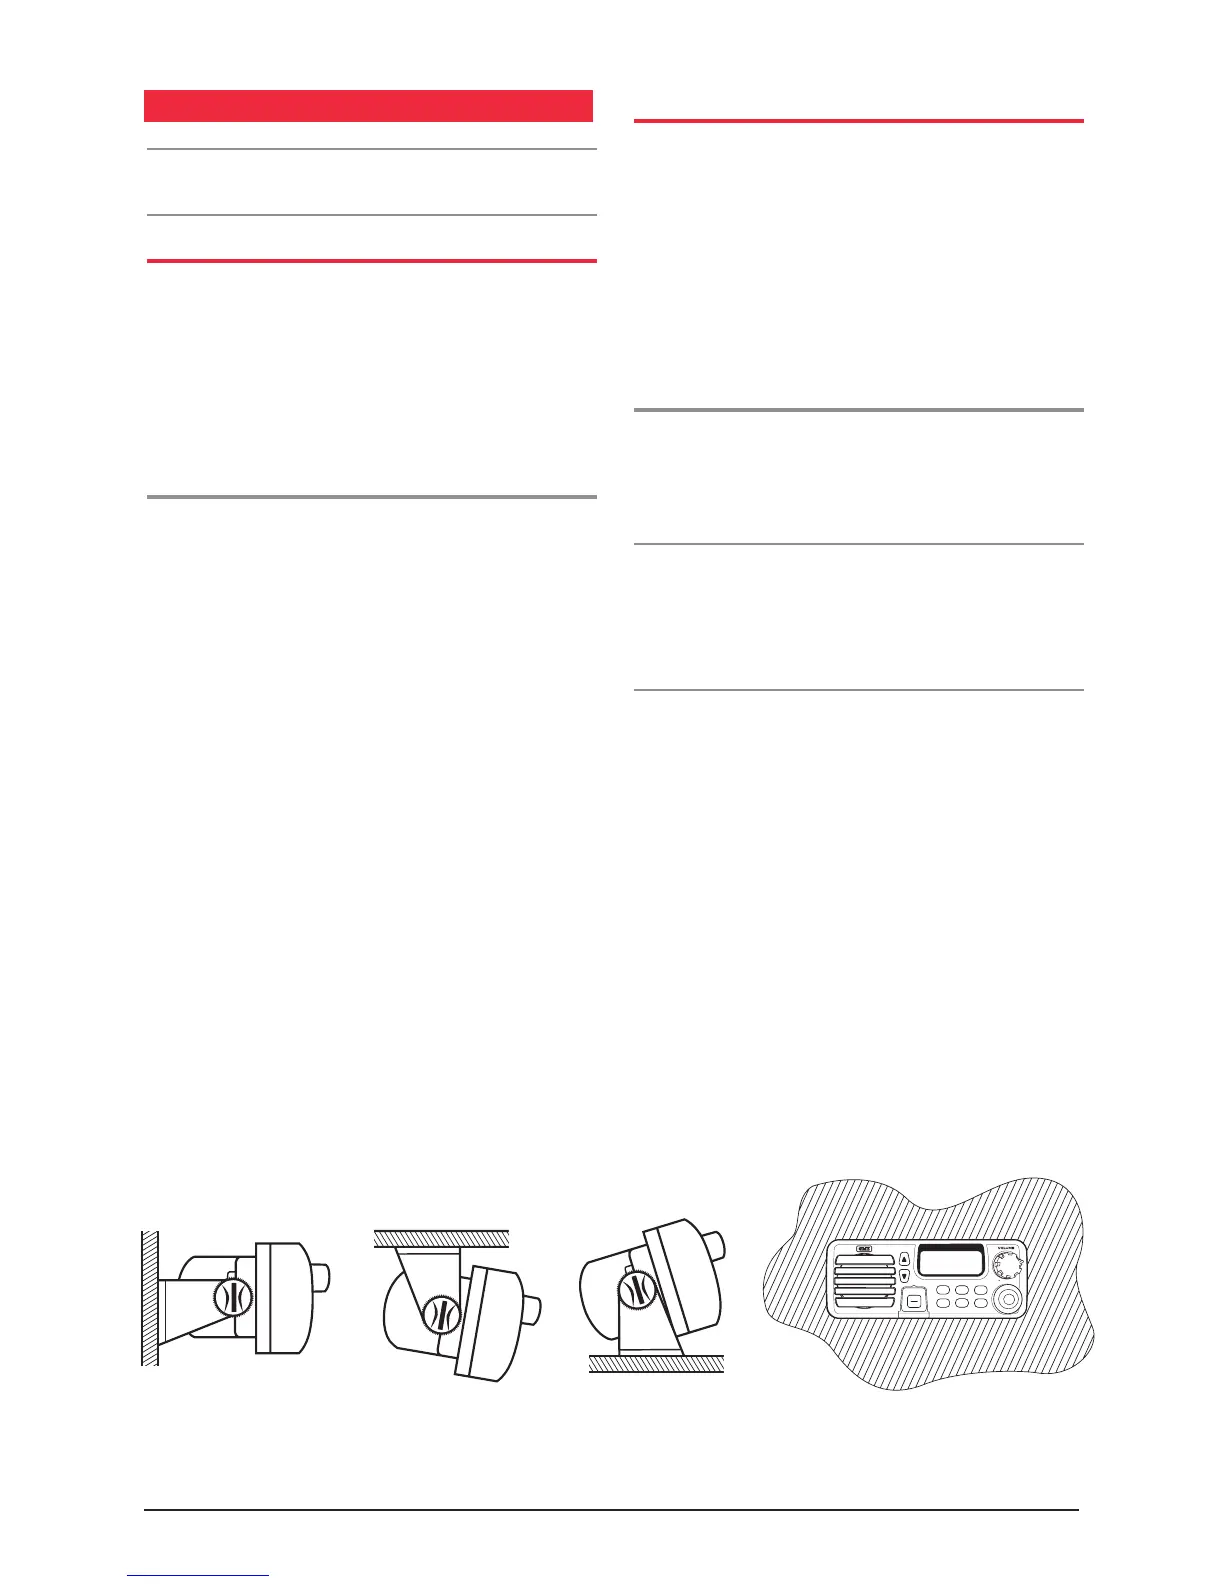
location for the TX4800. The mounting bracket can be
rotated above, below or behind the radio enabling the
radio to be mounted in a wide range of locations. In
addition, using the optional flush mounting kits (MK600,
MK001, MK002) the TX4800 can be mounted directly in
a panel or dashboard.
Upright or Overhead Mounting
Keep the following points in mind when choosing
a location.
•
The TX4800 is designed to meet the IP67 specification
which allows for direct water spray. However, we
recommend you select a location that will minimise
excessive exposure to water splashes or
continuous rain.
•
Select a location that won’t expose your radio
to continuous direct sunlight which could cause
overheating or UV degradation.
•
Ensure that the location allows a free flow of air
around the heat sink on the back of the radio.
•
The microphone and all controls should be readily
accessible and the loud speaker easily heard from the
normal driving position.
•
For best results connect the battery leads directly
to the vehicle's battery. If you need to extend the
power leads to reach the battery use heavy insulated
automotive wire of at least #10 gauge.
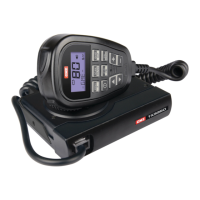
INSTALLING THE UNIT
After choosing your location, hold the unit with the
mounting bracket attached into the desired position and
mark the location with a pencil. Remove the mounting
bracket from the radio and drill the mounting holes. Bolt
or screw the bracket in place using hardware suitable
for the mounting surface. The unit is supplied with
stainless steel screws; however, if the mounting surface is
unsuitable for screws you may need to replace these with
stainless steel bolts.
DC Connections
Connect the RED power lead to the Positive (+) side of
the battery or to an accessory point in the fuse box.
Connect the BLACK power lead to the negative (-) side of
the battery or to a suitable ground point.
Note: The power lead is supplied with two 10 Amp
fuses. If the fuse blows, use only a standard 10 Amp
BLADE fuse as a replacement. Use of higher rated fuses
or 'slow blow’ types could result in damage to your radio
which would void the warranty.
Connect the antenna cable to the rear antenna socket on
the radio using a BNC coaxial connector.
In a high noise environment an extension speaker may be
installed close to the operator. The internal speaker may
be disconnected if required.