3838 3939
Settings / Sensors / Sensors
Configuration / Current Sensors /
Categories
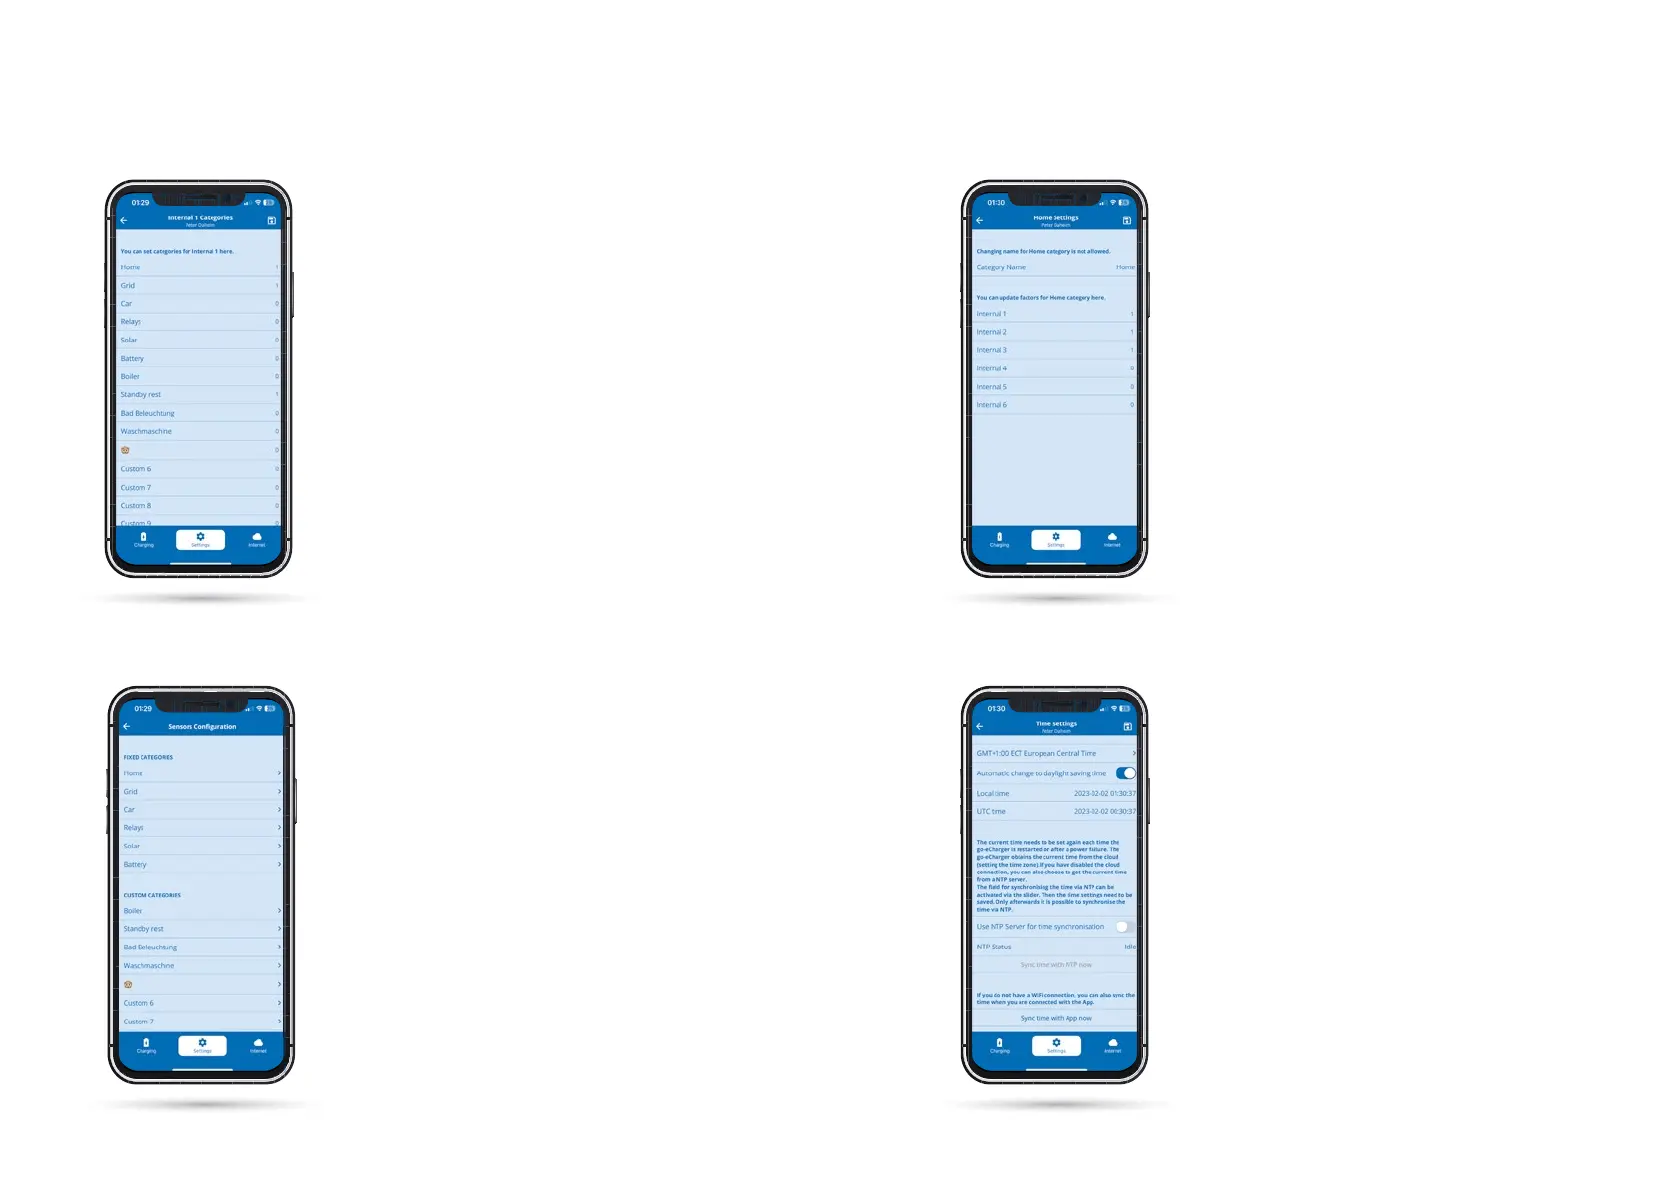
If you tap on "Categories" in the "Settings"
menu, you will get to the sensor conguration
view. Here you can select individual categories
and then assign the selected category to the
various connected sensors. So this is an alter-
native way to link loads and sensors.
Settings / Categories
If you select one of the categories, you can
enter a number for the factor with which this
category is to be considered by the respective
current sensor directly behind the name of the
respective internals (current sensors). Please
note the previous remarks in the manual. If you
have already entered factors via the Controller
menu or via the "Sensor conguration" setting,
you will already see numbers here.
For custom categories, you can even change
the name of the category, for example, to boiler
if you measure it with a sensor.
Please note here as everywhere in the app: You
have to save changes by tapping the disk icon in
the upper right corner.
Settings / Categories
Category details
Settings / Controller Time Settings
In this submenu you select which category the selec-
ted load, in our case Internal 1, should be assigned to.
Simply enter a number behind the respective catego-
ry for the factor with which this current load is to be
considered.
For example, if you measure your mains connection
with a sensor, you should assign the factor 1 to this
load in the category "Grid". If you do not have a sepa-
rate sensor on the load branch, in other words the rest
of your household, you should also assign the "Home"
category with a factor of 1.
If you measure the current of a three-phase AC PV
system with only one sensor on one phase, you must
set the factor for the "Solar" category to 3 for the cor-
responding sensor so that the total power of the PV
system can be displayed correctly. This works here be-
cause a three-phase inverter delivers the same power
on all phases. So you save two sensor connections for
other purposes.
Advanced users can synchronize the time via an
NTP server or the app. If the go-e Controller is
connected to the go-e Cloud via the Internet, it
always receives the current time through this.
In this case, no settings are required here.
In the time settings, the time zone can be set
and the automatic summer time changeover
can be activated.
10b. Commissioning/operation via app