1616
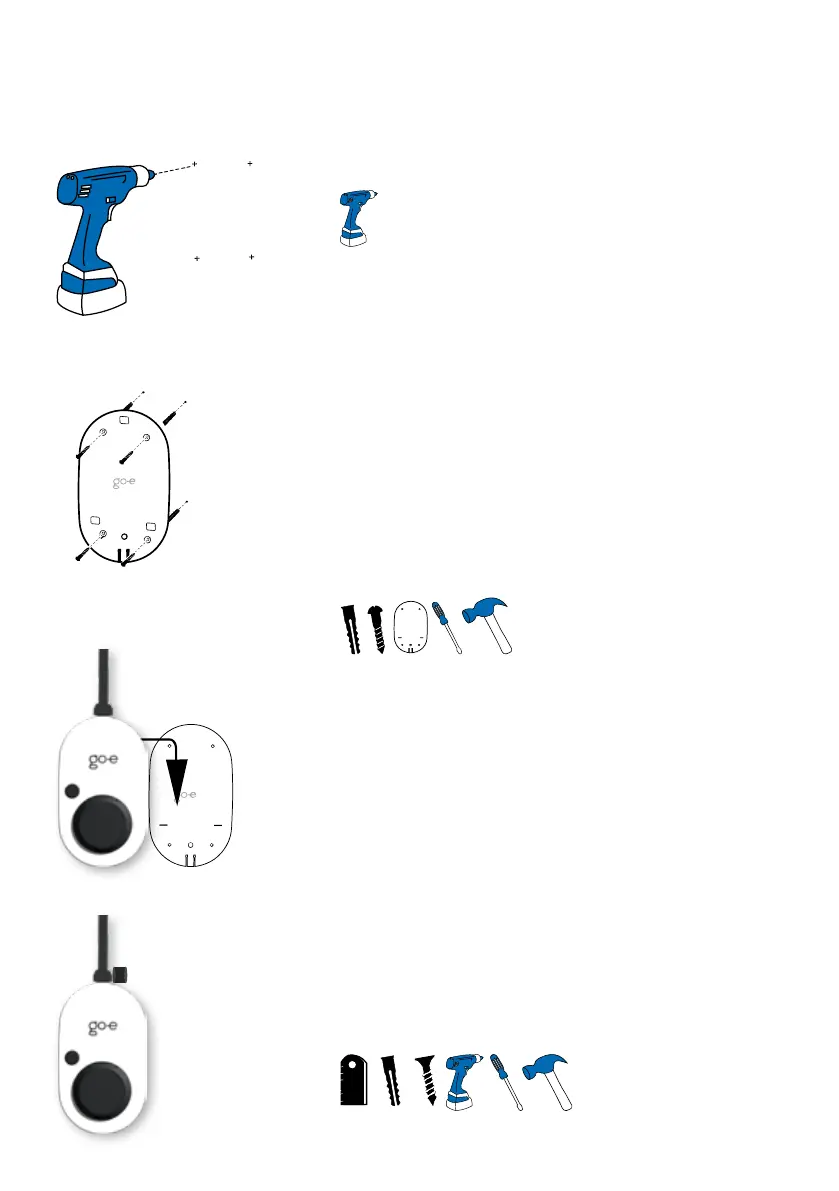
8. Installation
4.
Hook the go-e Charger into the wall bracket.
Optional: If required, attach the supplied U-pie-
ce directly above the charger, making it impossi-
ble to remove the device from the wall bracket.
In addition, a padlock (not included in the scope
of delivery) can be attached.
2.
Drill holes at the four marked positions.
4x
3.
Attach the wall bracket with four screws and do-
wels each. Drive the dowels into the wall with a
hammer.
Make sure that the surface is not warped. The
device may not be attached if the wall bracket is
distorted. Compensate possible unevenness of
the wall with spacers (not included in the scope
of delivery).
4X