2. Setting up the Printer
2-1. Connecting the EZ-2/4 Printer to a Power Outlet.
1. Plug the power cord into a power outlet.
2. Plug the AC adapter cable into the power jack at the rear of the printer
3. Turn the printer on by pressing the power switch.
4. The LED on the printer will turn red.
5. Proceed to 2-2 Loading your printer with Labels.
2-2. Connecting the EZ-2/4 Printer to a PC
1. Be sure the printer is powered off.
2. Plug the power adapter into the printer power jack.
3. Connect the printer to the parallel interface on the PC (with the cable provided)
4. Power on. The LED light will be red (no label) or green.
2-3. Loading the EZ-2/4 Printer with Labels
Loading small-size label roll
1. Power on.
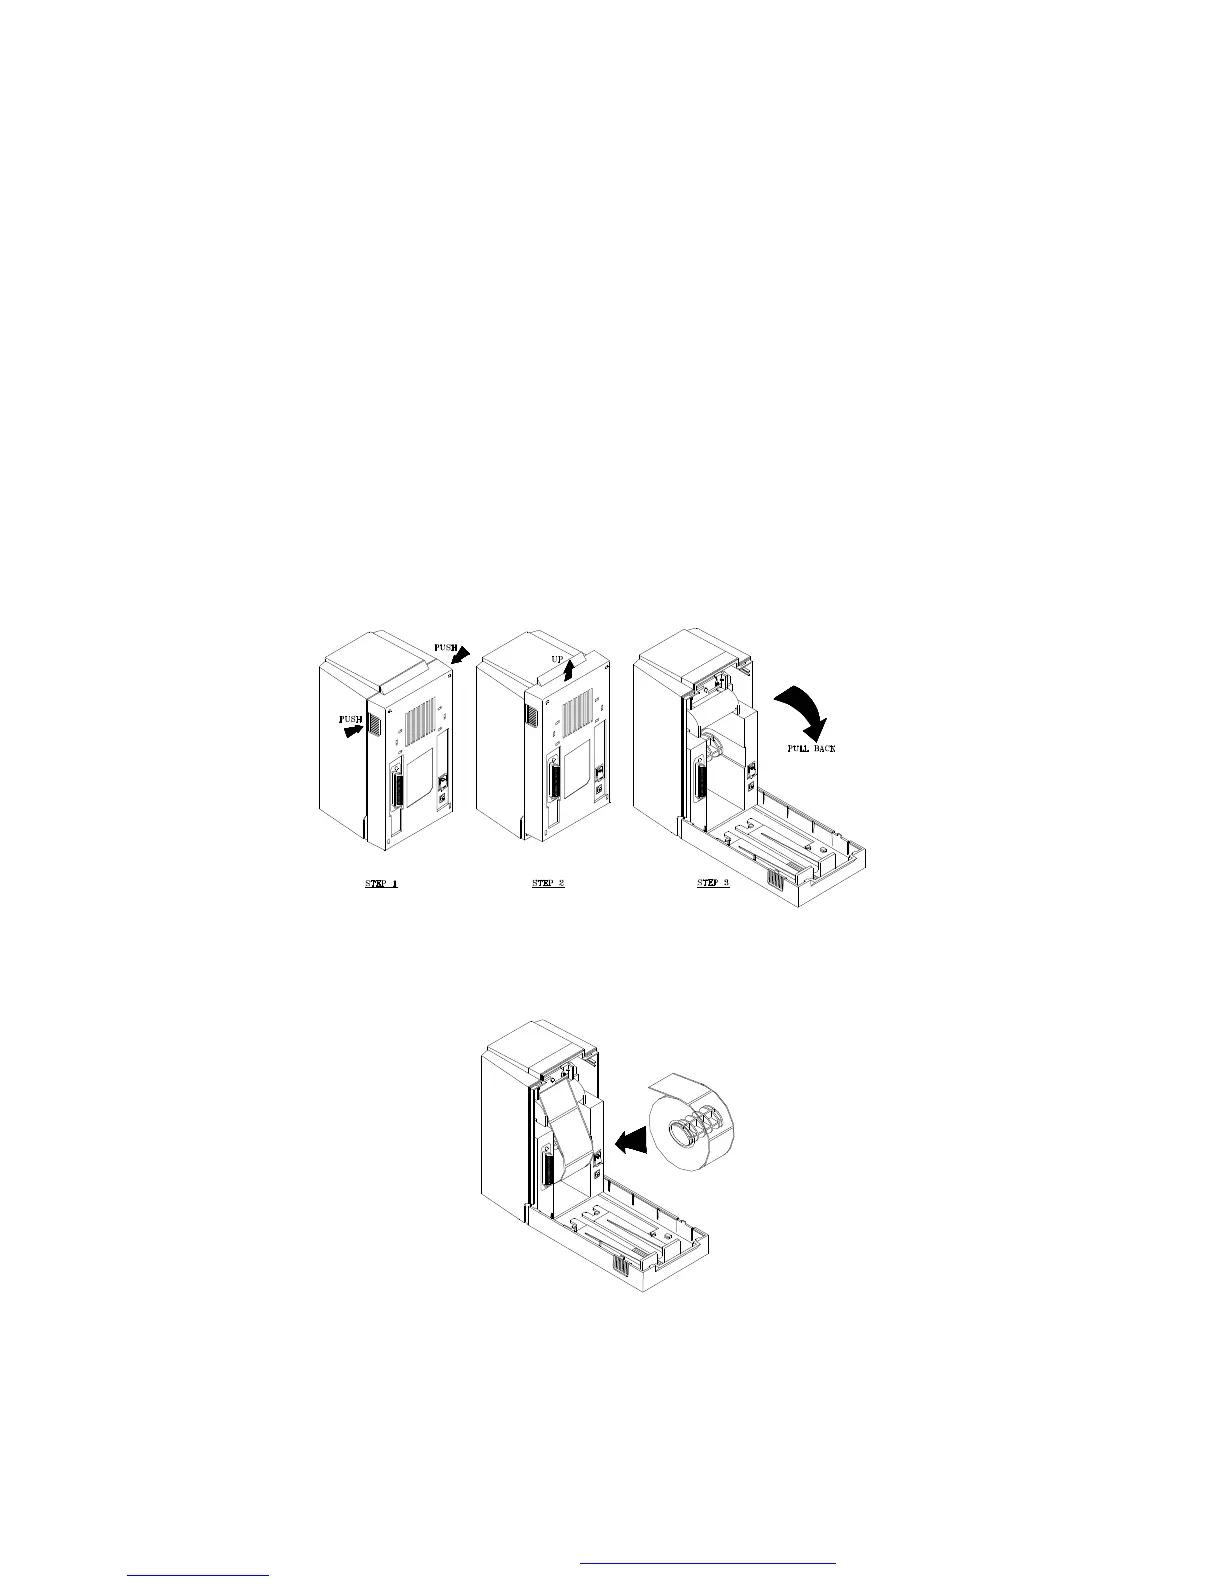
2. Press the two lock switches (part 6) and lift up a little to open the rear cover (see figure
2.3.1).
F
ig. 2.3.1
3. Insert a small-size label roll onto the core shaft (see figure 2.3.2).
4. Place the roll into the groove.
5. Insert the edge of labels into the label guide, until the edge is blocked by the printhead.
6. Press feed button to drive the label (under the printhead) into the printer.
Fig. 2.3.2
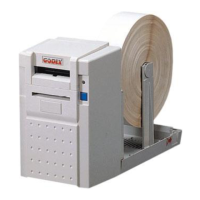
Loading large-size label roll
1. Power on.
2. Press the two lock switches (part 6) and lift up a little to open the rear cover. (See figure
2.3.1)
3. Remove the label roll stands. Vertically place the two stands along the left and right sides
Of the rear cover.
4. Place the large-size label roll on the stands (see figure 2.3.3).
5. Insert the edge of labels into the label guide, until0l the edge is blocked by the printhead.
PDF created with FinePrint pdfFactory trial version http://www.fineprint.com