PROGRAMMING THE MONITORS
9
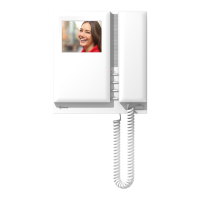
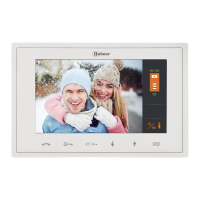
TEKNA PLUS SE MONITOR
To programme the monitor as 1, press button once, and the status LEDSlave
will blink green once. Continue successively to Slave 4, pressing button four
times, with the status LED blinking green four times.
To programme the monitor as , press button and the statusSlave with intercom
LED will blink green once.
Locate the SW2 DIP switch on the EL632 Plus sound module or the EL500SE
microprocessor and set to ON.
In systems with more than one door panel, only perform this procedure on the main door
panel of each building.
Important: To perform this programming, the monitor's SW2 DIP switches should be
set to OFF
.
Switch off the monitor to be programmed.
Once switched off, press the door release push button.
While keeping the door release push button pressed, switch on the
monitor.
To show that the system is ready for programming, the door panel will
emit a number of tones and an image will appear on the monitor, at
which point the door release push button can be released. To
establish audio communication with the door panel, lift the handset.
Press the door panel push button
.
At this moment, the door panel will emit a number
of tones and the monitor's LED will blink red.
To programme the monitor as , press button for 3 secondsMaster
.
Programming the TEKNA PLUS SE monitor:
M
S
SI
Continued overleaf