24 25
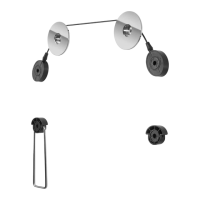
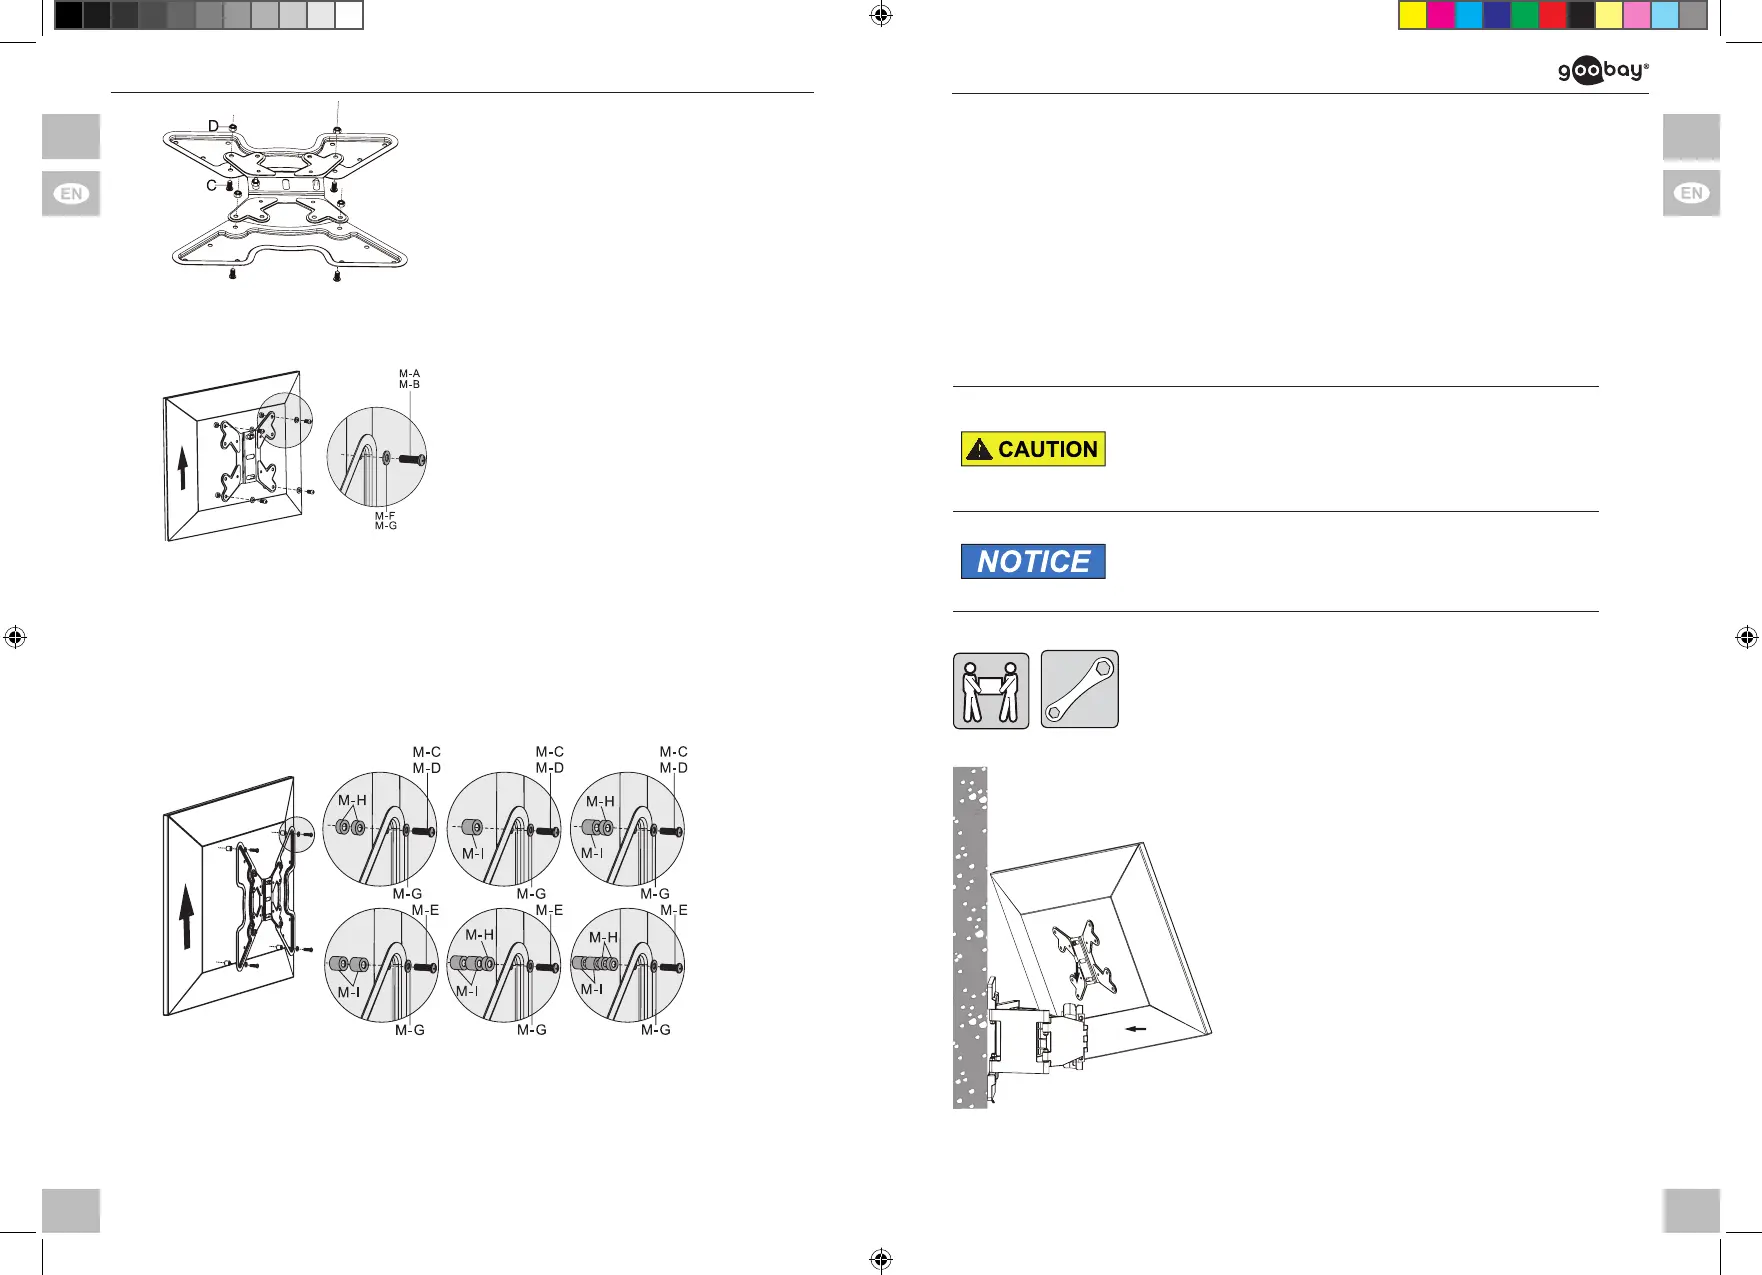
3. Mount at screens of the VESA sizes
300x300mm, 400x200mm and
400x400mm by rst connecting VESA
Adapter (B) to the VESA plate by
using the screws (C) and nuts (D).
B
B
Fi g . 17: Mounting the at screen
4.3.1 Flatscreenswithatback
1. Lean the at screen vertically on a
soft, large surface or a wall and
protect it of scratches and overtur-
ning.
2. Attach the VESA plate with the
washers and screws, tting to your
at screen, to the at screens back
like shown.
Make sure that the pre-assembled nut M8
(D)sitsonscrew1andislocatedontheat
Fig . 18: Flat screens with at back
screens top as described in chapter 4.2. This
nutholdsVESAplateandatscreenwhen
mounting to the wall mount.
4.3.2 Flat screens with arched back
Fig. 19: Flat screens with arched back
1. Lean the at screen vertically on a
soft, large surface or a wall and
protect it of scratches and overtur-
ning.
2. Attach the VESA plate with the
washers, screws and TV spacers,
tting to your at screen, to the at
screens back like shown.
Make sure that the pre-assembled nut M8
(D)sitsonscrew1andislocatedontheat
screens top as described in chapter 4.2. This
nutholdsVESAplateandatscreenwhen
mounting to the wall mount.
4.4 Attachingtheatscreen
Risk of injury by tripping and falling
>>
>>
Place, transport and install product, parts and acceo-
ries in a safe way.
When working with burdens, secure yourself and the
working place, let a second person help you.
Risk of material damage by inappropriate ambi-
ent conditions
>> Keep enough space around product and to the whole
system to ensure proper ventilation and mobility.
Ta b . 1 8 : Attaching the at screen
1. Attach the VESA plate (with VESA
Adapters (B)) connected at screen
together with a 2nd person with the
screw 1 and nut M8 (D) slopingly onto
the notch of the TV wall bracket (A).
2. Set the at screen vertically.
Fig. 20: Attaching the at screen
69295 manual_V3.indd 24-25 30.05.2018 13:21:14
 Loading...