29
(ID: 040708)
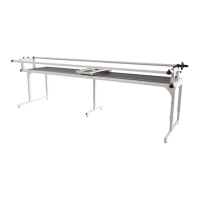
Take Up Leader
Backing
Top Fabric
Batting
1st
2nd
3rd
4th
Quilt Backing
1st
2nd
3rd
4th
Batting
1st
2nd
3rd
4th
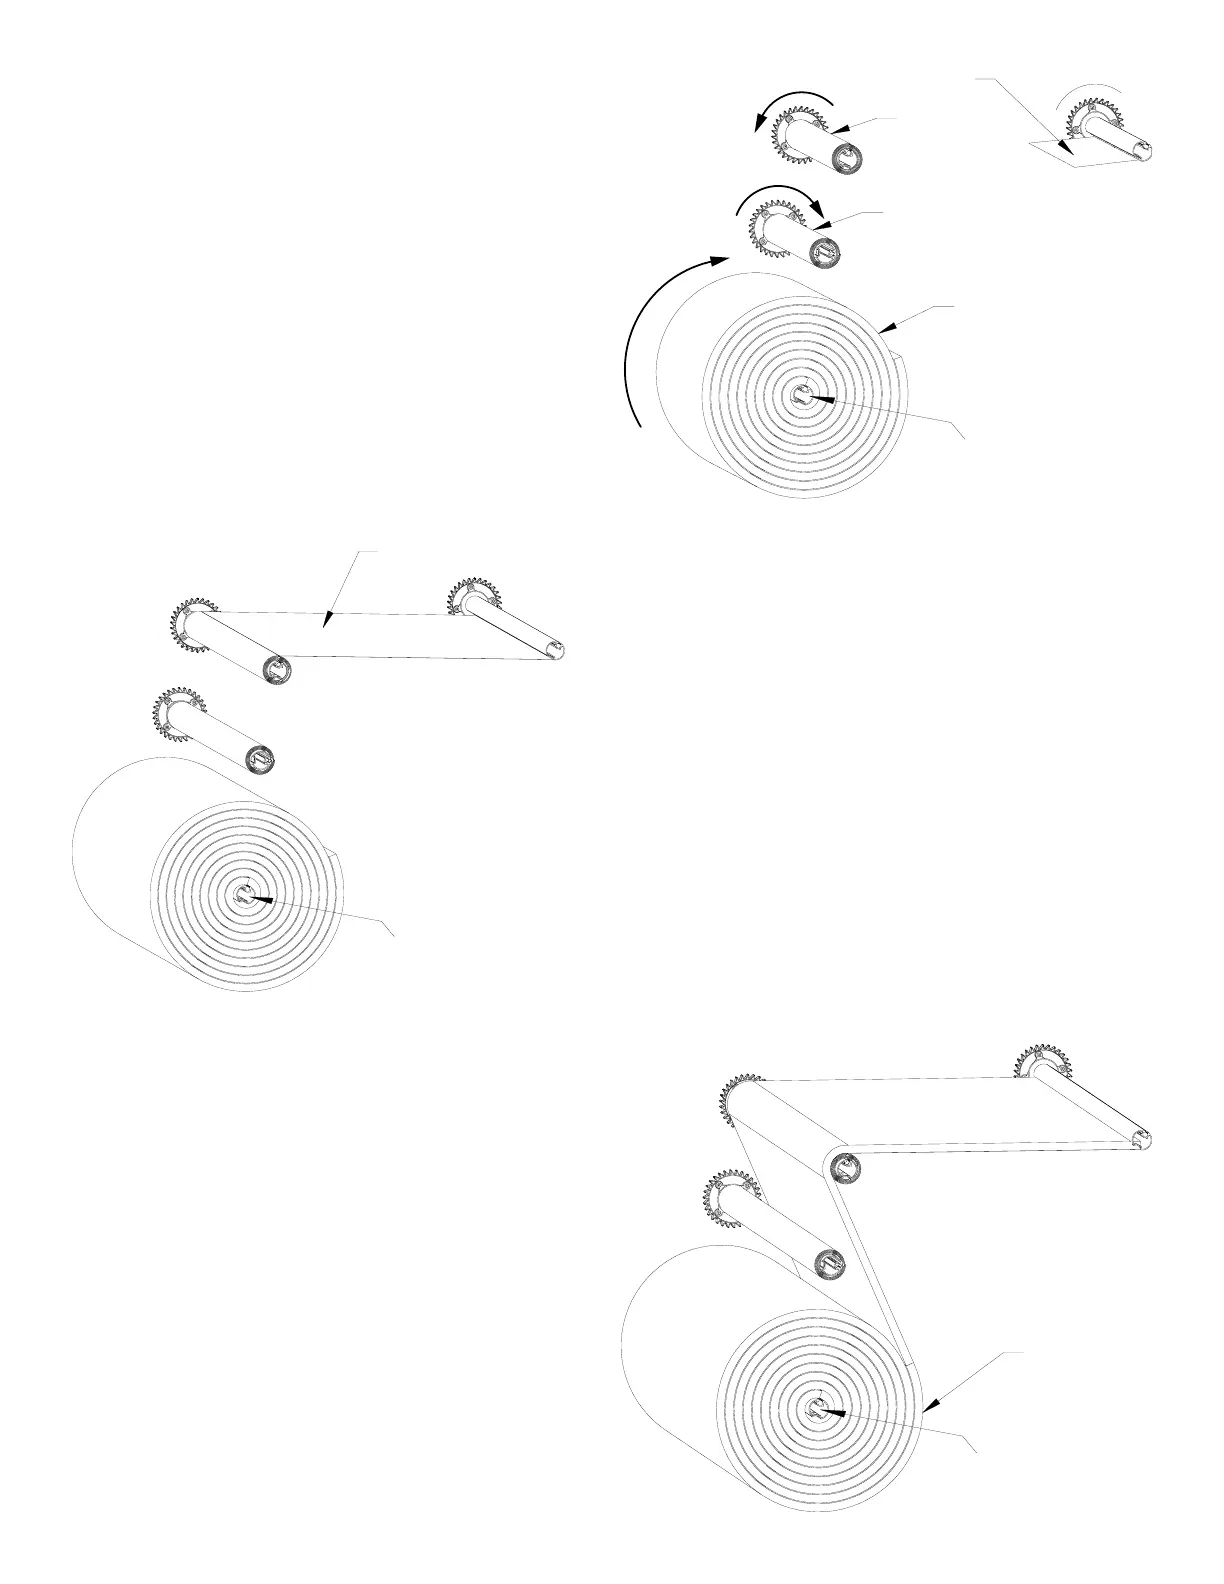
INSTALLING YOUR FABRIC LAYERS TO
THE RAILS
STEP 1: QUILT BACKING TO SECOND RAIL
To begin, determine which will the front and
back edges of your quilt BACKING (be sure
it will t within the width of your frame set-
up).
NOTE: If your backing is made up of more
than one piece of fabric, cut your selvedges
off and atten them out to allow the backing
the proper give it needs.
Line up the center of your fabric layer with
the center of the cloth leader on the 2
nd
Rail.
Pin the back edge of your backing to the
leader cloth. This is to be done with the nished side of
the fabric facing down.
Do not stretch or pull the fabric during this process.
Let it lay as naturally as possible.
Roll your leader and backing onto the 2
nd
rail
completely. Watch to make sure the fabrics stay lined up.
Smooth out any wrinkles as you roll by brushing the fabric
from the center out. However, be very careful not to stretch
or pull the fabric excessively.
NOTE! It is important that you roll the rail the proper
direction so the fabric rolls over and onto the 2nd rail (see
picture).
STEP 2: QUILT TOP TO 3
rd
RAIL
Determine which will be the front and back edges of your quilt.
Line up the center of your fabric layer with the center of the cloth
leader on the 3
rd
Rail. Pin the back edge of your top to the leader cloth.
This is to be done with the nished side of the fabric facing up.
Do not stretch or pull the fabric during this process. Let it lay as
naturally as possible.
Roll your leader and top onto the 3
rd
rail
completely. Again, be sure the fabrics stay lined
up. Smooth out any wrinkles as you roll by
brushing the fabric from the center out, being
very careful not to stretch or pull the fabric
excessively.
NOTE! It is important that you roll the rail
the proper direction so the fabric rolls onto
the 3
rd
rail the right way (when fabric rolls off
the rail toward the take-up rail, it should roll
under and off the rail. See picture).
STEP 3: BATTING
A light, bonded batting is recommended.