Do you have a question about the Grace Cutie and is the answer not in the manual?
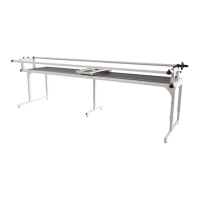
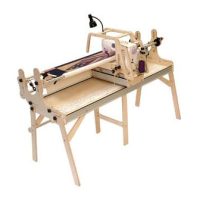
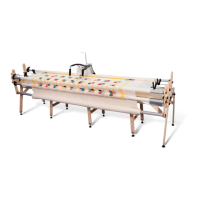
Assemble the frame tracks for horizontal movement.
Install the frame sides to support rails and hold fabric.
Prepare and install the bottom carriage and align frame tracks.
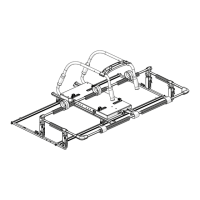
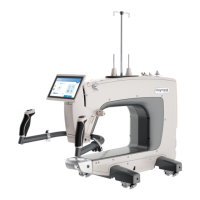
Install encoder bracket and top plate clamps on the top plate.
Place the top plate or quilting machine onto the bottom carriage track.
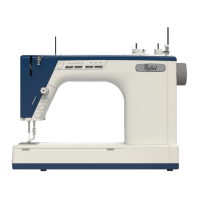
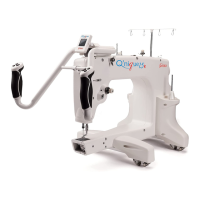
Secure your home sewing machine to the top plate using clamps.
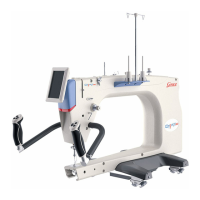
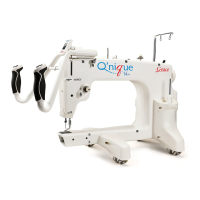
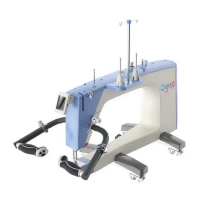
Switch to quilting mode and prepare your sewing machine.
Assemble and install the frame rails to hold the quilt in place.
Adjust frame rail height to accommodate your quilting or sewing machine.
Adjust carriage stop to prevent machine from hitting the take-up rail.
Adjust top plate handles for comfort and better reach during use.
Use extension cables if your foot pedal cable is too short.
Cut batting and backing, and create a quilt sandwich for quilting.
Attach the quilt to the frame rails using fabric clamps and straps.
Mark the quiltable area for your machine's reach.
Begin quilting with practice fabric, ensuring machine settings are correct.
Break the quilt into zones and move to the next unstitched area.
| Brand | Grace |
|---|---|
| Model | Cutie |
| Category | Sewing Machine |
| Language | English |