309205 5
Setup
Fluid Flow
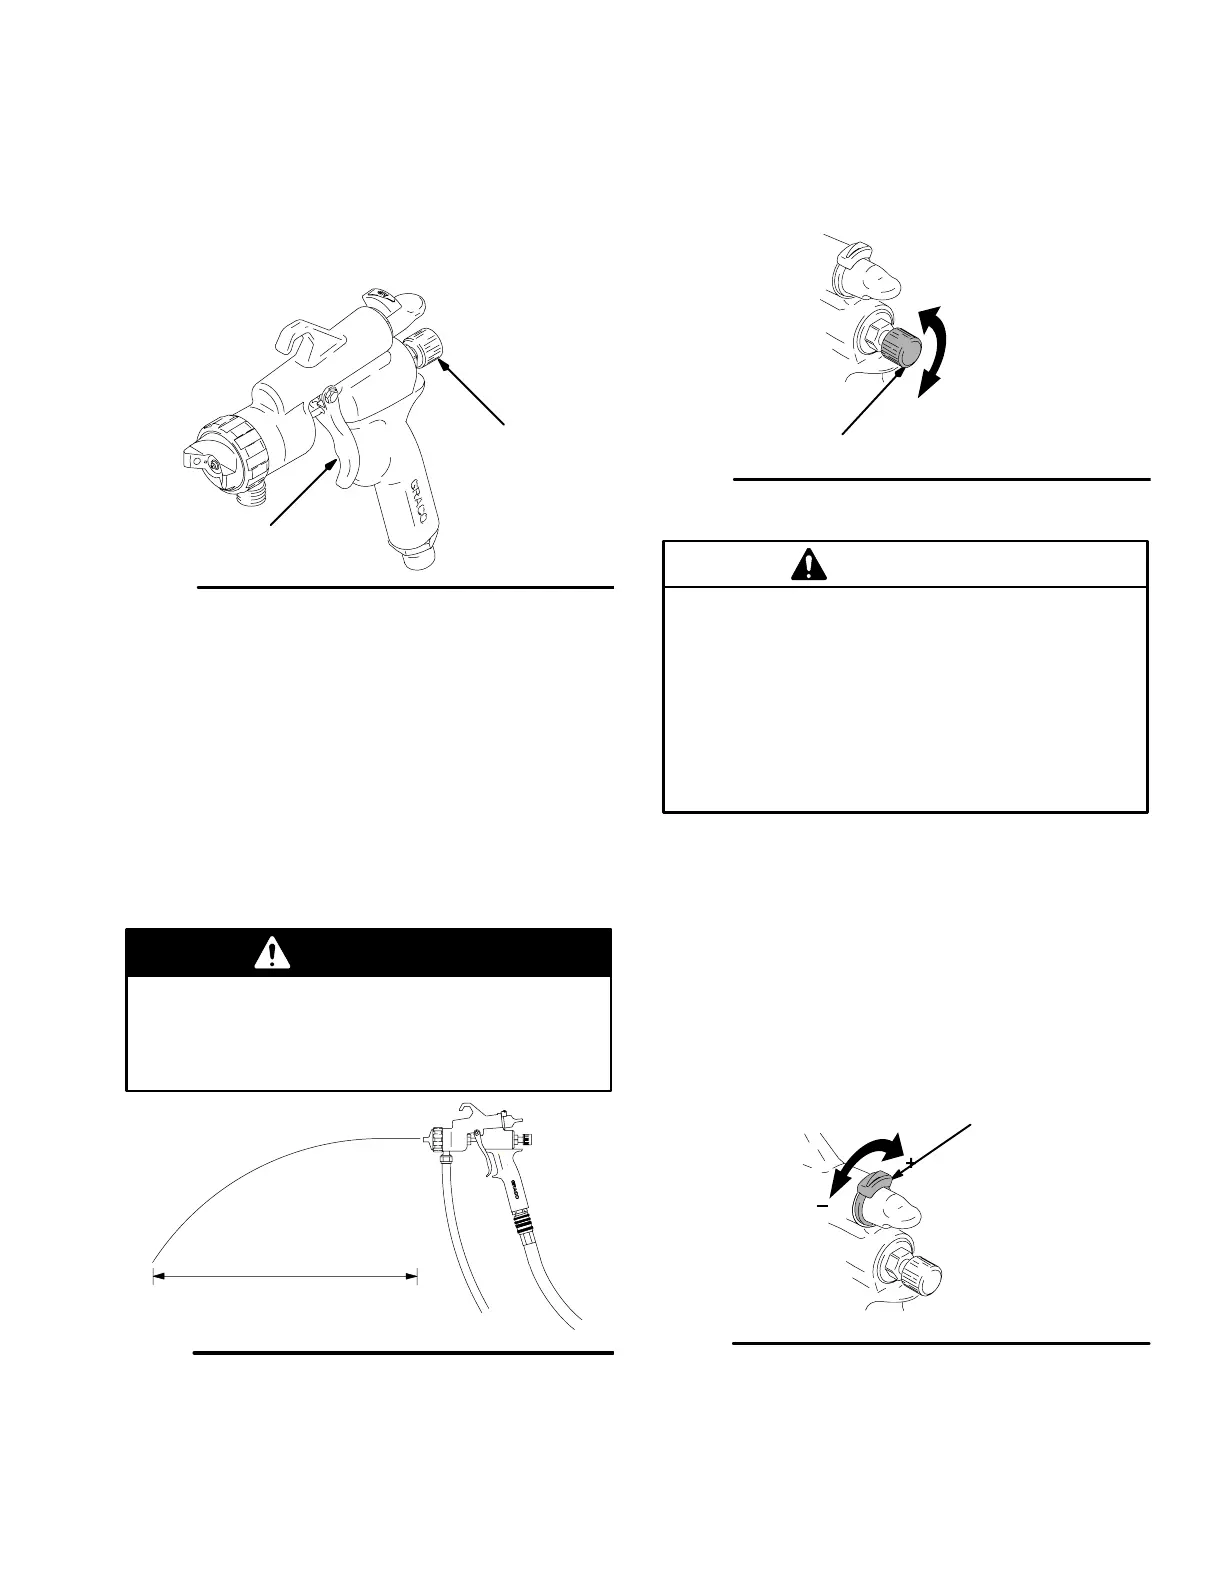
1. To obtain maximum fluid flow, turn fluid adjustment
knob (21) counterclockwise until the trigger (10)
moves freely. See Fig. 2.
Fig. 2
21
T10746
10
2. For remote pressure pot, hold gun parallel to floor
and adjust fluid pressure at 8 to 10 inch (203 to
254 mm) fluid stream. See Fig. 3.
For 2-quart remote pressure pot:
Set at 4 to 6 psi (0.28 to 0.42 bar).
For 2
1
/
2
-gallon remote pressure pot:
Set at 8 to 10 psi (0.56 to 0.70 bar).
NOTE: Heavier fluids or longer fluid hoses require
greater pressures.
WARNING
Over-pressurizing the accessory remote pres-
sure pots can cause serious injury. To reduce
the risk, never exceed 50 psi (0.35 MPa,
3.5 bar) Maximum Inlet Fluid Pressure.
Fig. 3
TI0805
8–10 in.
(203–254 mm)
3. If further gun fluid adjustment is needed, turn fluid
adjustment knob (21) clockwise to reduce volume
of fluid output. See Fig. 4.
21
Fig. 4
T10825
Fluid control, adjusts fluid
volume.
+
–
CAUTION
Restricting the trigger and fluid needle travel by
continuously spraying with the fluid adjustment
knob closed (turned clockwise), will cause
accelerated abrasive wear on the fluid needle and
wear on the trigger.
For best results, adjust fluid flow at the pressure
source or use a different size needle/nozzle/air cap
combination.
Air Flow
4. Test spray pattern and atomization while holding
gun about 6 to 8 inches (150 to 200 mm) from test
piece.
5. Air Control Valve (B) on end of the gun controls
both atomizing air and pressure in spray gun cup.
See Fig. 5. Adjust air control valve as needed.
Fig. 5
B
02850
Air control, adjust total
air flow to spray gun.
 Loading...