Repair
309574C 21
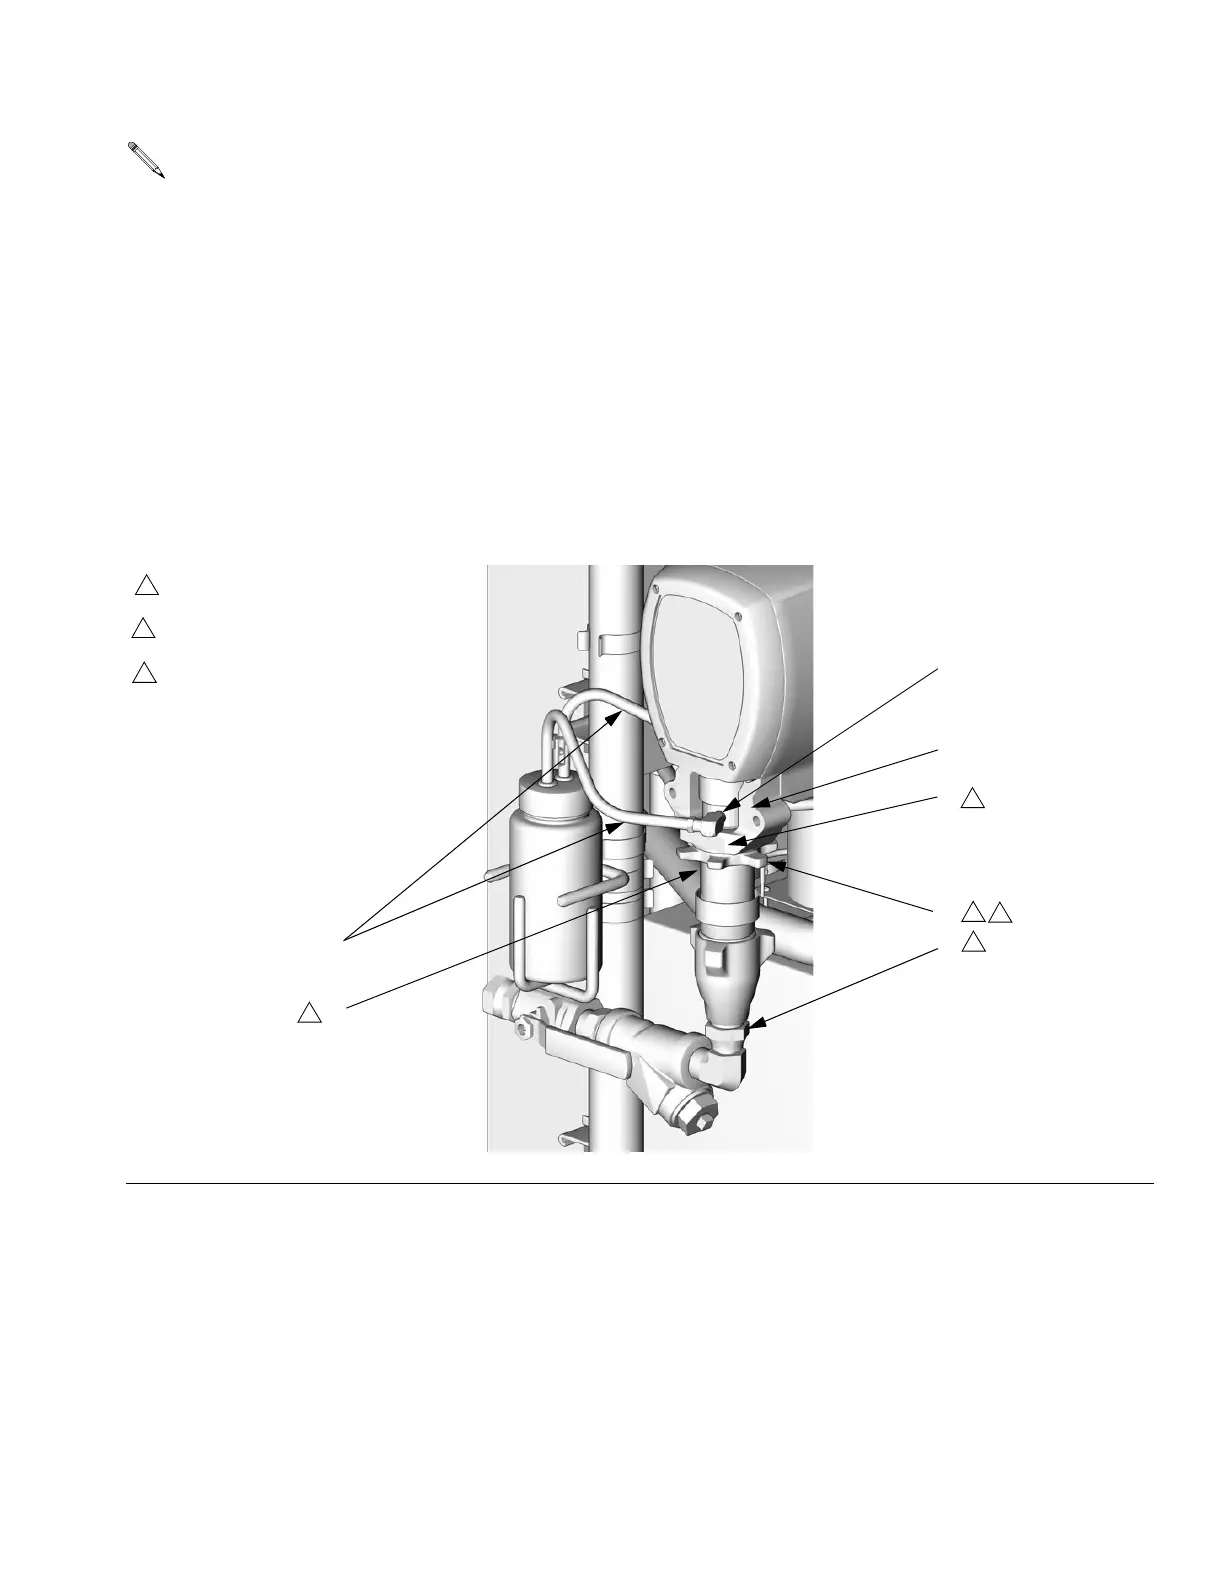
Steps 8-13 apply to pump A only. See F
IG
. 4.
8. Ensure locknut (G) is screwed on pump with flat side
up, and finger guard is placed in window of bearing
housing (M). With pump rod extended, screw pump
into bearing and through finger guard until pin holes
align. Push pin in. Pull retaining spring down.
9. Continue screwing pump into housing until fluid out-
let (D) is aligned with steel tube and top threads are
+/- 1/16 in. (2 mm) of bearing face (N).
10. Wet-cup has three 1/8 npt ports. One is inaccessi-
ble; note location. Back pump out and install plug in
that port.
11. Realign pump. Install elbow (U) and barbed fittings.
12. Tighten locknut (G) by hitting firmly with a
non-sparking hammer.
13. Reconnect fluid inlet (C) and outlet (D). Reconnect
tubes (T).
F
IG
. 4. Reconnect Pump A
C
D
T
G
M
N
1
TI3765a-2
Flat side faces up.
1
Lubricate threads with ISO oil
or grease.
2
2
2
2
3
Pump top threads must be nearly
flush with bearing face (N).
3
U