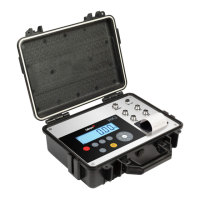
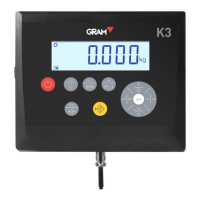
ASSEMBLY
Place the platform on a flat surface without any objects that might interfere in the weighing process.
Unblock the platform by removing or loosening the blocking screws, as indicated in the instructions of the attached
unblocking guide.
Insert the cell cable through the column until it comes out of the column's top opening.
Place the column (optional) inside the column support and adjust the screws to block it and fix it.
Place the indicator on the top part of the column, making sure that the support fixing screws are in place.
Insert the power cable to connection
C1
, and the plug it into the
AC/DC
power supply connector. Do not use other
cables besides the included one as it may damage the indicator’s inner circuits.
Plug the power supply cable to a 110V or 220V electrical network outlet (it supports both voltage inputs).
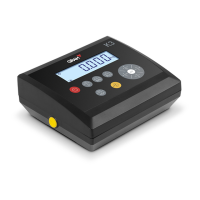
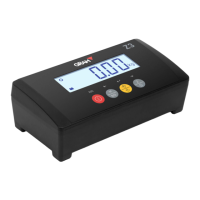
By pressing , the indicator will start the initialization process and, once it has finished (it takes a few
seconds), it will show a zero value.
The scales are now ready to be used. Please read this manual carefully before using the scales.
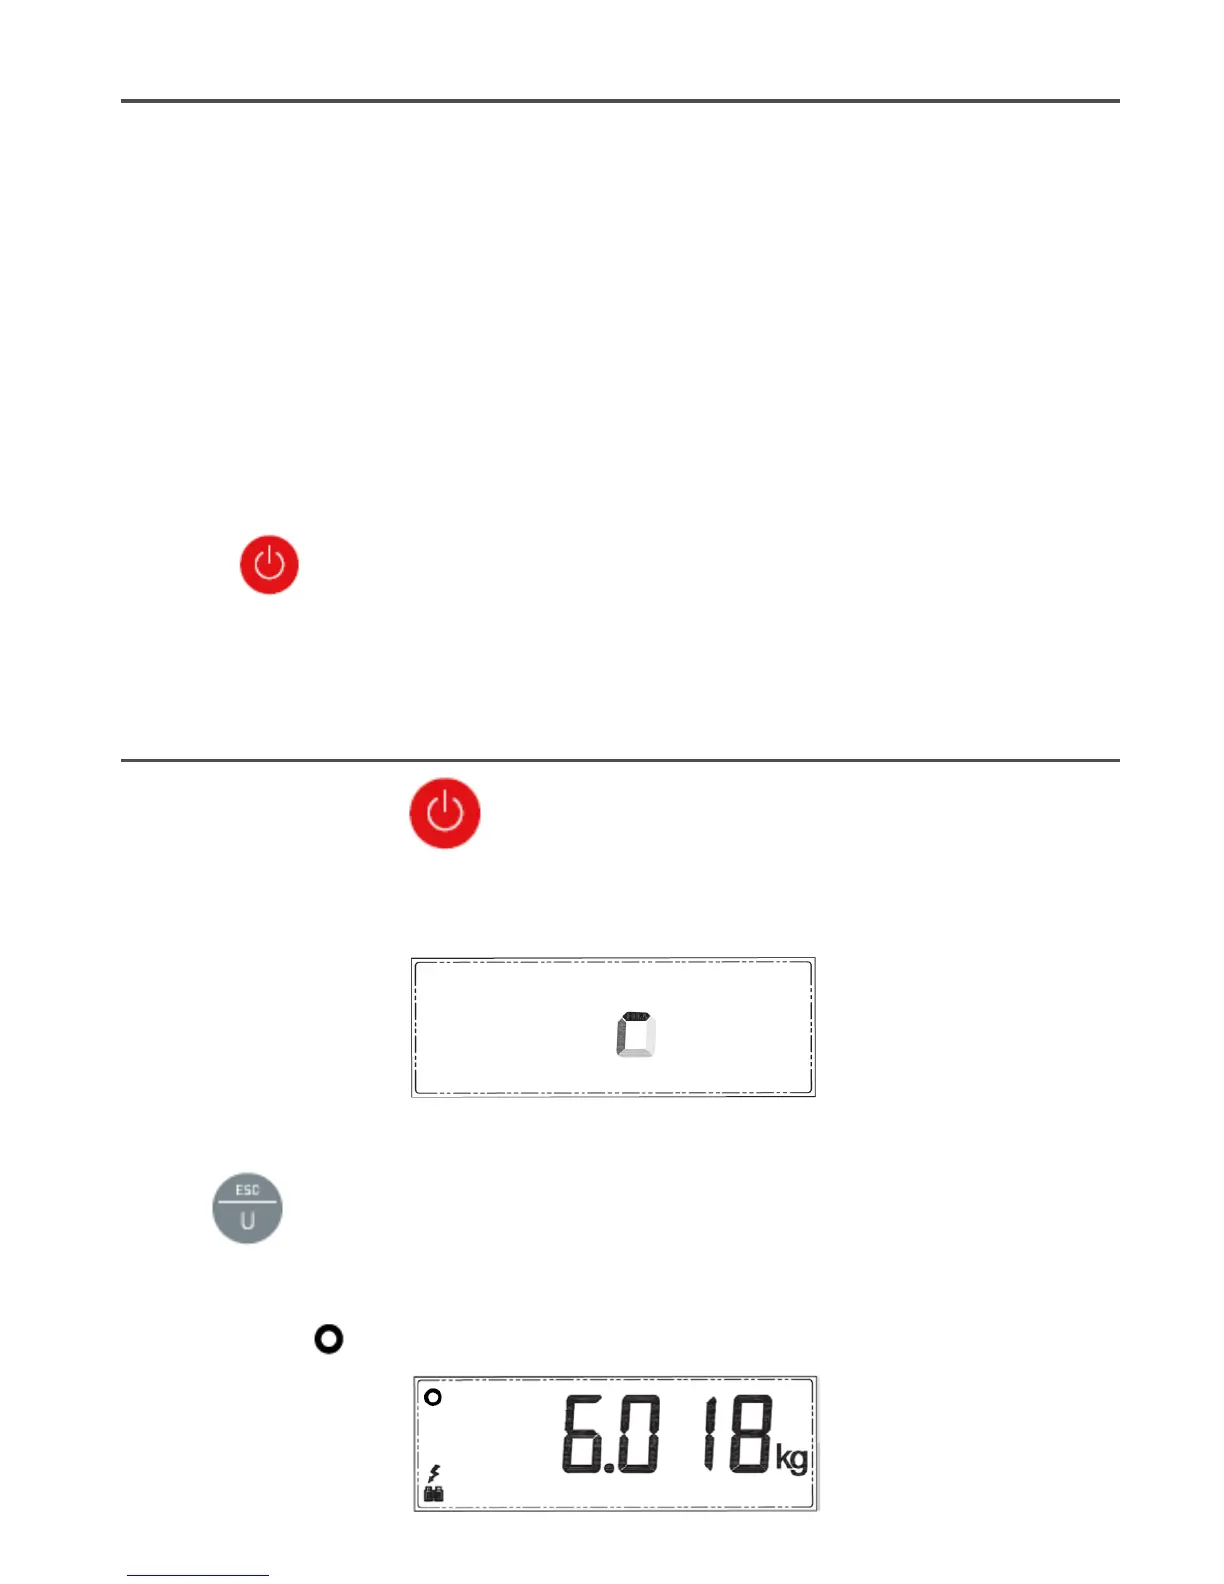
START-UP
Turn the scales on by pressing the button.
The display on the scales will show a moving circle for a few seconds. After this, the display will flicker and show the
zero value.
If an object is now placed on the platform, the display will show the object’s weight.
Press the
button to select the weighing unit you want to use ("kg or g" are shown by default, depending on
the device's configuration".
Place the object you wish to weight on the platform. The display will show the object’s weight. This value must be read
when the
“stability”
symbol is on, in the top left corner of the display.
 Loading...