10
Quick Start
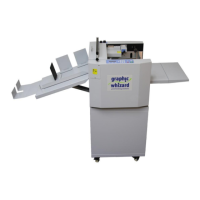
(See machine diagram for parts listing)
1. Turn on machine.
2. To lower tray, press STOP.
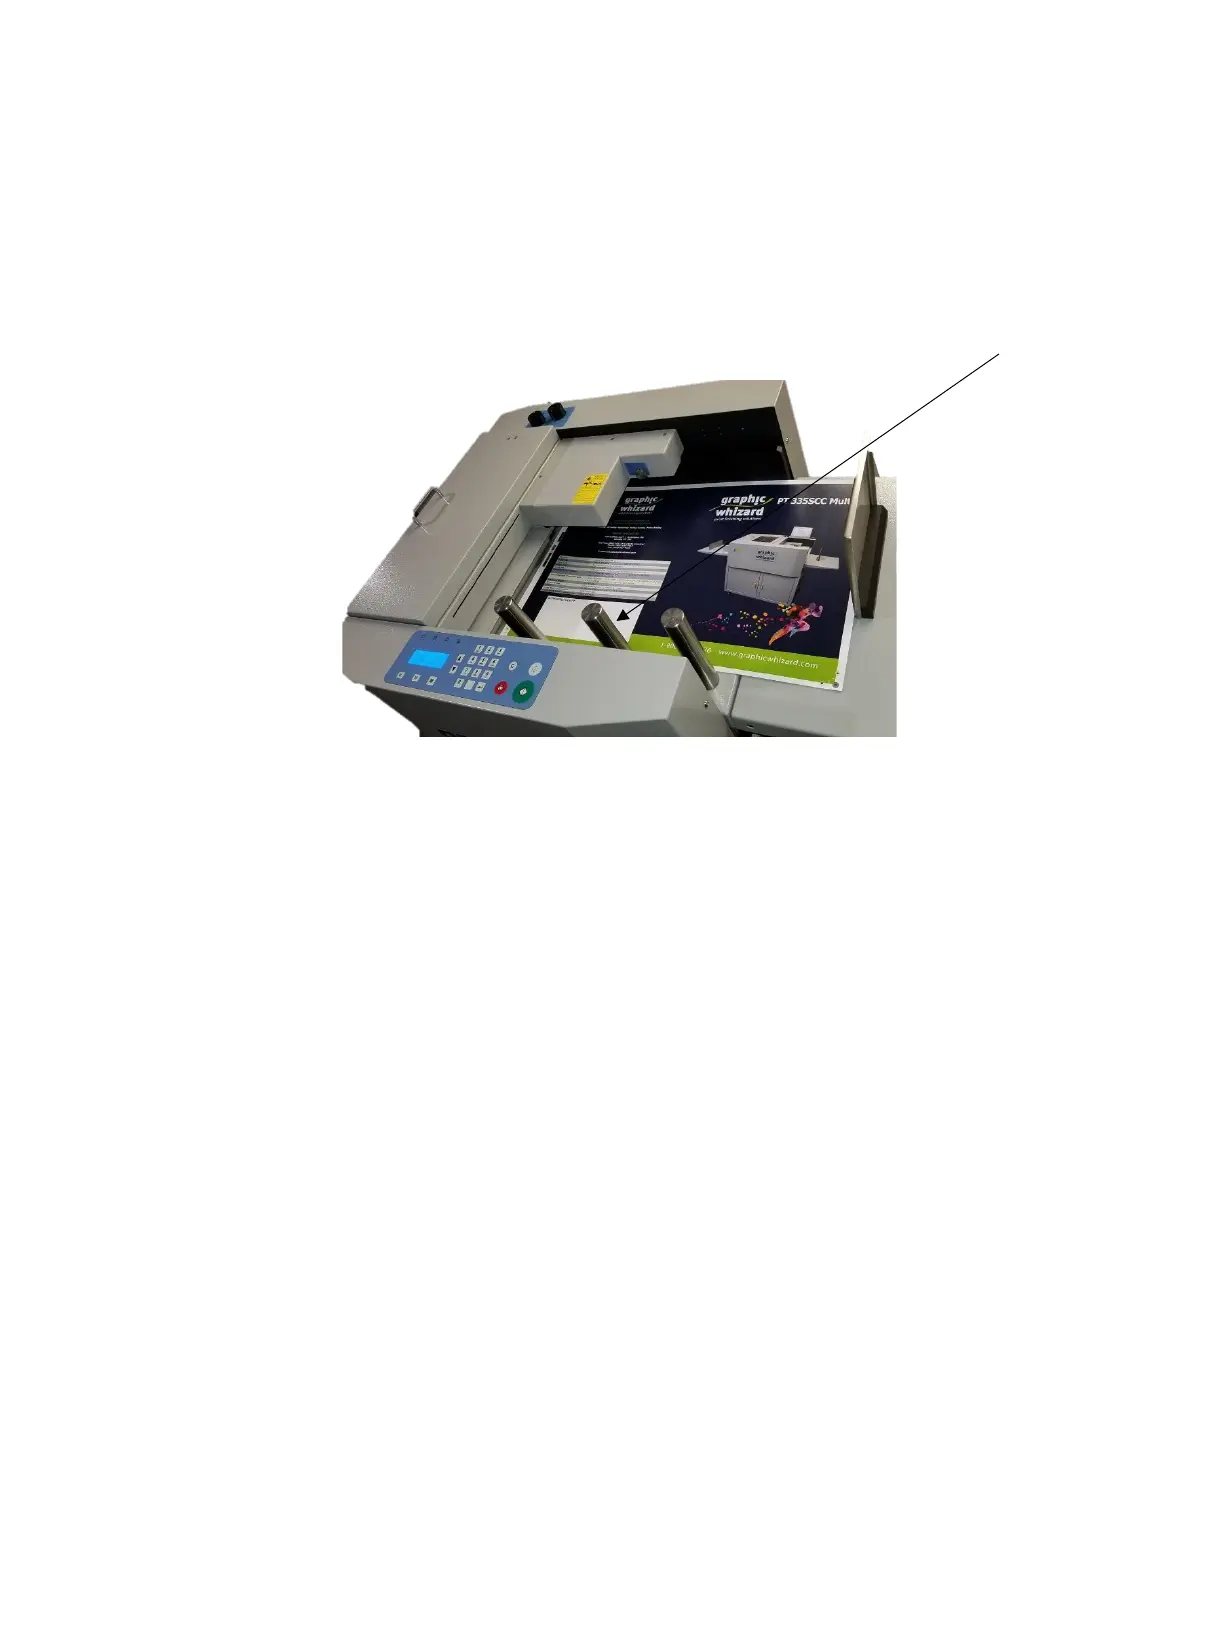
3. Put stock in the feed tray, against the fixed guides, front and side. The paper guides (pillars) and back
stop work together to keep the paper aligned and from slipping out of the feeder.
4. Fit tray and outfeed tray extensions as required. Ensure that the stockpile is even and square.
5. Position side guides close to the side and the end with enough gap to let the paper move freely (0.5
mm gap). Never put the guides under the feed head or they may get trapped when the tray lifts. This
could damage the feed head and invalidate the warranty.
6. Set the guides on the exit tray to catch the paper.
7. Adjust front air flow by turning the left knob according to paper weight. i.e. Heavy stock requires more airflow,
turn counterclockwise. Lighter stock requires less airflow, turn clockwise. See section Front Guide Adjustment.
8. Adjust pile height limiter as needed. Clockwise = higher. Counterclockwise = lower. See section Air
Gate Adjustment.
9. Adjust front separator (right knob) according to paper caliper. Thicker = down, turn clockwise.
Thinner =up, turn counterclockwise. See section Front Guide Adjustment.
10. As necessary, adjust crease depth using the 4 screws on crease bar. Clockwise = down.
Counterclockwise = up. Adjust max 1/4 turn evenly on all 4 at a time. See section Crease Depth.
11. Adjust skew as needed to compensate for paper cut out square. Knob down = paper to the right,
knob up = paper to the left.