G1182 6" Series Jointers -21-
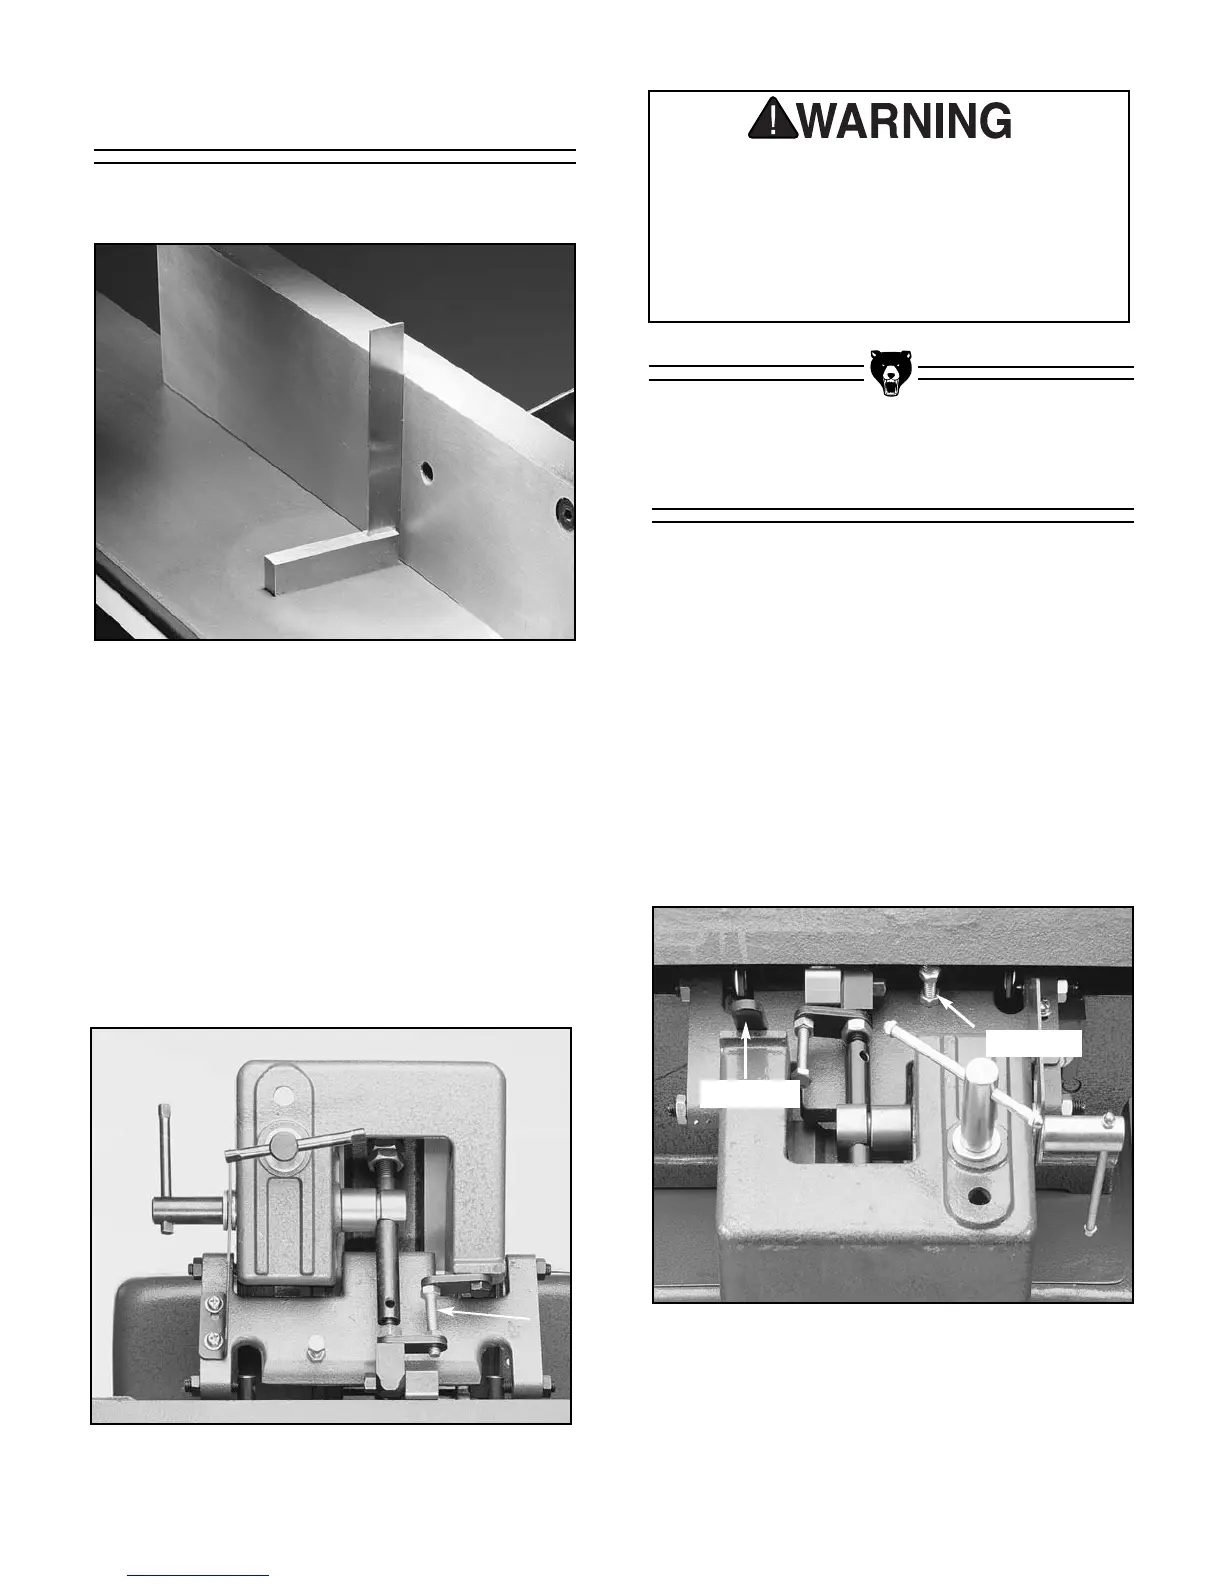
1. Place a square on the outfeed table fairly
close to the cutterhead. See Figure 20.
Figure 20. Use of square to align fence.
2. Loosen the fence lock handle and the check-
nut on the positive stop bolt. Turn the bolt
against the tab until the fence contacts the
edge of the square evenly.
3. Tighten the checknut on the stop bolt and tilt
the fence forward, then back against the
stop. See Figure 21.
90° Fence Stop
Figure 21. Location of the fence’s positive stop
bolt.
4. Re-check with the square. Tightening the
checknut will move the stop bolt slightly, so
some trial-and-error may be necessary to
perfect your settings.
The fence can be tilted to 45° by loosening the
lock handle, lifting up the 90° positive stop tab,
and moving the fence in the desired direction. To
set the 45° tab stop:
1. Loosen checknut and lower fence until it
rests on the stop bolt. See Figure 22.
2. Using a bevel gauge set to 45°, place the
heel of the bevel on the outfeed table and the
blade against the fence.
45° Fence Stop
DO NOT attempt any adjustments while
your Model G1182 is running. Ensure that
the switch is off, power is disconnected and
moving parts have stopped before making
adjustments. Serious personal injury may
occur.
Figure 22. Location of stop bolt and stop tab.
Stop Tab
Stop Bolt
 Loading...